5 - 12
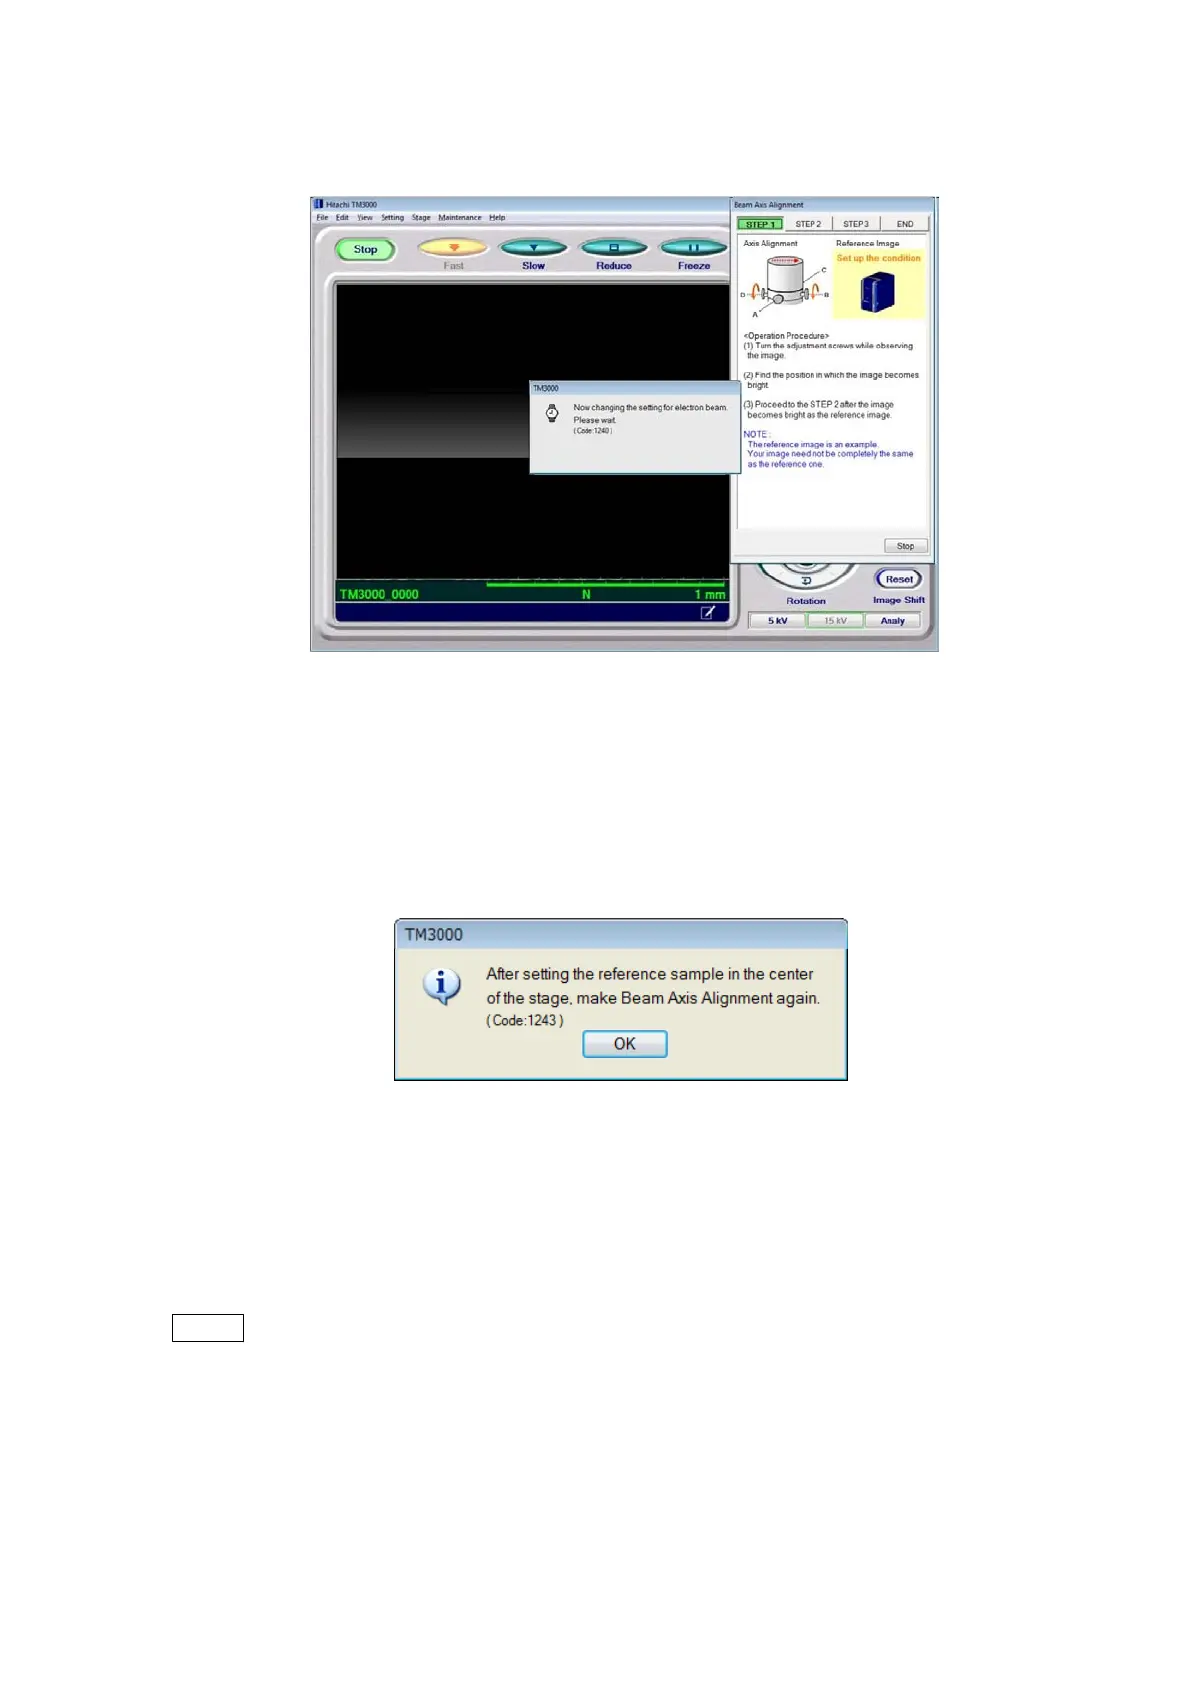
Specify electron beam conditions.
Figure 5.2-5 Electron Beam Condition Setup Window (1)
※ If the supplied image verification specimen is not loaded, in the confirmation message
shown in Figure 5.2-4, click the [Cancel] button. When the following message appears, click
the [OK] button, and by following the message, load the supplied image verification specimen
and perform the beam axis adjustment procedure again.
Figure 5.2-6 Image Verification Specimen Loading Confirmation Window (2)
4. Beam axis adjustment, STEP 1 Turn the four axis adjustment knobs, A, B, C, and D,
for the electron gun to move the electron gun, and adjust it so that the image will be the
brightest.
NOTE
: Moving the electron gun by turning the axis adjustment knobs can cause the air
trapped in the o-ring groove to leak into the electron gun chamber and the beam to
be turned off automatically, resulting in an error message. In such a case, close
the message window, press the Start button again, and then perform axis
adjustments.
 Loading...