XNX Universal Transmitter
Installation and Operation
80
The default calibration values for the “Calibration Required”
diagnostic vary based on sensor type. This value can be repro-
grammed in accordance with site requirements to ensure the
highest level of safety. Before commissioning, verify the correct
operation of each sensor using calibration with a certied gas of
known concentration.
Although the calibration interval can be set to any value be-
tween 0 and 360 days, Honeywell Analytics recommends that the
interval for electrochemical and catalytic sensors be set to 180
days (or fewer, in accordance with customer site procedures) to
assure the highest level of safety.
Use the
switches to highlight the current interval and use
✓
to select it.
Figure 105. Edit Interval and Setting Interval Value screens
Use the switches to move to the desired position. Use
✓
to
select it. Use the switches to
decrease or increase
the value
until the desired value is reached. (The minimum number of days is 0;
the maximum number is dened by the sensor type.) Use
✓
to select
the value and move to the next eld. Repeat for each eld. When all
of the elds have been updated, use the
switches to highlight
the
‘ü’
on the right side of the display. Use
✓
on the front panel to
save the settings.
Caution: Setting the calibration interval to zero turns off the calibration notification.
This can seriously affect sensor performance.
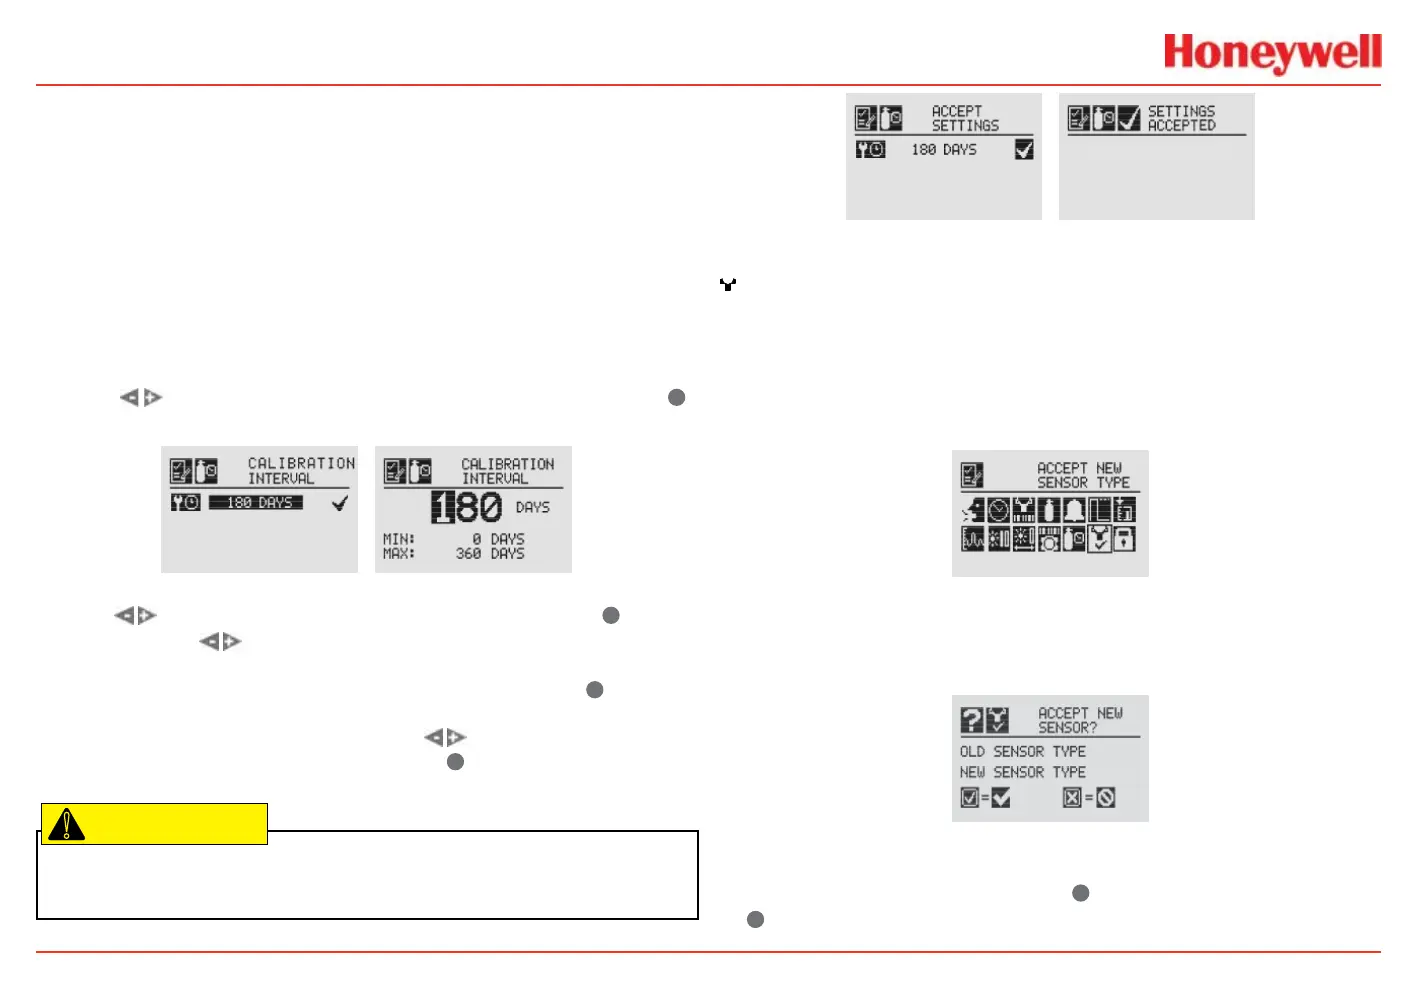
Figure 106. Saving New Interval and New Interval Accepted screens
Accept New Sensor Type
When replacing EC cells or mV sensors, use Accept New
Sensor Type to load default parameters into the transmitter for
calibration and sensor life. Accept New Sensor Type is also used
when replacing an EC cell with another EC cell for a different
target gas. (See Replacing with a Different Cartridge Type).
Figure 107. Accept New Sensor Type menu
When changing the target gas by inserting a new sensor, the
transmitter will prompt the user for a conrmation of the change
before adjusting to the properties of the new sensor.
Figure 108. Select New Sensor screen
In the display of the transmitter, the old sensor type and the new
sensor type will be displayed. Use
✓
to accept the new sensor
or
✖
to reject it.
 Loading...