XNX Universal Transmitter
Installation and Operation
84
Clear ID
This option clears the current set Unit ID.
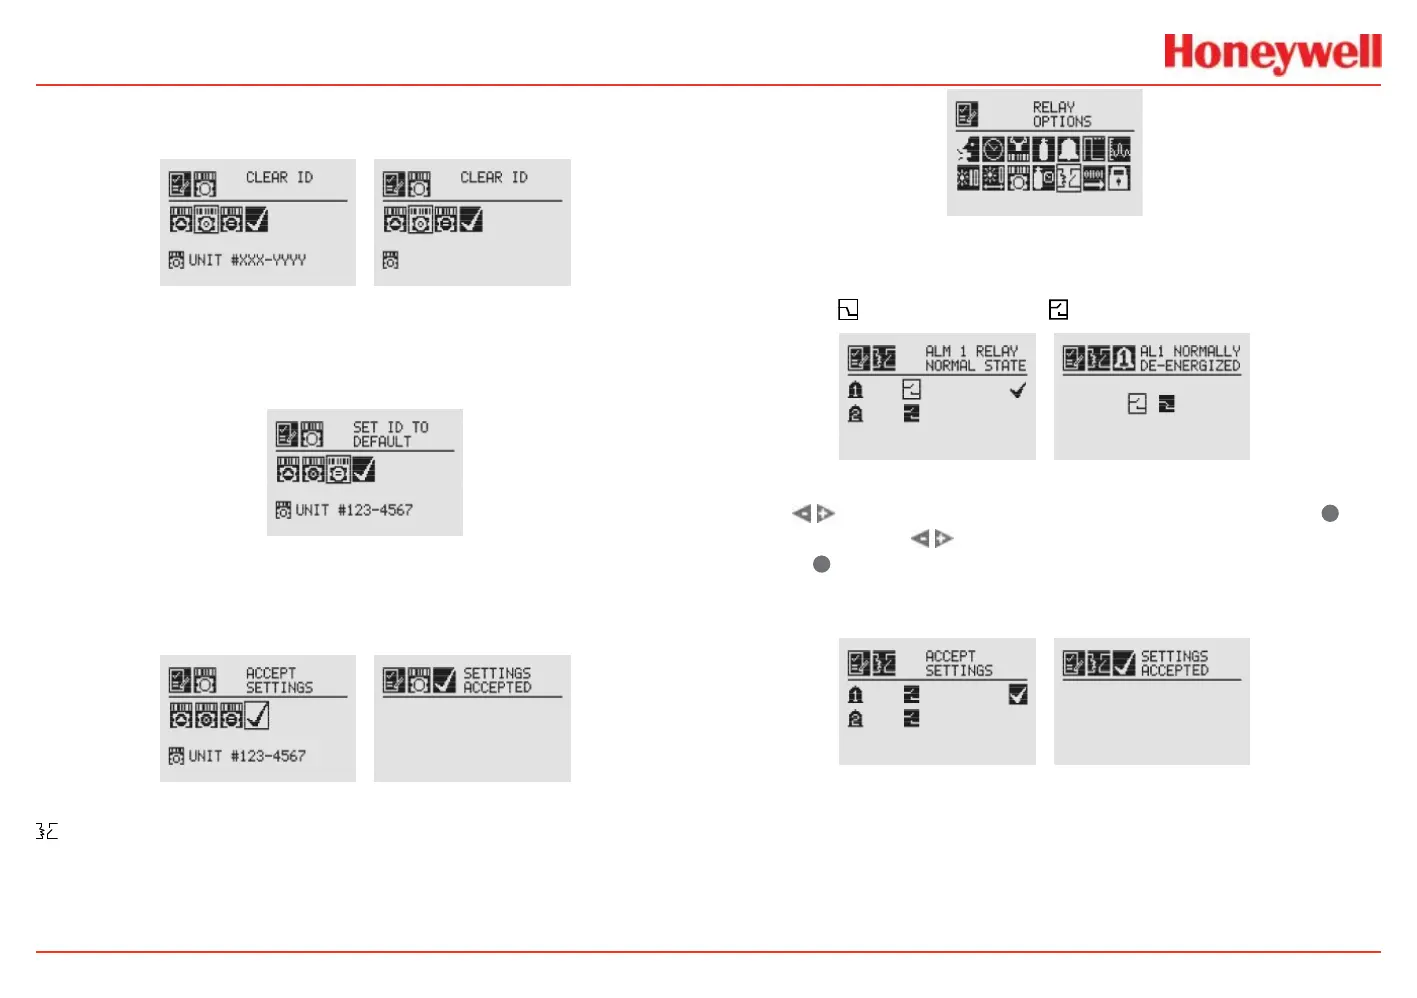
Figure 126. Clear Unit ID and Cleared Unit ID screens
Set ID to Default
The Set ID to Default option returns the Unit ID to the factory
default.
Figure 127. Set ID to Default screen
Once all changes have been made, Accept Settings must be
selected before exiting the Unit ID menu. When all changes are
saved, the transmitter will display the Settings Accepted screen.
Figure 128. Accept Settings and Accepted screens
Relay Options
The Relay Options menu allows the relays for both alarm levels
to be congured. This menu is available only if the transmitter is
equipped with the optional relays.
Figure 129. Relay Options screen
XNX relays can be set to Energized or De-energized. The default
is De-energized. The two states for each relay are represented by
the symbols
for energized and for de-energized.
Figure 130. Alarm 1 Relay Current State and Setting New State screens
Use the switches to move to the desired alarm and use
✓
to select it. Use the
switches to change the state of the
relay. Use
✓
to accept the new state. Once the transmitter has
accepted the new information, a Settings Accepted screen
appears.
Figure 131. Accept New Alarm Relay Settings and new Settings Accepted screens
 Loading...