Operation
Powermax45 XP Operator Manual 809240 51
Step 5 – Connect electric power and turn ON the system
1. Plug in the power cord.
When you first receive your system, the power cord may not have a power plug installed.
For information on connecting the proper plug to the power cord, see Prepare the power
cord on page 32.
For more information on the system’s electrical requirements, see Connect to electrical
power on page 27.
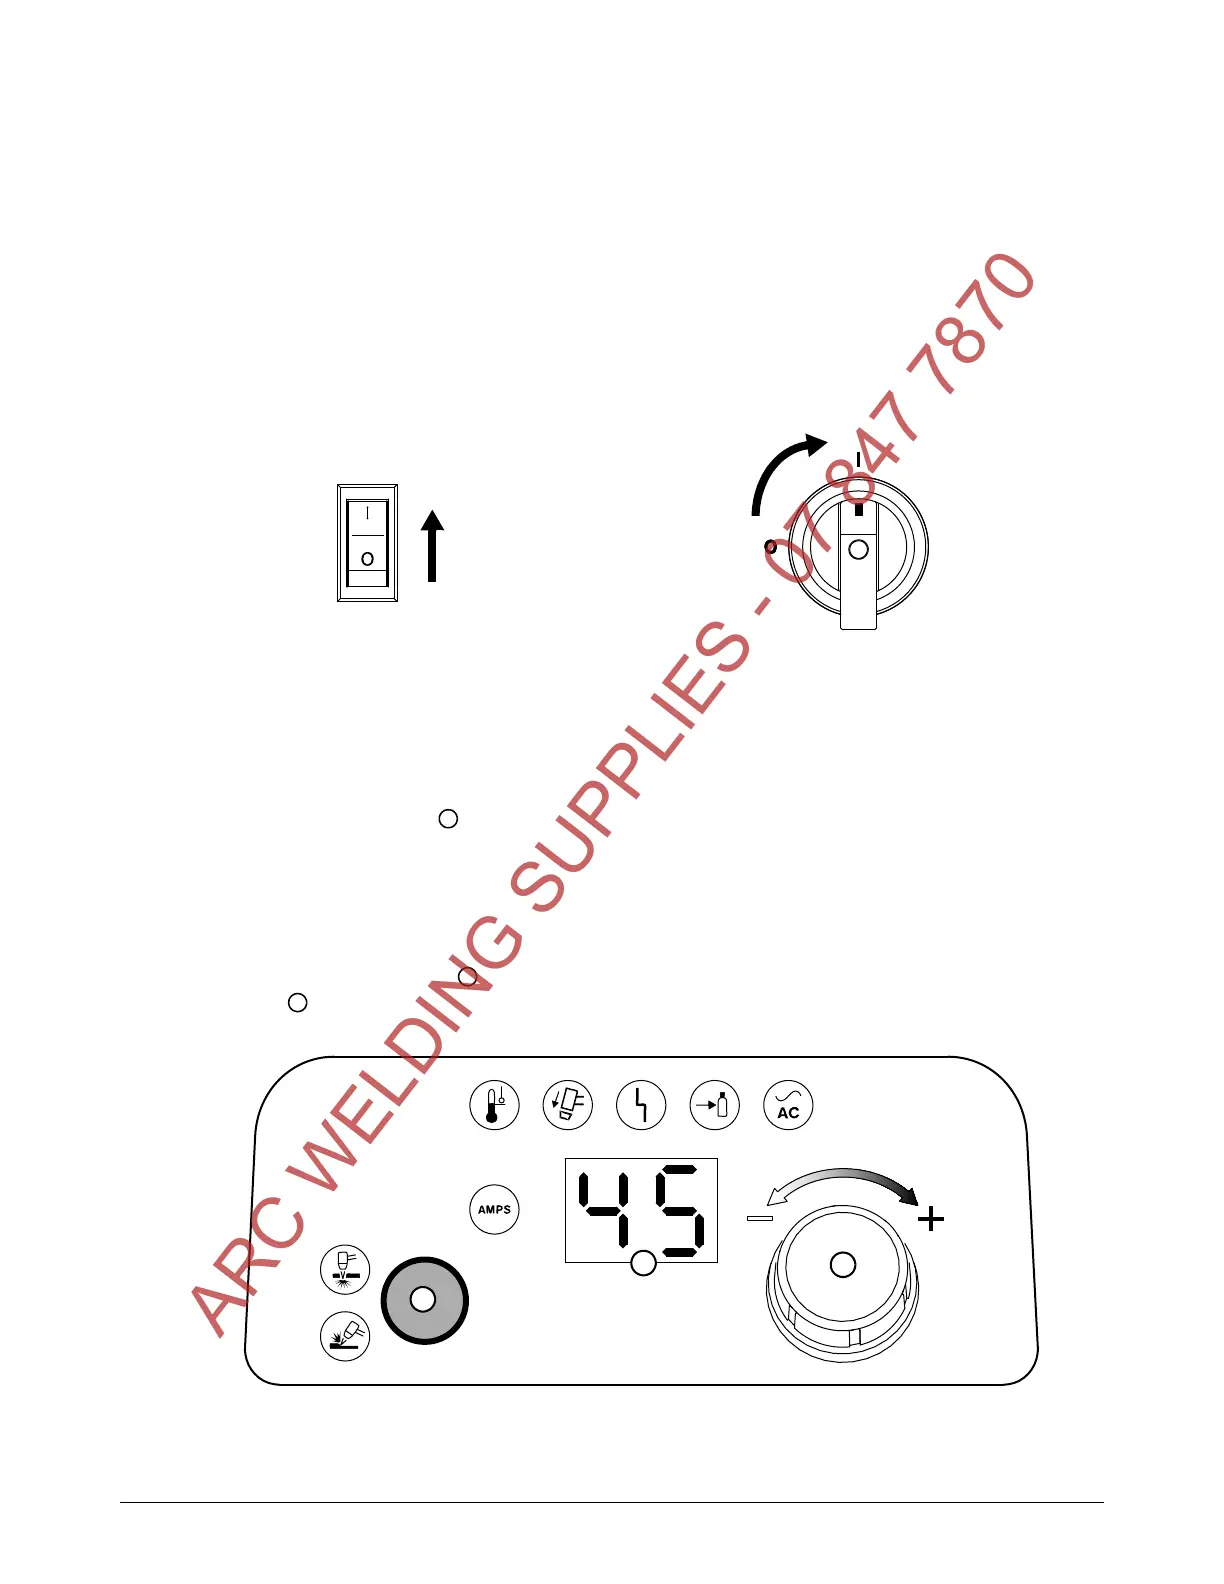
2. Set the power switch to the ON (I) position.
Step 6 – Set mode and adjust output current (amperage)
1. Press the Mode button to toggle between Cut mode and Gouge/Marking mode.
The system’s Smart Sense™ technology automatically regulates the gas
pressure for optimum cutting according to the selected mode, the torch
type, and the length of the torch lead.
2. Turn the adjustment knob to set the output current to a maximum of 45 A. The 2-digit
display shows the output current in amperage.
ARC WELDING SUPPLIES - 07 847 7870

 Loading...