Removing the cover
To remove the cover, complete the following steps.
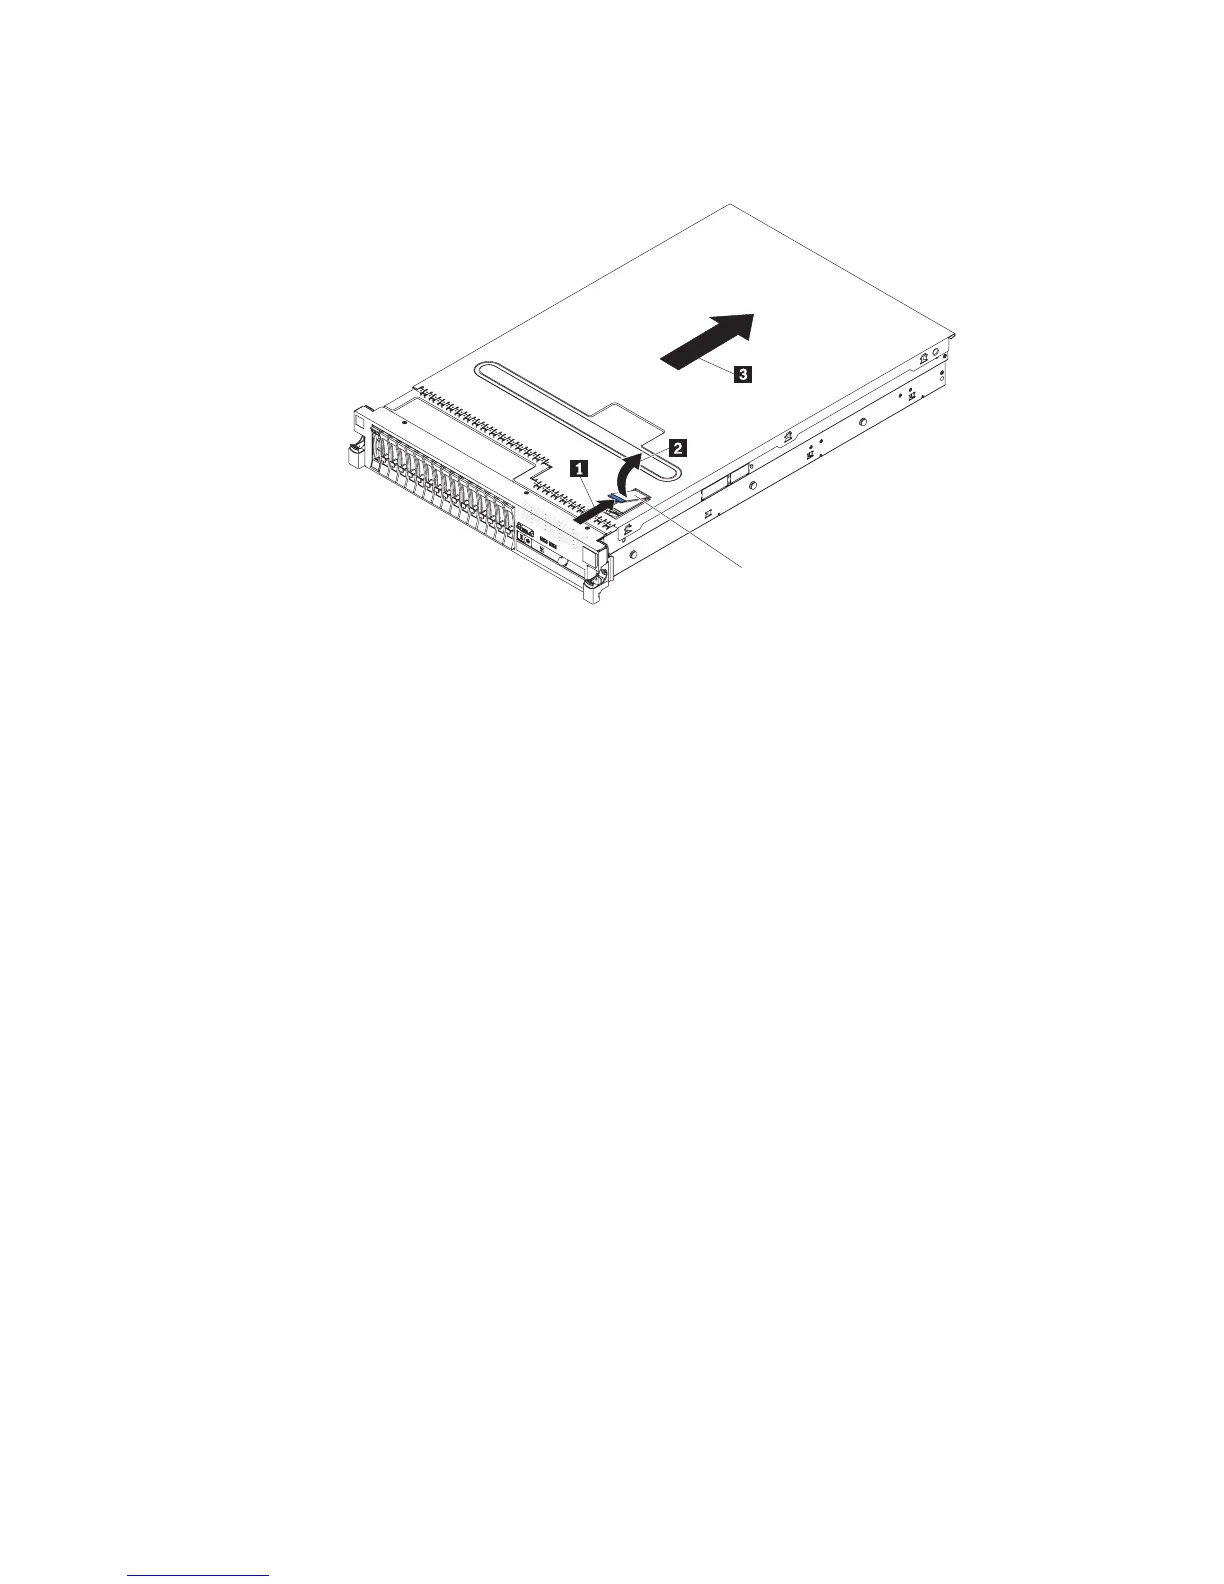
Cover-release
latch
1. Read the safety information that begins on page vii and “Installation guidelines”
on page 169.
2. If you are planning to view the error LEDs that are on the system board and
components, leave the server connected to power and go directly to step 4.
3. If you are planning to install or remove a microprocessor, memory module, PCI
adapter, battery, or other non-hot-swap optional device, turn off the server and
all attached devices and disconnect all external cables and power cords.
4. Press down on the left and right side latches and slide the server out of the rack
enclosure until both slide rails lock.
Note: You can reach the cables on the back of the server when the server is in
the locked position.
5. Push the cover-release latch back 1, then lift it up 2. Slide the cover back
3, and then lift off the server. Set the cover aside.
Attention: For proper cooling and airflow, replace the cover before you turn
on the server. Operating the server for extended periods of time (over 30
minutes) with the cover removed might damage server components.
6. If you are instructed to return the cover, follow all packaging instructions, and
use any packaging materials for shipping that are supplied to you.
Chapter 5. Removing and replacing server components 177
 Loading...


