1. Reinstall any adapters and reconnect any internal cables you might have
removed in other procedures (see “Internal cable routing and connectors” on
page 172.)
2. Align the PCI riser-card assembly with the selected PCI connector on the
system board:
v PCI connector 1: Carefully fit the two alignment slots on the side of the
assembly onto the two alignment brackets in the side of the chassis.
v PCI connector 2: Carefully align the bottom edge (the contact edge) of the
riser-card assembly with the riser-card connector on the system board.
3. Press down on the assembly. Make sure that the riser-card assembly is fully
seated in the riser-card connector on the system board.
4. Install the server cover (see “Installing the cover” on page 178).
5. Slide the server into the rack.
6. Reconnect the external cables; then, reconnect the power cords and turn on the
peripheral devices and the server.
Removing a PCI adapter from a PCI riser-card assembly
This topic describes removing an adapter from a PCI expansion slot in a PCI
riser-card assembly. These instructions apply to PCI adapters such as video graphic
adapters and network adapters. To remove a ServeRAID SAS controller from the
SAS riser card, go to “Removing a ServeRAID SAS controller from the SAS riser
card” on page 201.
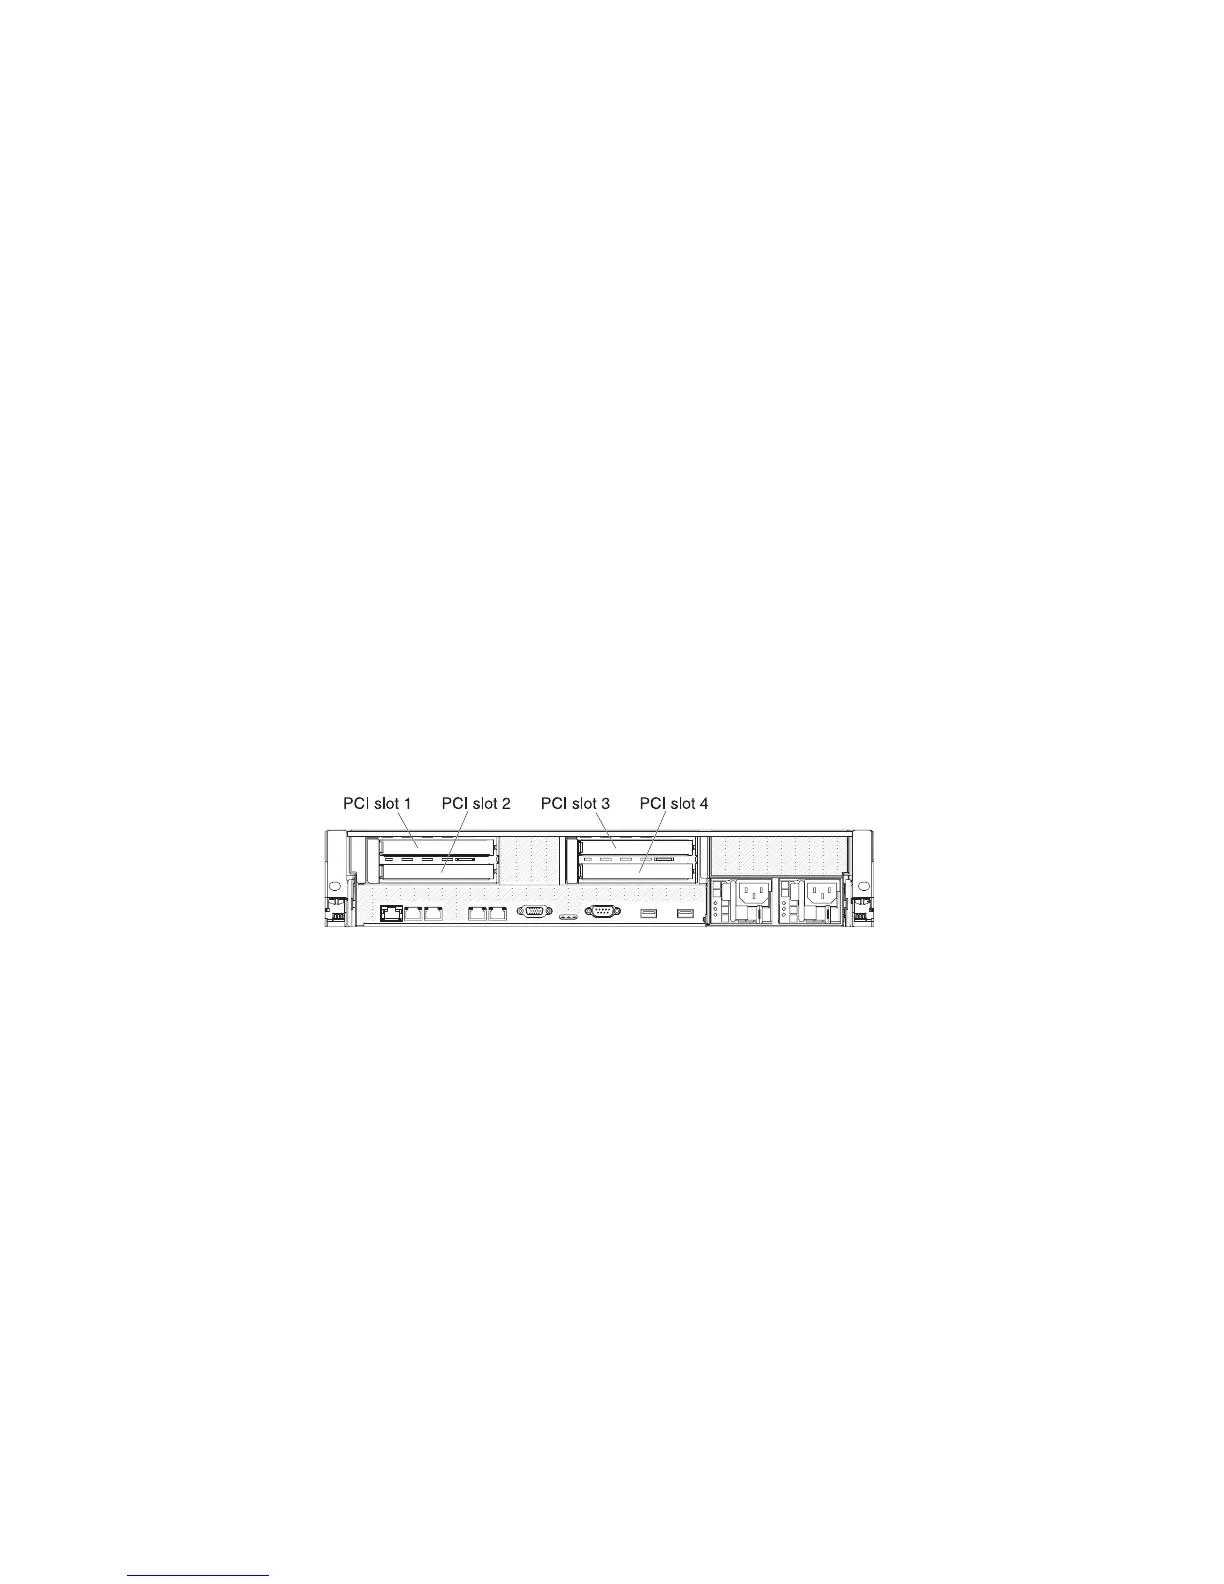
The following illustration shows the locations of the adapter expansion slots from
the rear of the server.
Notes:
1. If a PCI Express Gen 2x16 adapter is installed in a PCI riser-card assembly, the
second expansion slot is not available.
2. If you are replacing a high power graphics adapter, you might need to
disconnect the internal power cable from the system board before removing the
adapter.
To remove an adapter from a PCI expansion slot, complete the following steps.
190 IBM System x3650 M3 Types 4255, 7945, and 7949: Problem Determination and Service Guide
 Loading...


