True Scale Fabric Switches 12000 Series Hardware
July 2015 Installation Guide
Order Number: G91928004US 95
12000 Series Switches
4. Rack mount the switch in the existing rails on the rack.
5. Connect Ethernet and Serial cables.
6. Connect AC power.
7. If applicable, upgrade the switch firmware, and change the switch, gateway and
subnet mask addresses to a new network address.
8. Cable all applicable IB ports.
E.2 Intel 12300
E.2.1 Chassis Replacement
FRU part numbers:
• Standard 36-port chassis: 12300BS01
• 12300 18-port chassis: 12300BS18
E.2.1.1 Removal Procedures
1. Power down the switch by unplugging AC power.
2. Remove all applicable IB, Ethernet and serial cables. Set these aside for reinstalling
the replacement switch.
3. Remove the switch from the rack. Keep all rail hardware installed in the rack.
4. Remove the hat rails from the switch. Set these aside for reinstalling the
replacement switch.
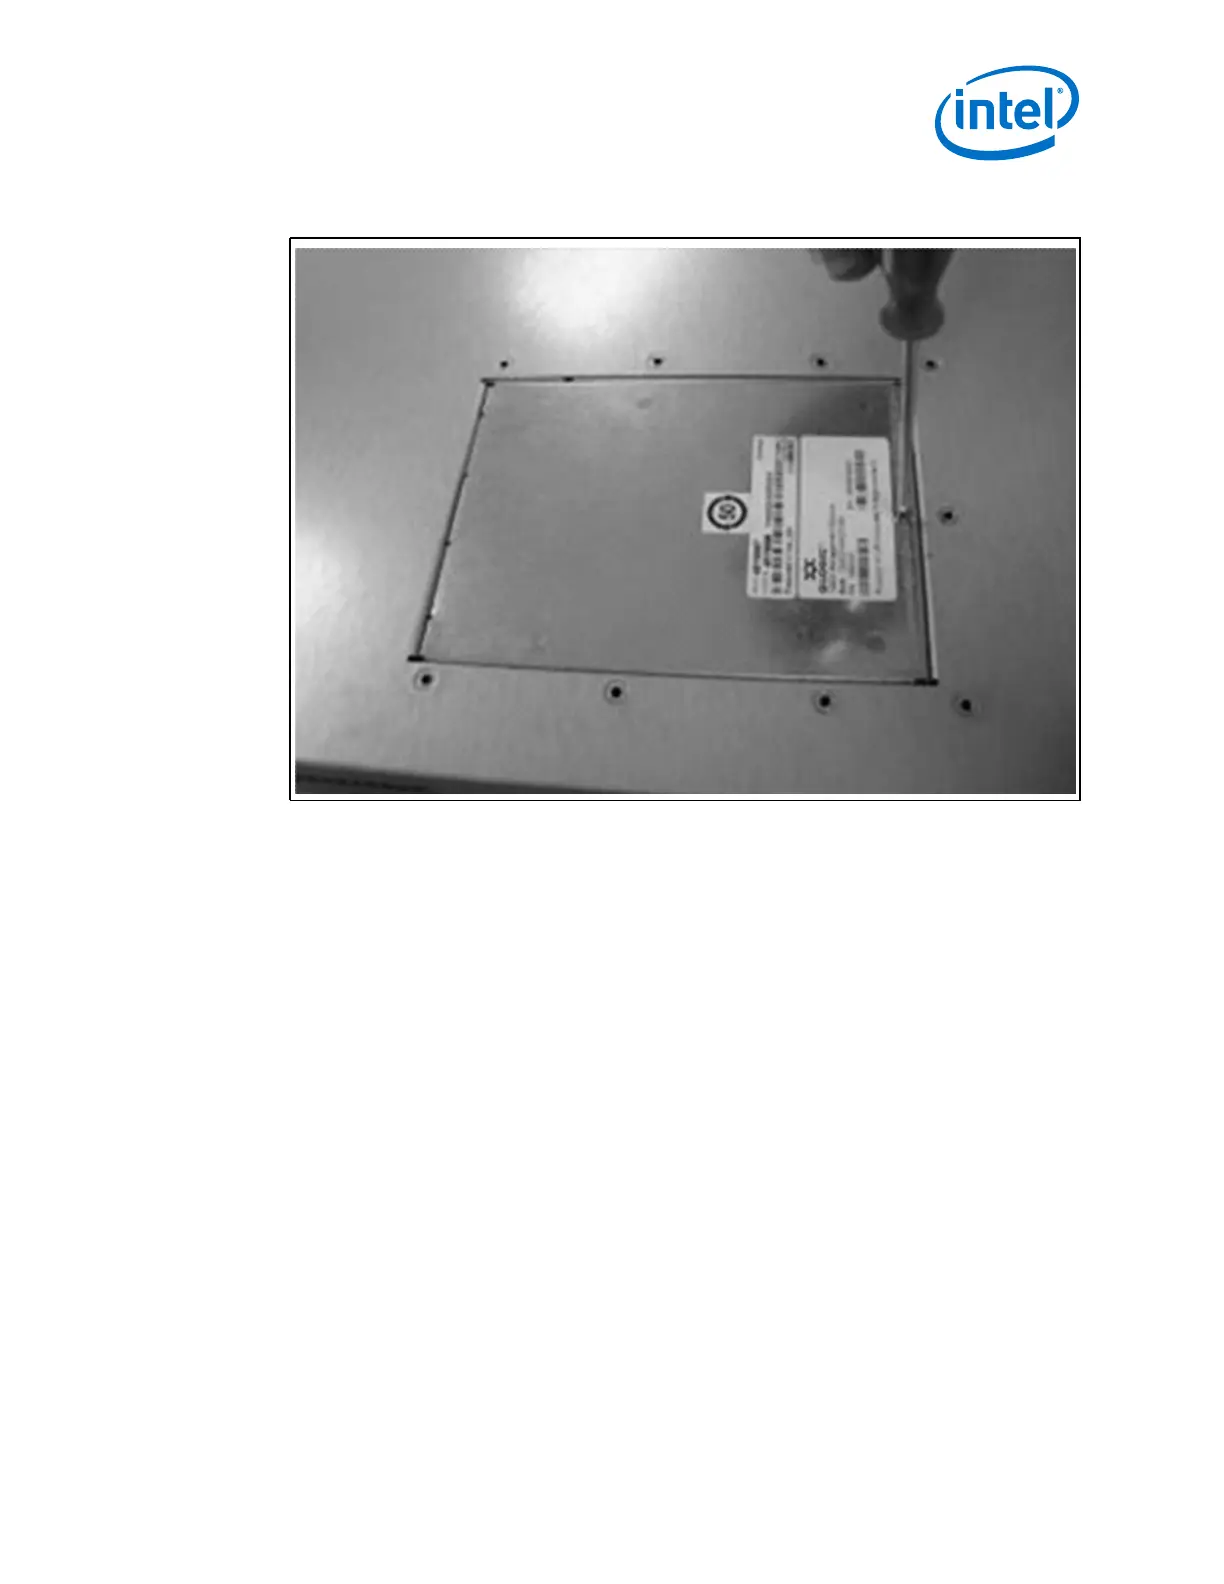
Figure 69. 12200 Management Card Insertion (3)
 Loading...