15www.janome.com
User Manual QUILT MAKER PRO 20
Installation and Setup
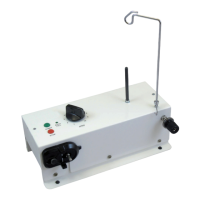
Carriage
You should have already set up the Janome Studio2 Frame™. Refer to the frame manual for detailed
instrucons about seng up the frame.
 IMPORTANT: Make sure the frame is set up for a 20-inch machine, not an 16/18-inch machine.
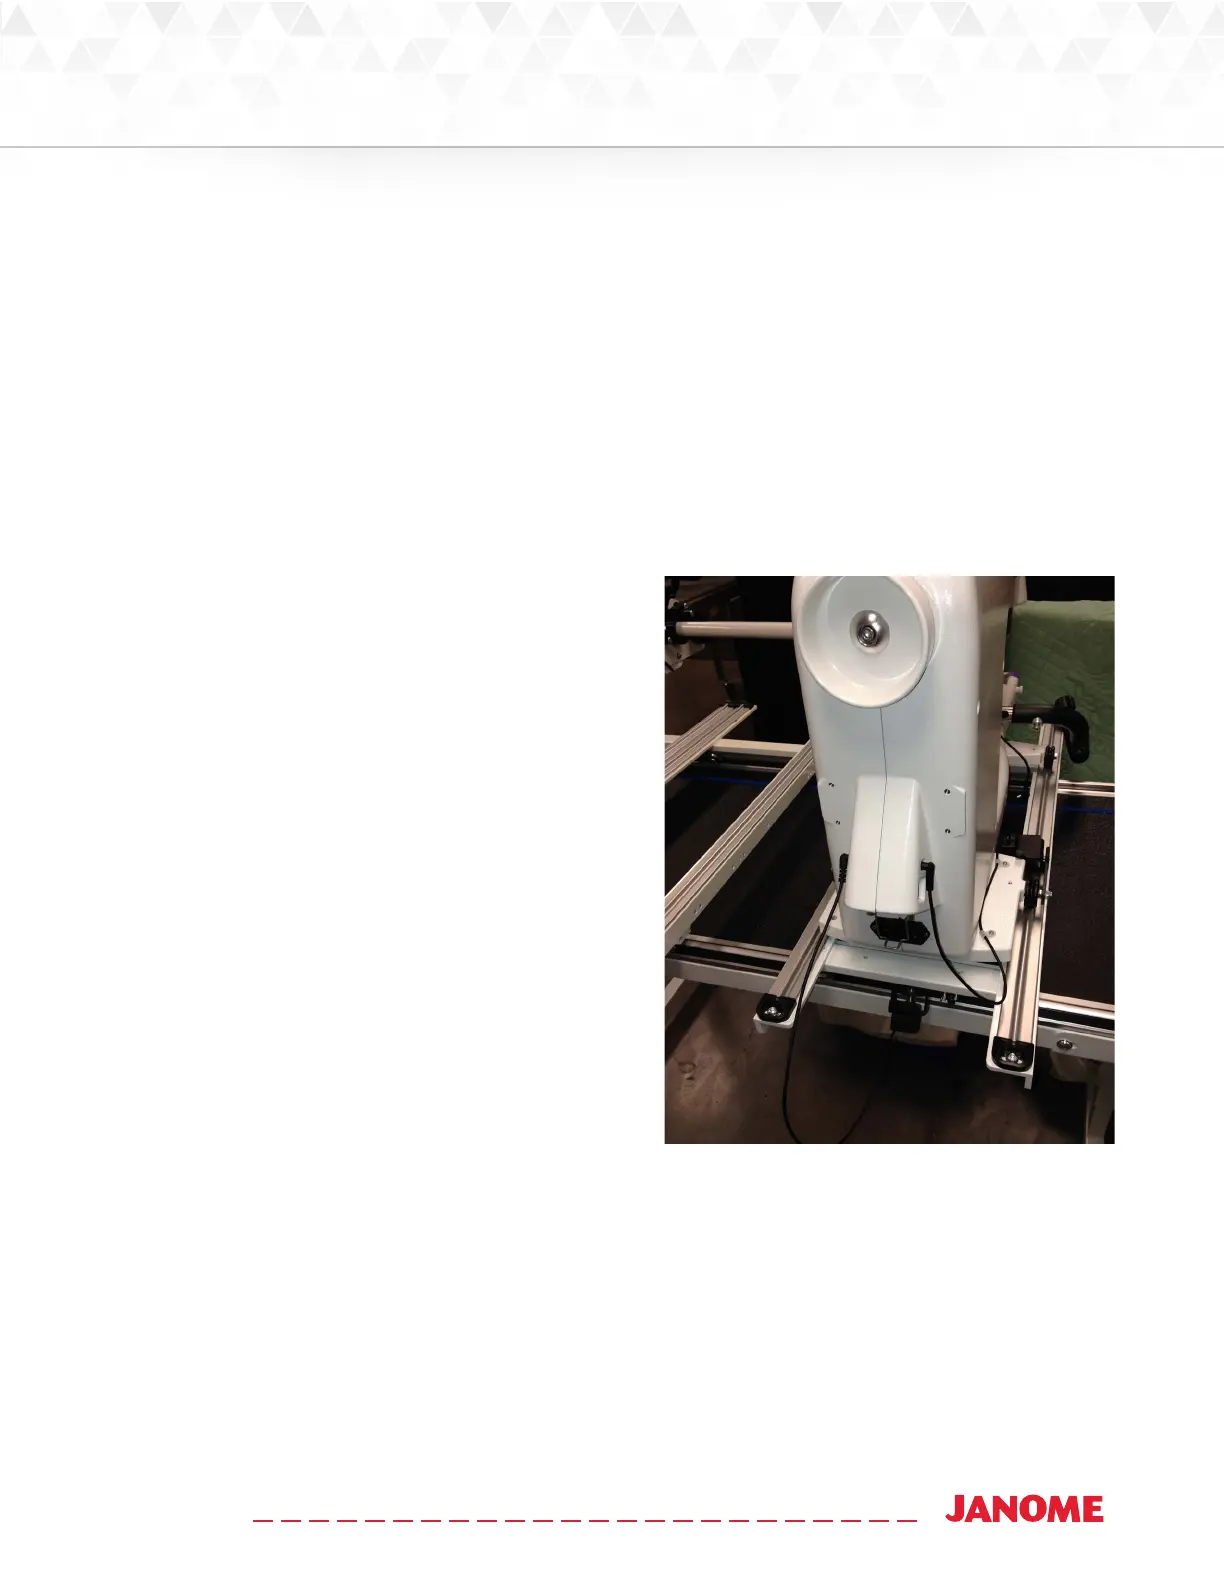
To install the carriage and machine on the frame
1. Place the carriage on the table tracks, ensuring
that the stch regulator faces the back of
the frame.
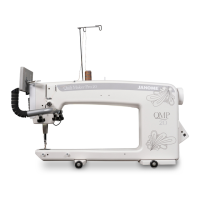
2. Place the machine on the carriage.
U CAUTION: The Janome QMP 20 is heavy.
Never aempt to li it alone. Always use
two people when liing. Always li from
the throat of the machine, not from the
handlebars, needle bar area or needle bar.
3. From the back of the machine, plug the carriage
stch regulator cable into the top round jack on
the le hand side of the machine.
4. Plug the machine stch regulator cable into
the top round jack on the right hand side of
the machine.
 IMPORTANT: If you ever need to remove the machine from the carriage, disconnect the stch
regulator cable from the machine. Failure to unplug the cable when removing the machine from
the carriage could result in damage to the cable, encoders, and carriage.
U CAUTION: Never plug or unplug the stch regulator cables or any other cables while the quilng
machine is turned on, as this could potenally cause electrical damage to the machine.
 Loading...