16 www.janome.com
User Manual QUILT MAKER PRO 20
To disconnect the power cord
• Push in on the red buons on the end of the cord that connects to the machine; then pull
out the cord.
For more informaon, see Power Switch in the Using Your Machine secon of this manual.
NOTE: Make sure that the machine is o before plugging into a power source. The rear power
switch should be in the 0, or o, posion.
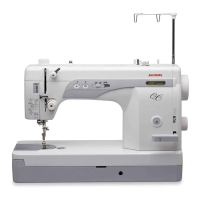
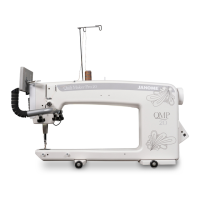
Front Handlebars
The QMP 20 comes with handlebars at the front of the machine. Oponal back handlebars are available
for pantographs and Groovy or paern boards. The front handlebars will be used for most other quilng
acvies. The front handle bars can be independently adjusted. This allows you to have one handle up and
the other down or adjust them to any number of variable posions.
For more informaon about using the touch-screen displays, see Using the Touch-Screen Displays later in
this secon of the manual.
U CAUTION: To prevent any electrical damage to the handlebars, always turn o all power to the
machine when connecng or disconnecng the handlebars.
To install the front handlebars
1. Locate the special cone shaped wedge,
the M6 x 45mm hex screw, and 6mm at washer.
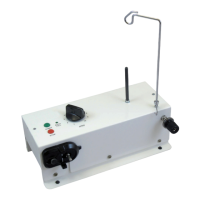
Power Cord
To install the power cord
• Insert the cord into the power connector on the rear of the machine. Plug the three-prong end into
power source. Do not turn on the machine unl the handlebars and display are installed.
 IMPORTANT: Four handlebar knob bolts
are provided for you to use and come pre-
assembled on your handlebar. These enable
you to easily hand-loosen the handlebars to
adjust the angle of the handlebars to switch
between regular quilng and micro quilng.
 Loading...