21www.janome.com
User Manual QUILT MAKER PRO 20
Touch-Screen Displays
The QMP 20 comes with one 7-inch touch-screen front display. If you have purchased the oponal Quilt
from the Back Kit, a second indencal display will be included.
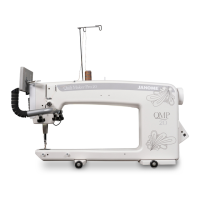
To install the front display
1. For the front display, locate the four 4-40 screws and a small Phillips screwdriver (not provided).
You’ll also need the display with the hinges aached to the boom row of connectors on the
back of the display.
2. Insert the 4-40 screws into the openings on the
display’s metal hinge. Align the screws
in the hinge with the holes on the display
bracket. Use the small Phillips screwdriver to
fully ghten the screws.
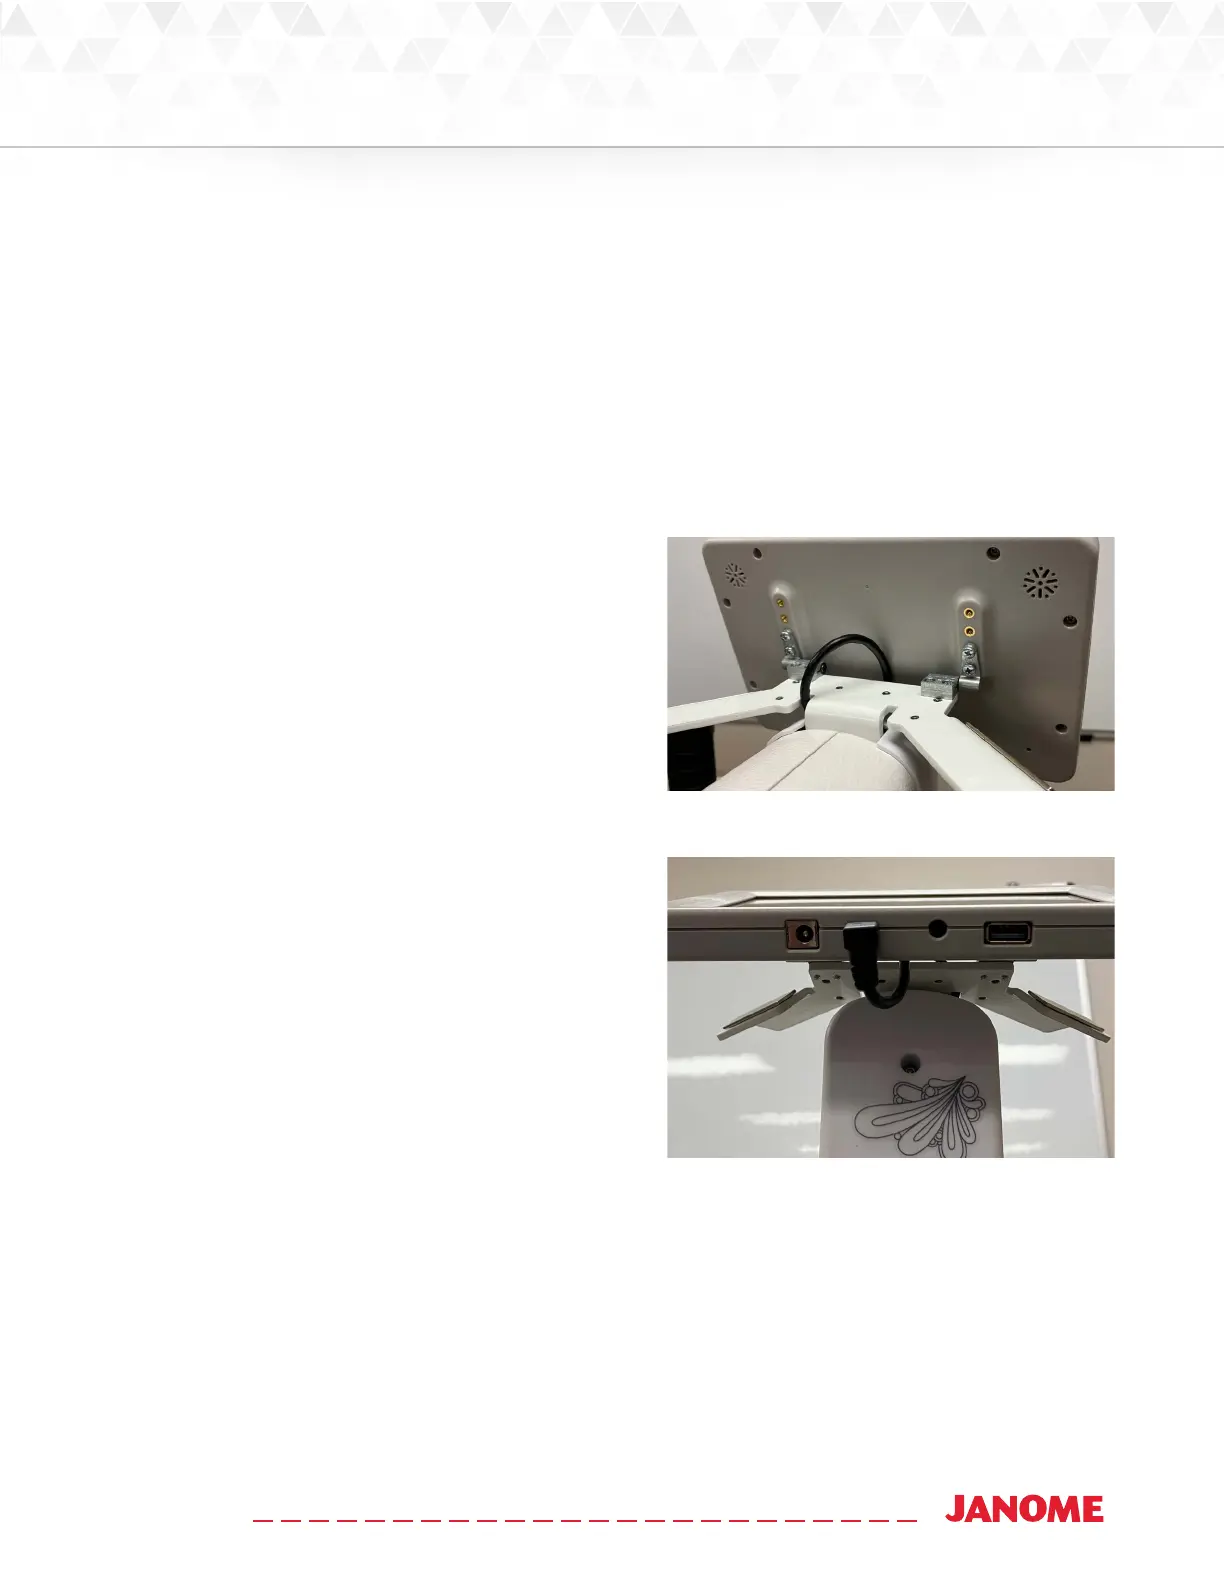
3. Plug the USB mini B cable (with 90° connection),
coming out of the top front cover, into the
boom of the display. This cable provides
power and signal connecon from the
machine to the display. The USB connecon
on the boom right of the display is used for
updang the display and the machine soware.
 IMPORTANT: Note the other connecons
on the boom of the display for power and
audio are not funconal. Also the SD card
slot on the le of the display is not used at
this me.
 IMPORTANT: If you have Pro-Stcher, you will install the Pro-Stcher tablet computer
to the front of the machine instead of the 7-inch display. See the instrucons that come with
Pro-Stcher for more informaon about installing the tablet computer.
 Loading...