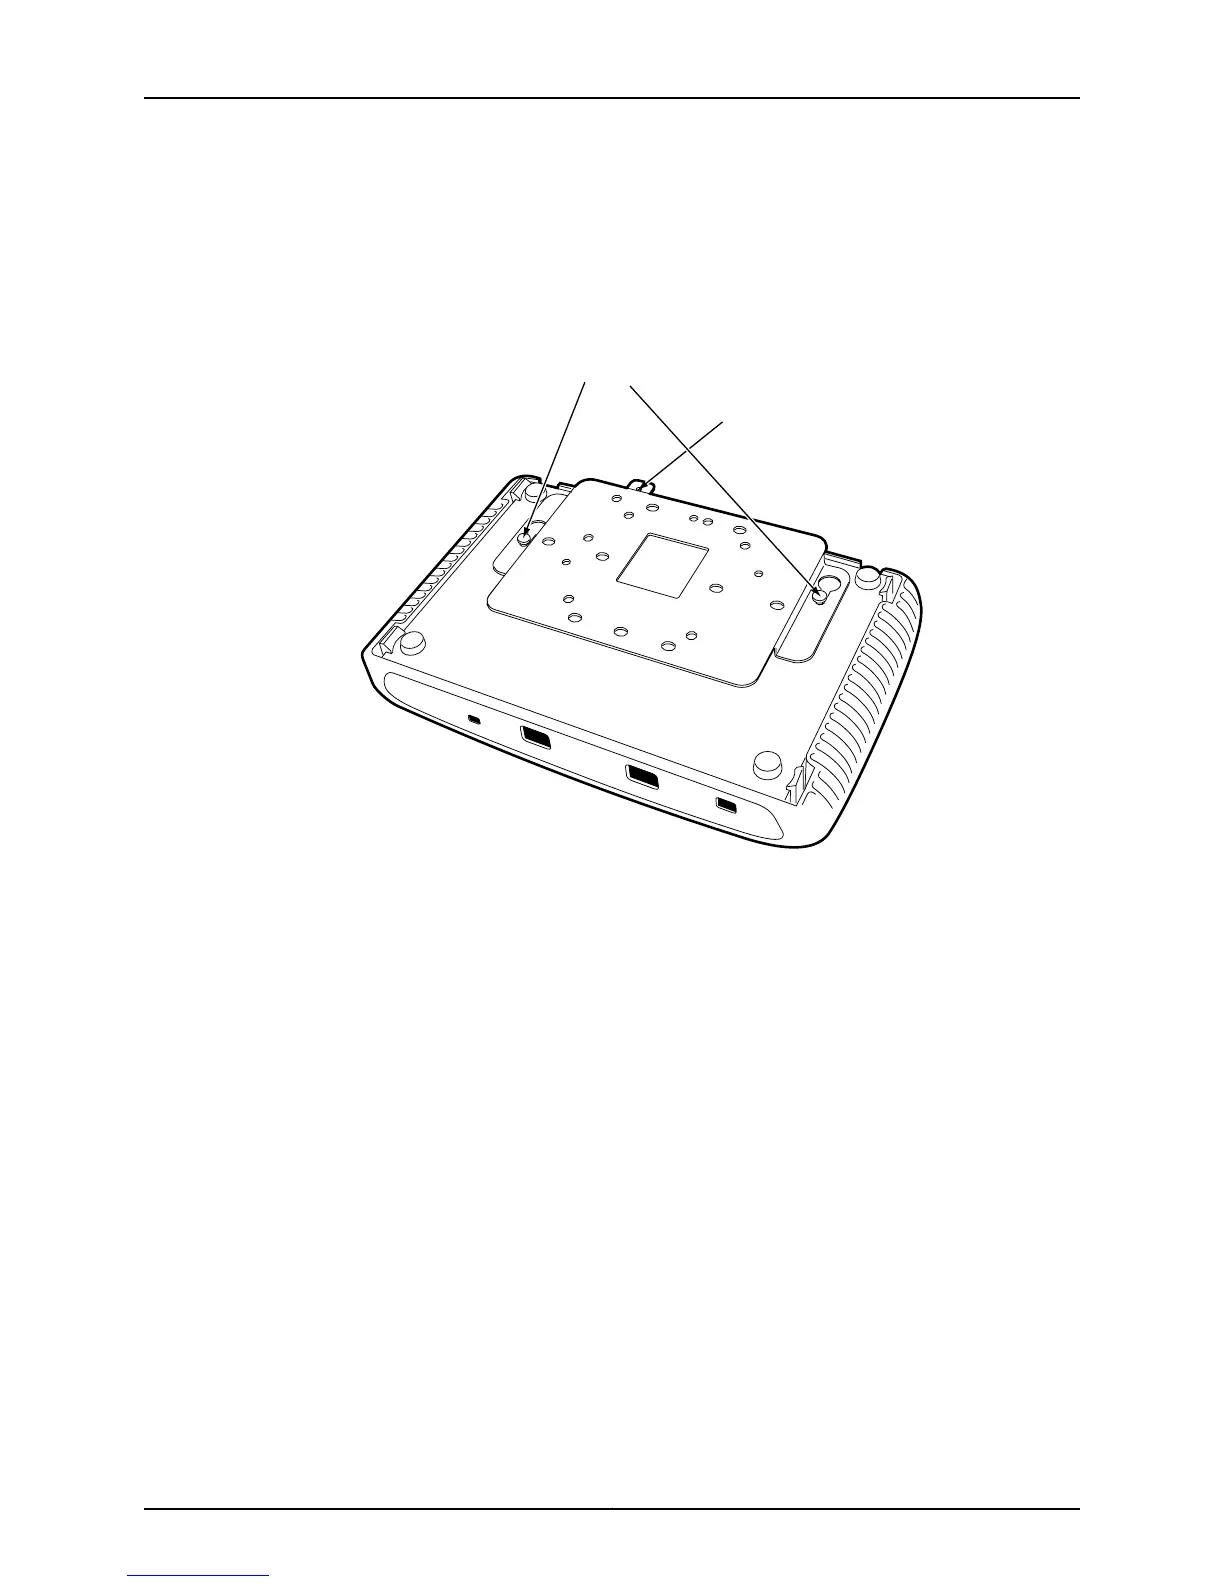
4. Slide the access point so that the pins engage the narrower portions of the keyhole
slots in the mounting bracket.
5. Secure the access point to the mounting bracket by tightening the captive screw on
the rear panel of the access point.
Figure 9: Attaching the Access Point to the Mounting Bracket
Engage pins in slots
Tighten captive screw
(opposite side)
g033105
Connecting External Antennas to the AX411 Access Point
For overhead enclosures with external antennas, use this procedure to connect the
external antennas:
1. If necessary, install the antennas in the enclosure. Refer to the instructions provided
with the antennas and the enclosure.
2. Connect one antenna cable to each antenna connector on the back of the AX411
Access Point and tighten it finger tight. The order and arrangement of the antenna
connections do not matter.
3. Arrange the antenna cables within the enclosure so that they do not interfere with
the opening or closing of the enclosure door. If necessary, use cable ties to bundle the
antenna cables neatly.
27Copyright © 2012, Juniper Networks, Inc.
Chapter 5: Installing the AX411 Access Point
 Loading...