bizhub PRO C5501 6-39
Machine administrator setting
6
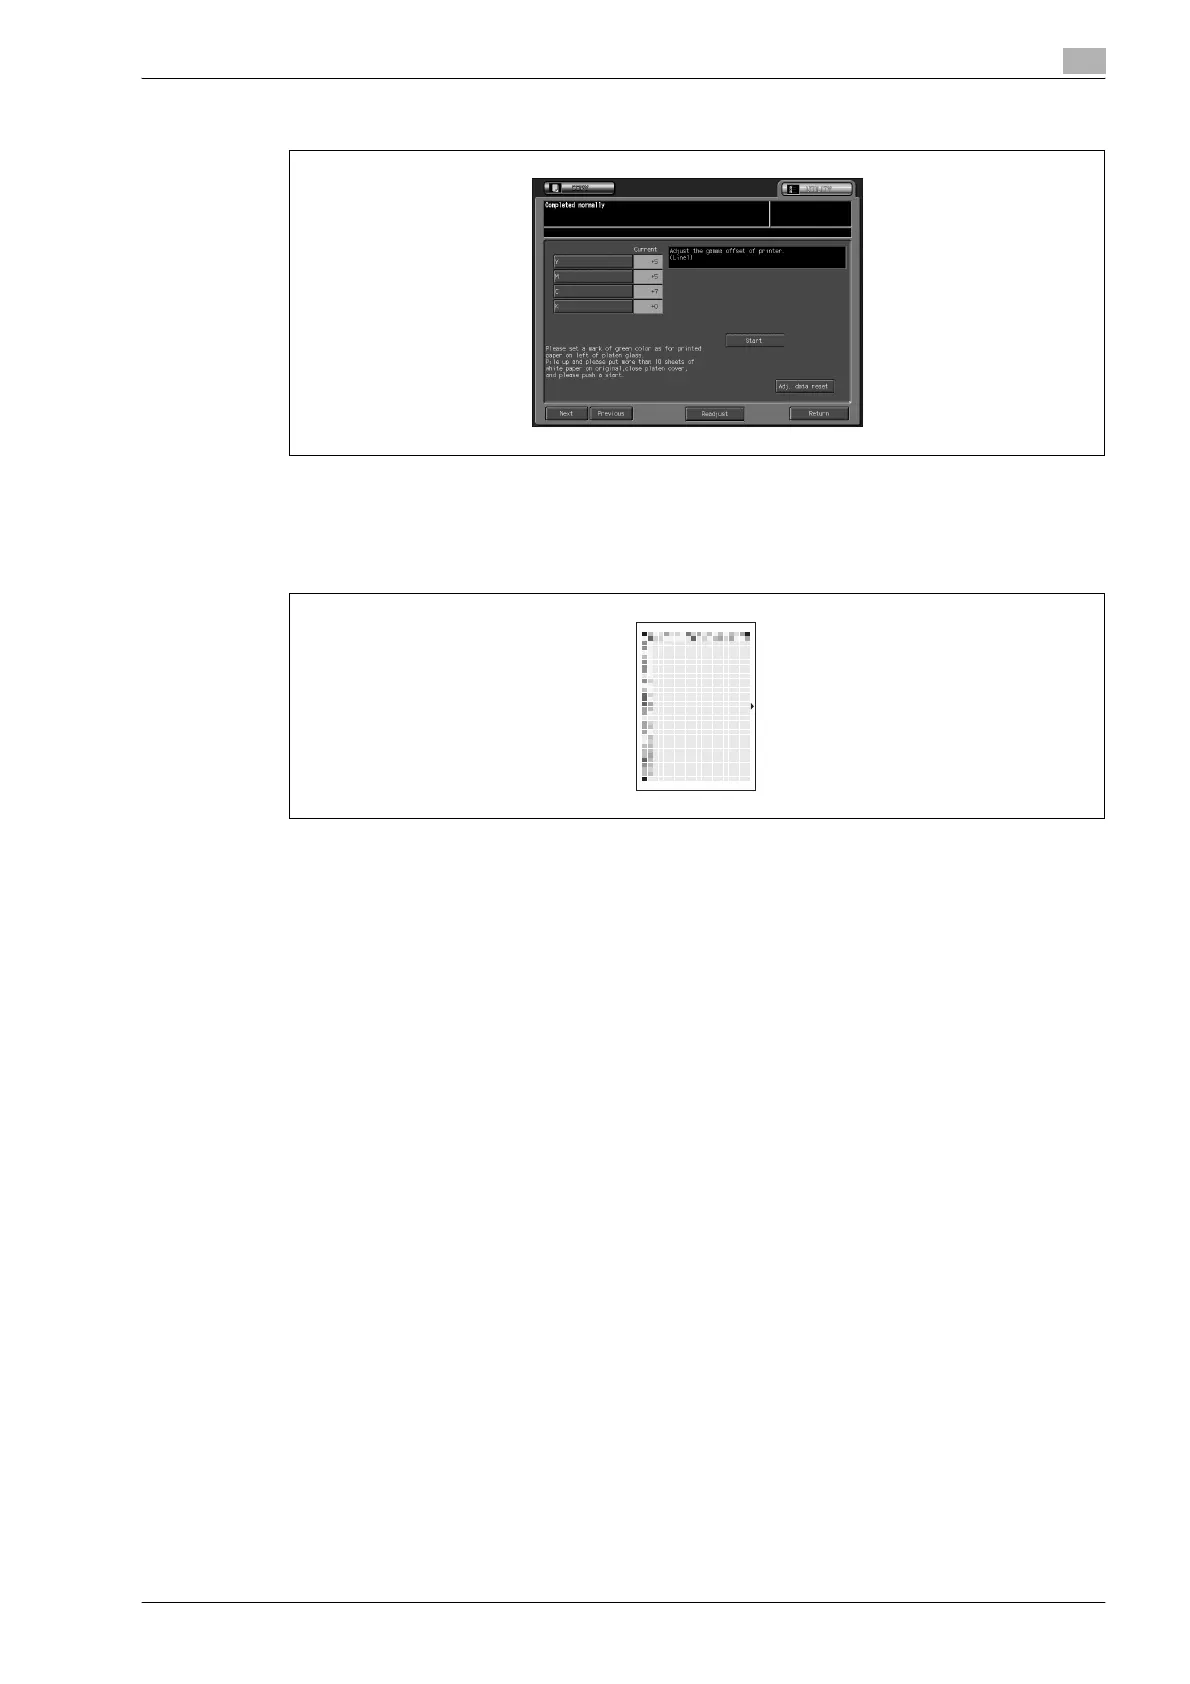
5 Touch [Next] or [Previous] to display the relevant screen on which you want to make adjustments.
6 Place the test cart on the original glass.
– Place the test chart face down on the original glass with green arrow pointing at the left side as
shown below, and put about 10 sheets of blank copy paper on top of the chart.
Close the ADF/original cover.
7 Touch [Start] on the screen. The machine starts the adjustment automatically.
The message "Completed" will be displayed.
If an error code (Error 1, 2, or 10) is displayed, check that the test chart is placed properly.
If any other error code is displayed, please contact your service representative.
8 If you want to make readjustments, press [Readjust] to display the popup menu to confirm whether to
readjust or not.
9 Repeat the adjustment steps from 3 to 8 until the desired result is obtained.
– Touching [Adj. data reset] will display the Reset Confirmation popup menu. Touch [YES] to reset the
adjustment value to the factory setting, or touch [NO] to cancel.
10 Touch [Return] to restore the Quality Adjustment Menu Screen.
11 If further changes are required, touch the desired key.

 Loading...