Chapter 5 Disassembly and Assembly
5-66
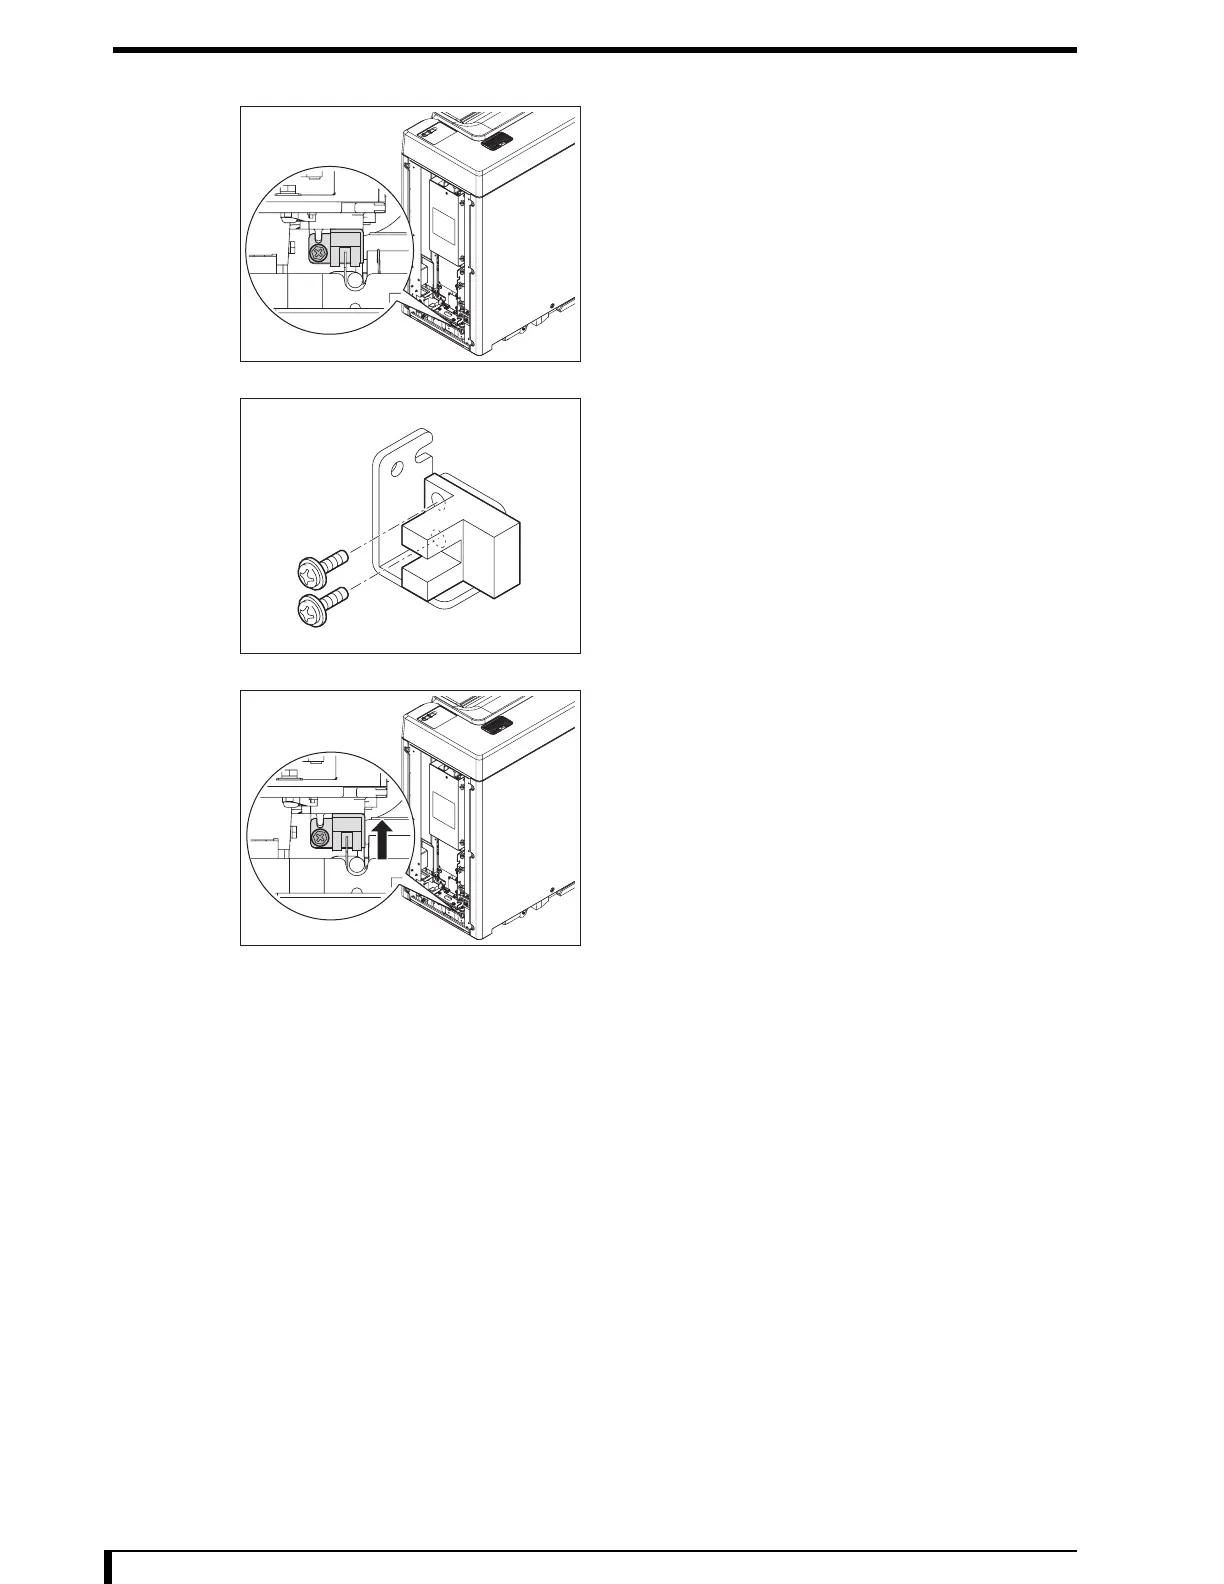
5 Remove the photo sensor unit assembly.
•
1 screw (M3 x 10)
6 Remove the subscan HP sensor.
•
2 screws (M3 x 6)
7 Install the new subscan HP sensor on the sensor
spacer.
•
2 screws (M3 x 6)
8 Install the photo sensor unit assembly.
•
1 screw (M3 x 10)
Press the photo sensor unit assembly upward to fix it
so that the setscrew on the subscan HP sensor is led
into the screw relief hole in the holding plate.
9 Connect the subscan HP sensor cable that was
unplugged in Step 3 to LMC.
•
CN5 (ACN5: subscan HP sensor cable)
10 See Step 4 to fix the cable using the wiring band.
11 See " Installation Procedures (Page 5-8)" in "5.2.3 Removing/Installing the Exterior Panel
and Insertion Unit" to install the second front back panel.
Now, you have finished with the procedures to replace the subscan HP sensor.
Second Front Back Side
Second Front Back Side

 Loading...