Chapter 6 Adjustment
6-3
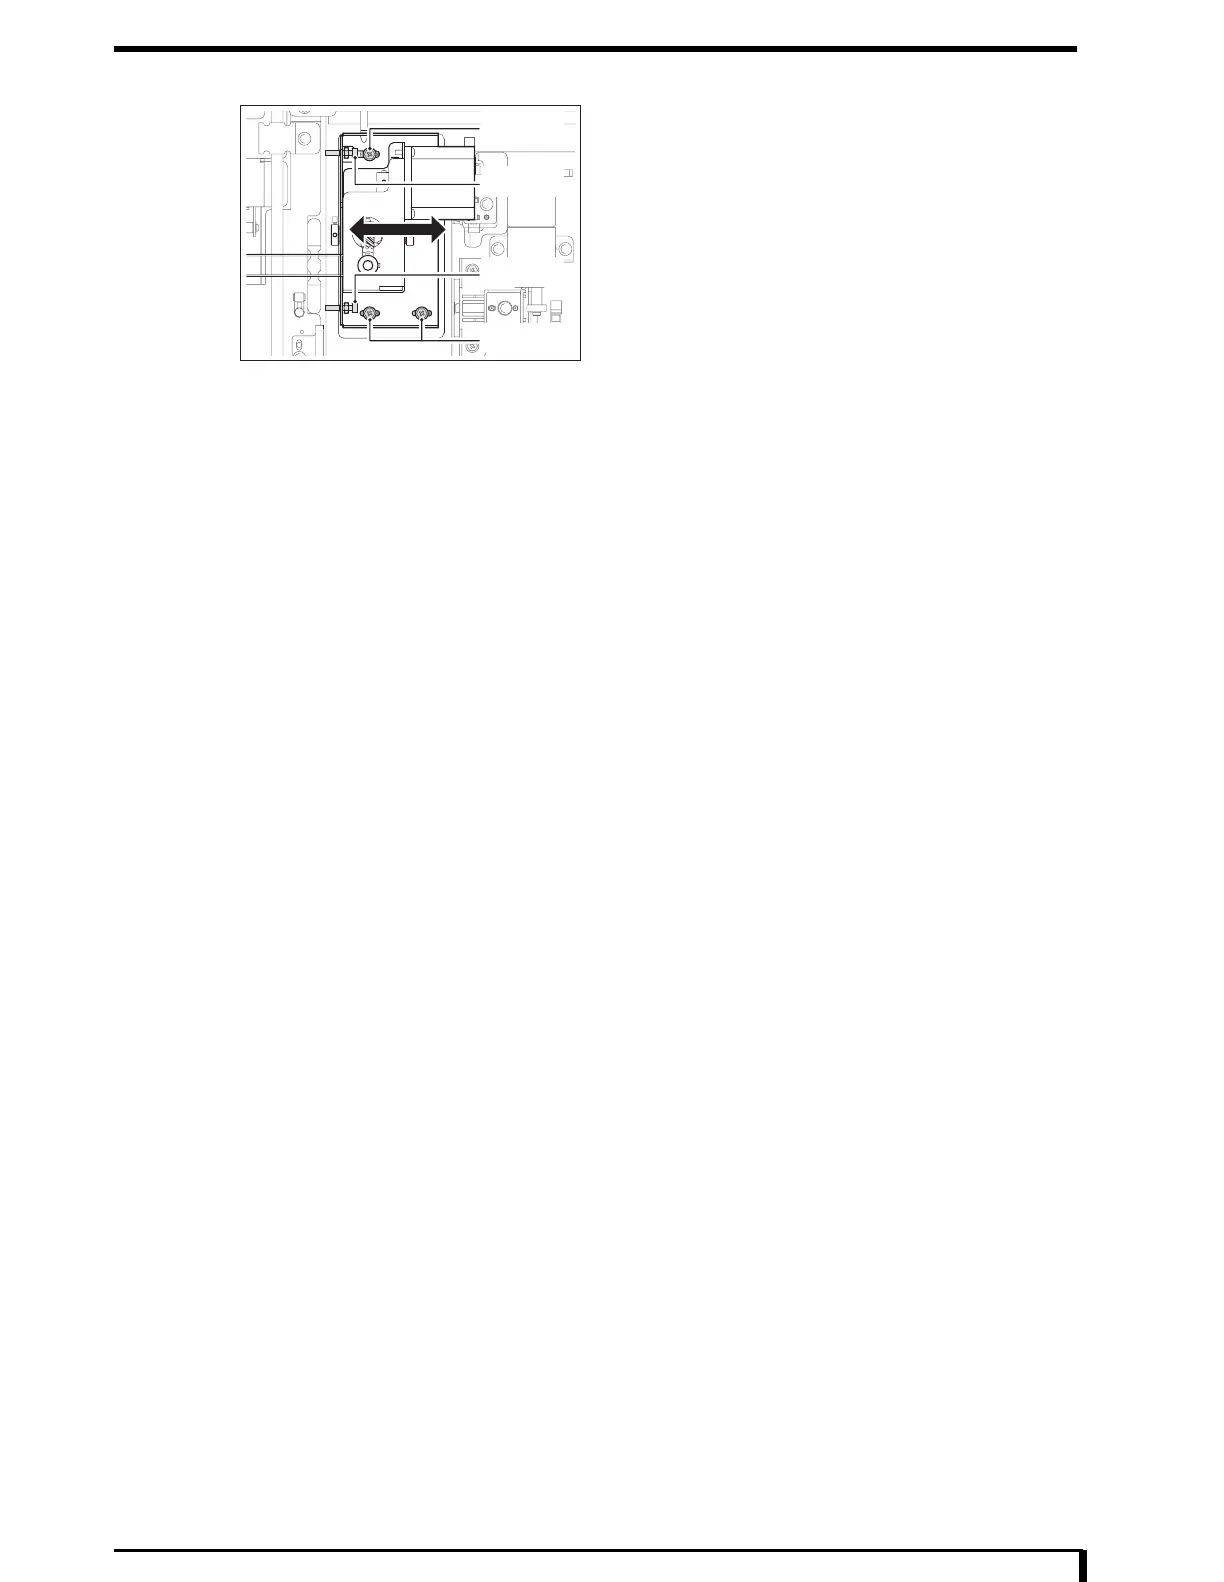
3 Loosen the fixing screws on the justifier motor
unit assembly.
•
3 hex/Phillips-head screws (M4 x 8)
4 Adjust by turning the adjustment screw so the
tension is within the specified value.
•
2 hexagon socket head bolts (M4 x 20)
• 1 hexagon nut each
5 Fix the justifier motor unit assembly by tightening
the fixing screws.
•
3 hex/Phillips-head screws (M4 x 8)
6 See " Installation Procedures (Page 5-8)" in "5.2.3 Removing/Installing the Exterior Panel
and Insertion Unit" to install the first front panel.
Setscrew
Setscrew
Adjustable Screw
Adjustable Screw

 Loading...