Chapter 6 Adjustment
6-7
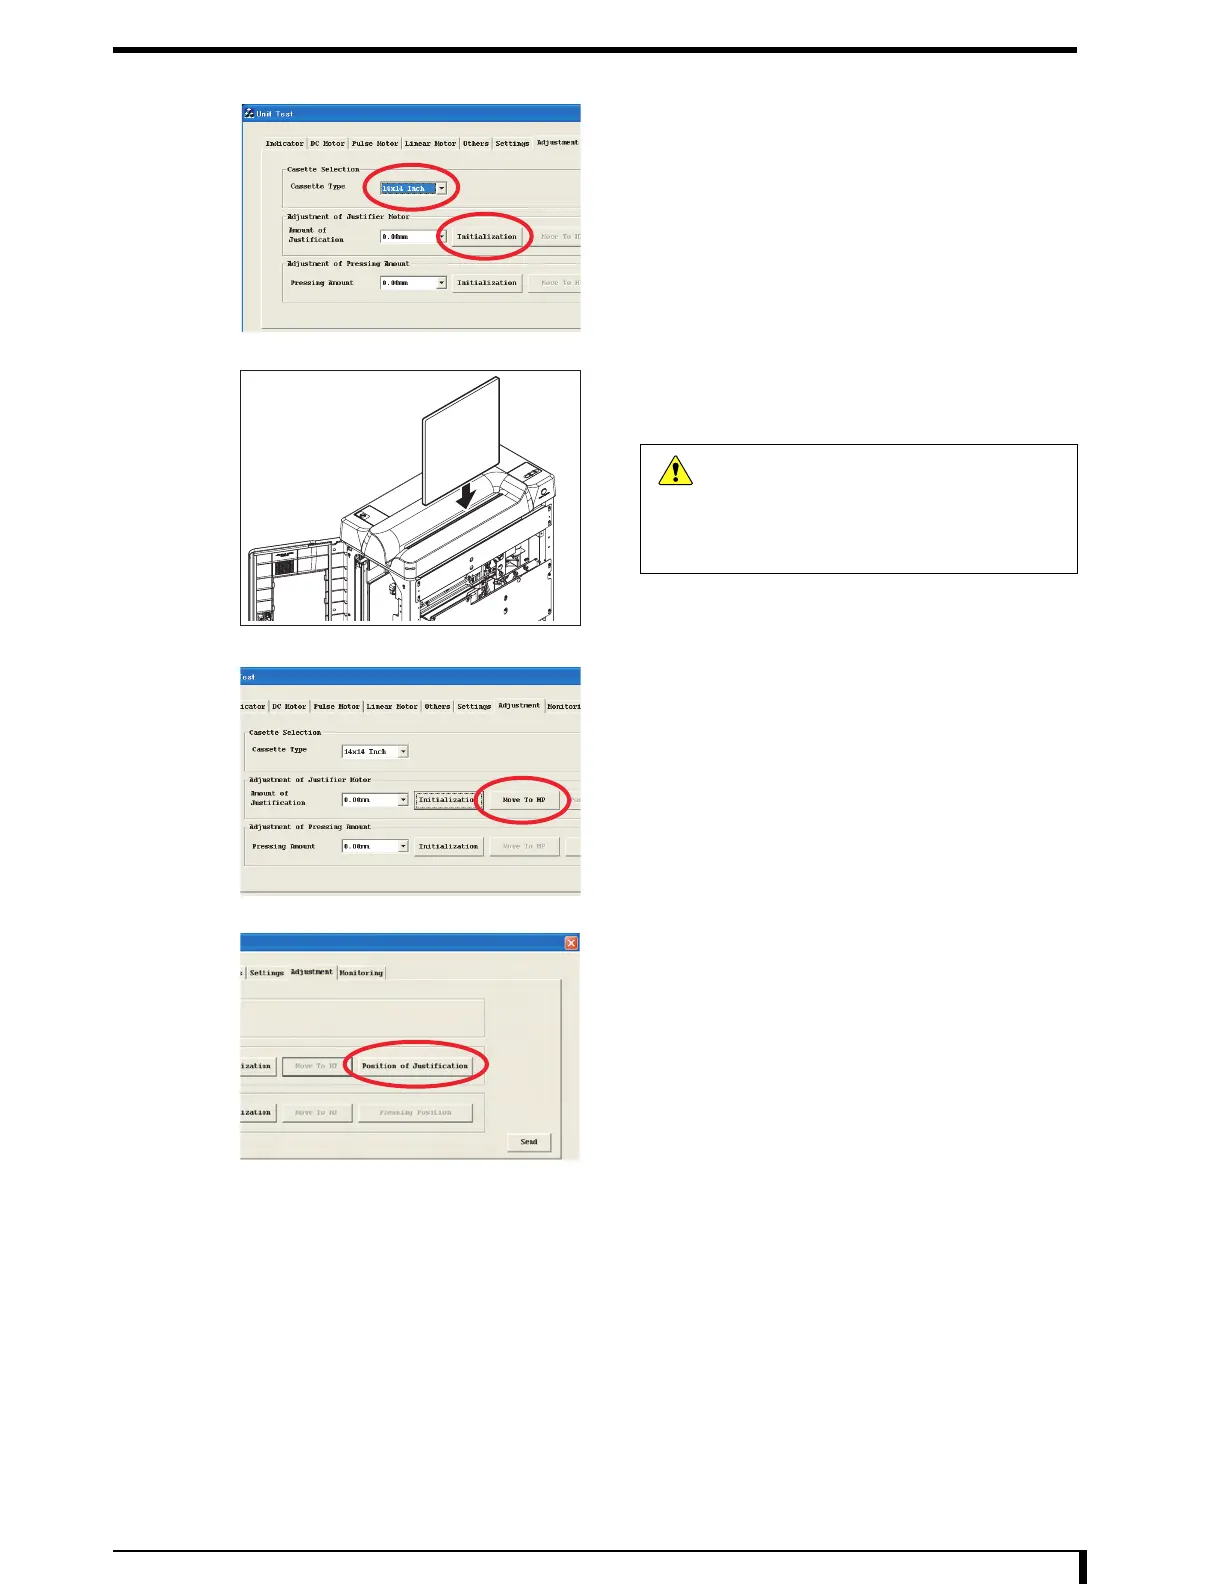
5 Select "14 x 14 inch" for the "Cassette Type".
6 Click the [Initialization] button for the [Adjustment
of Justifier Motor].
Initialization process will be performed, and will wait for
the cassette to be inserted. The message,
"Uploading..." will continue to be displayed.
7 Set the standard cassette (14 x 14 inches) into
the insertion slot.
Shutter will open and the cassette will be loaded.
8 Click the [Move To HP] button.
9 Click the [Position of Justification] button.
The standard cassette is fixed by the justifier guide.
Caution
Do not do anything that is not described
until you take out the cassette in Step 13.
Equipment may be damaged by the drive
unit and cassette contacting each other
when wrong operation is performed.

 Loading...