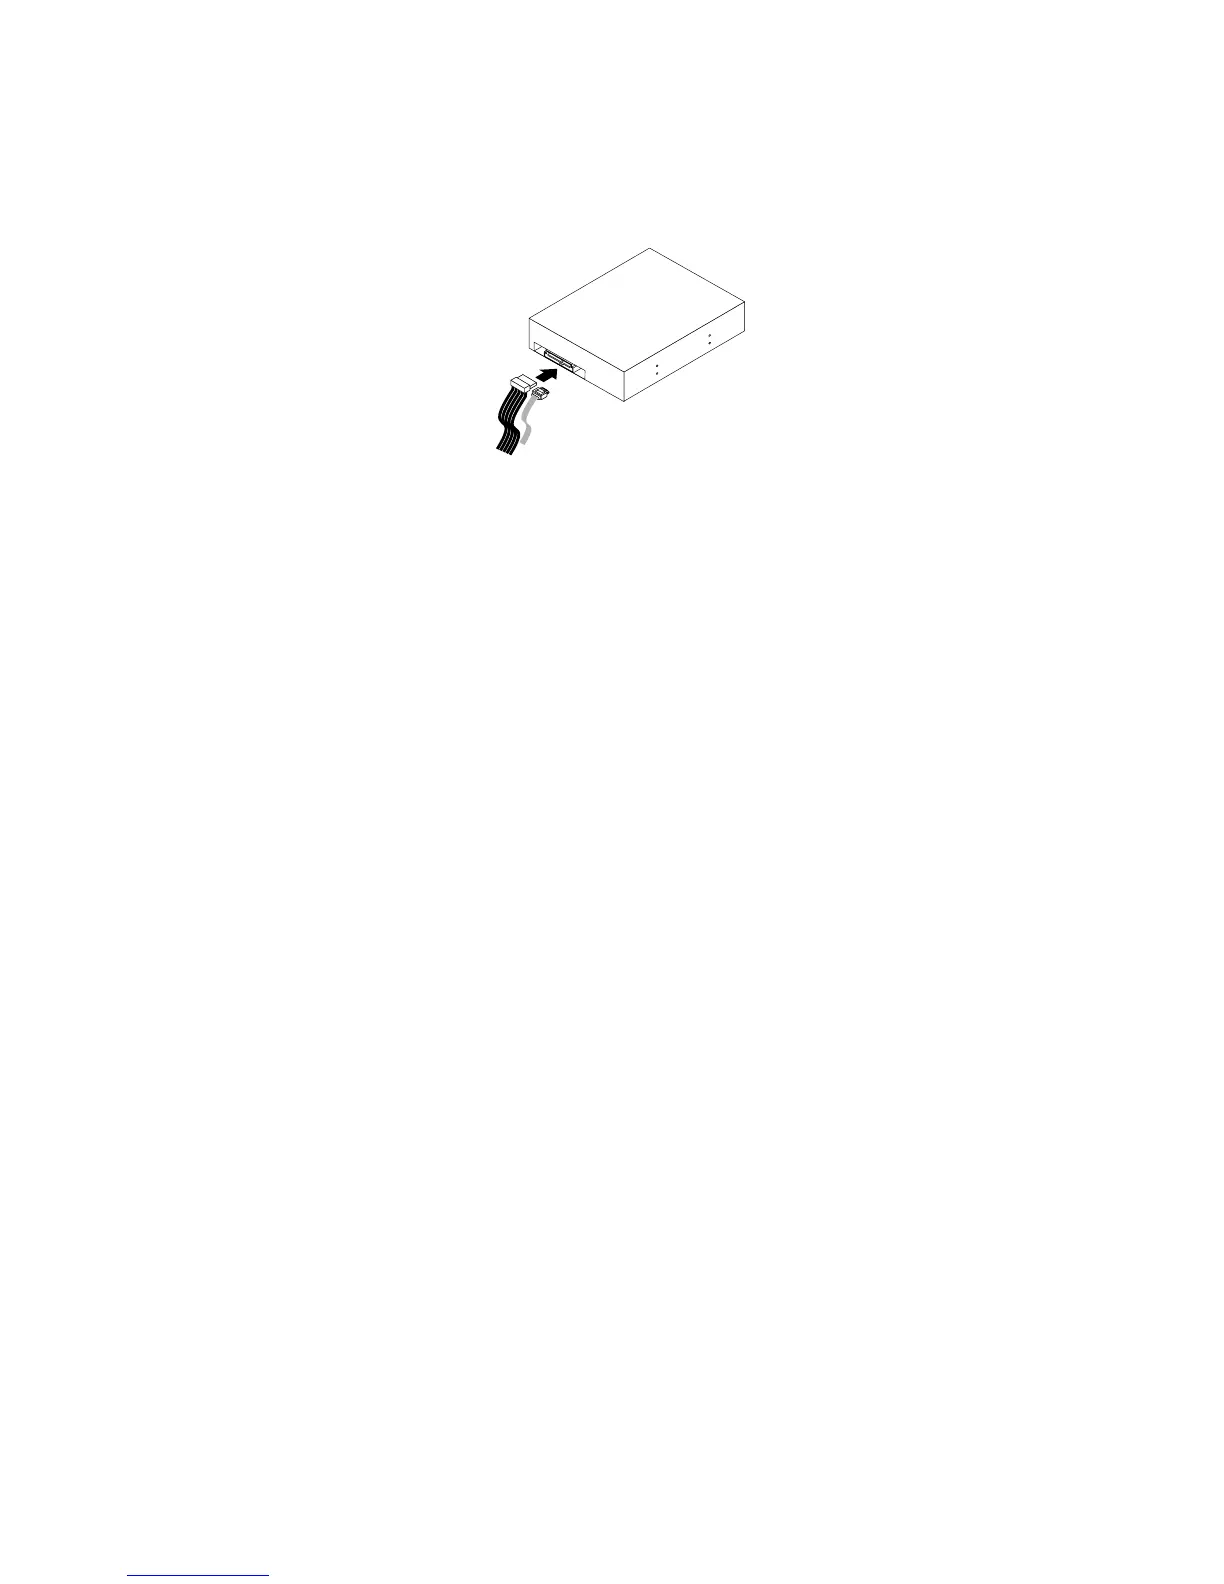
6.Connectoneendofthesignalcabletotherearofthenewopticaldriveandtheotherendtoanavailable
SATAconnectoronthesystemboard.See“Locatingpartsonthesystemboard”onpage73.Then,
locateanavailablefour-wirepowerconnectorandconnectittotherearofthenewopticaldrive.
Figure28.ConnectingaSATAopticaldrive
7.Reinstallthefrontbezel.See“Removingandreinstallingthefrontbezel”onpage90.
Whattodonext:
•Toworkwithanotherpieceofhardware,gototheappropriatesection.
•Tocompletetheinstallationorreplacement,goto“Completingthepartsreplacement”onpage131
.
Replacingtheslimcardreader
Attention:Donotopenyourcomputerorattemptanyrepairbeforereadingandunderstandingthe
“Importantsafetyinformation”onpage1.
Thissectionprovidesinstructionsonhowtoreplacetheslimcardreader.
Note:Theslimcardreaderisonlyavailableinsomemodels.
1.Removeallmediafromthedrivesandturnoffallattacheddevicesandthecomputer.Then,disconnect
allpowercordsfromelectricaloutletsanddisconnectallcablesthatareconnectedtothecomputer.
2.Removethecomputercover.See“Removingthecomputercover”onpage90.
3.Removethefrontbezel.See“Removingandreinstallingthefrontbezel”onpage90.
4.Recordthecableroutingoftheinstalledslimcardreaderanddisconnectthecableoftheslimcard
readerfromthesystemboard.
5.Removethescrewthatsecurestheslimcardreaderbracketandthenremovethebracketfromthe
chassis.
100ThinkCentreM73HardwareMaintenanceManual
 Loading...