11.Installthenewsystemboardintothechassisbyaligningthesixscrewholesinthenewsystem
boardwiththecorrespondingmountingstudsonthechassis.Then,installthesixscrewstosecure
thesystemboard.
12.Installtheheatsinkandfanassemblyandconnecttheheat-sink-and-fan-assemblycabletothenew
systemboard.See“Replacingtheheatsinkandfanassembly”onpage157.
Note:Ifnecessary,applytheappropriateamountofthermalgreaseonthebottomoftheheatsink
andfanassembly.
13.InstallallmemorymodulesandPCIExpresscardsremovedfromthefailingsystemboardontothenew
systemboard.See“Installingorreplacingamemorymodule”onpage141and“Installingorreplacinga
PCIExpresscard”onpage139
.
14.Refertoyourrecordtoconnectcablestothenewsystemboard.Youalsocanreferto“Locating
partsonthesystemboard”onpage80tohelpyoulocatetheconnectorsonthesystemboardand
connectcables.
15.Tocompletethereplacement,goto“Completingthepartsreplacement”onpage183.
Thefailingsystemboardmustbereturnedwithamicroprocessorsocketcovertoprotectthepinsduring
shippingandhandling.
Toinstallthemicroprocessorsocketcover,dothefollowing:
1.Afteryouhaveremovedthemicroprocessorfromthefailingsystemboard,closethemicroprocessor
retainerandthenputthelevertothelockedpositiontosecuretheretainerinplace.
2.Notetheorientationofthesocketcover,andinstallonesideofthesocketcoverontothemicroprocessor
socket.Carefullypresstheothersideofthesocketcoverdownwarduntilthesocketcoversnaps
intoposition.
Note:Yourmicroprocessorsocketandcovermightlookslightlydifferentfromtheillustration.
Figure113.Installingthesocketcoverontothemicroprocessorsocket
3.Carefullycheckthefourcornersofthesocketcovertoensurethatthecoverisseatedsecurely.
4.Followanyadditionalinstructionsincludedwiththereplacementpartyoureceived.
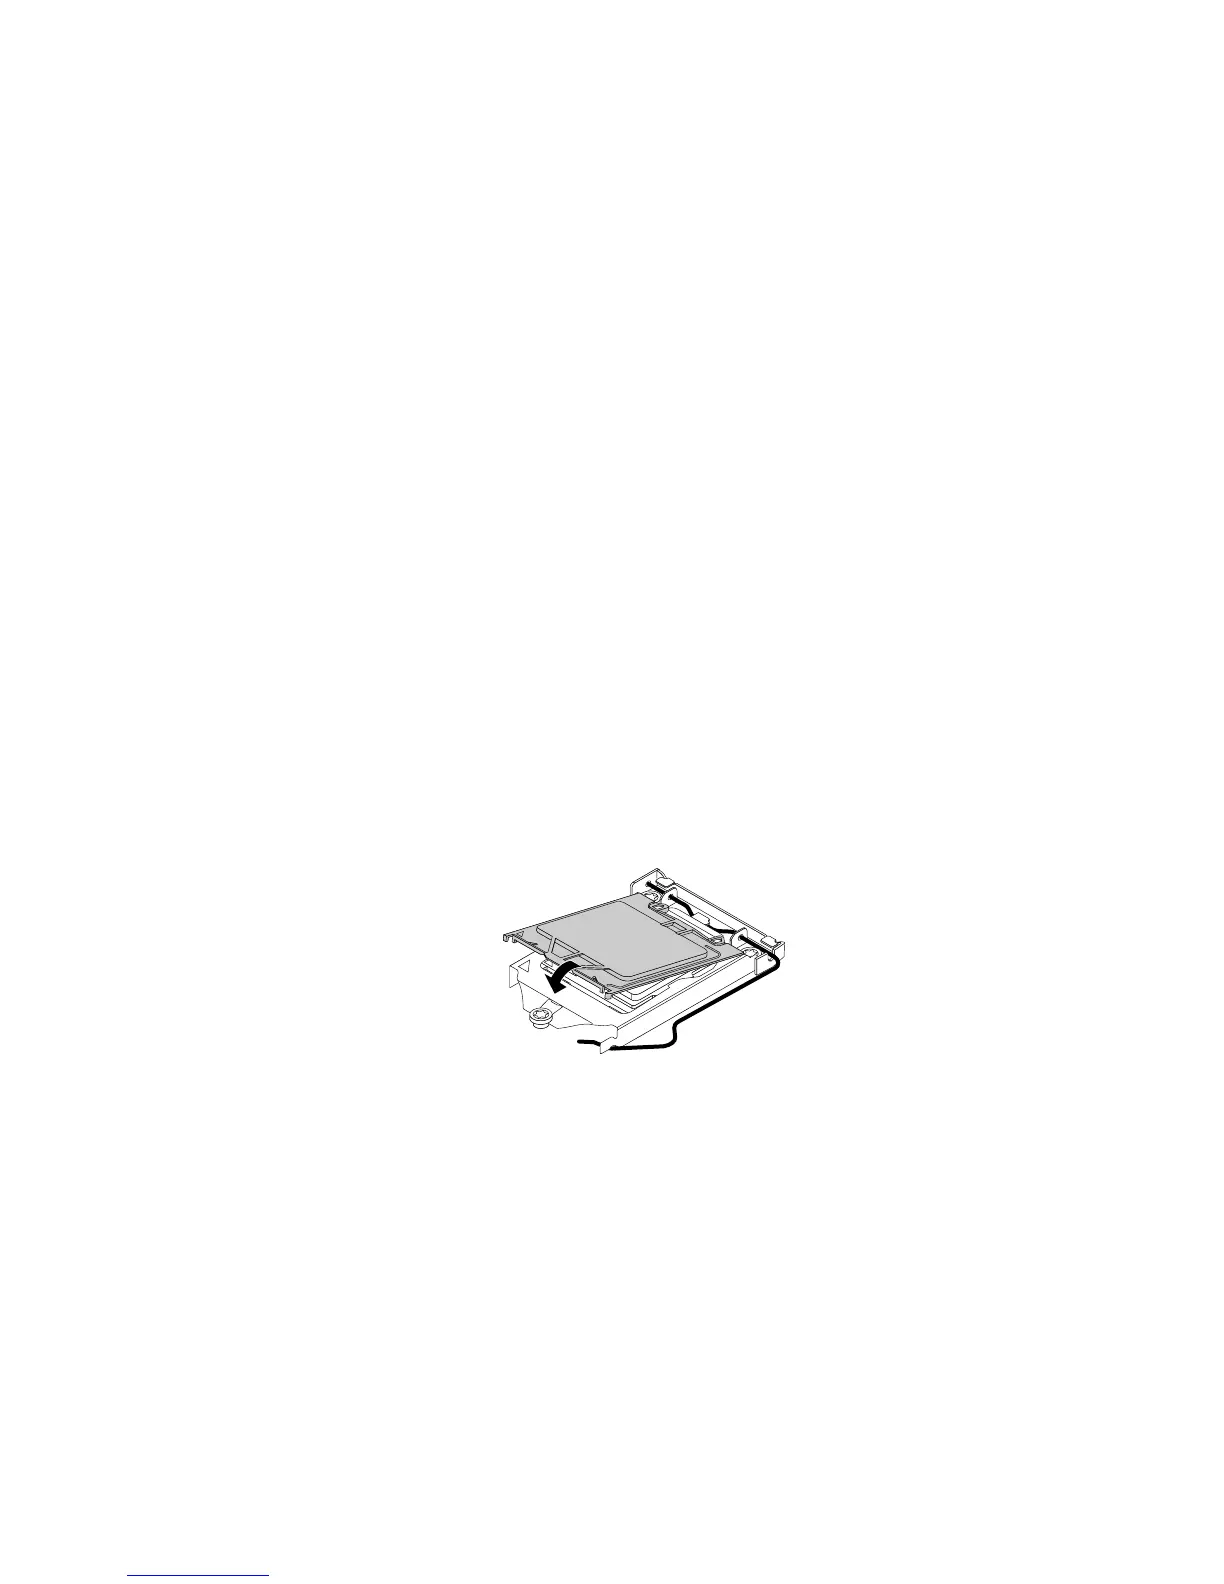
Replacingthefrontfanassembly
Attention:Donotopenyourcomputerorattemptanyrepairbeforereadingandunderstandingthe
“Importantsafetyinformation”onpage1
.
Thissectionprovidesinstructionsonhowtoreplacethefrontfanassembly.
Toreplacethefrontfanassembly,dothefollowing:
1.Removeallmediafromthedrivesandturnoffallattacheddevicesandthecomputer.Then,disconnect
allpowercordsfromelectricaloutletsanddisconnectallcablesthatareconnectedtothecomputer.
Chapter10.ReplacingFRUs(machinetypes:10B4,10B5,10B6,10B7,10HL,and10HM)167
 Loading...