Grove Published 01-29-2015, Control # 512-01 4-31
TMS700E SERVICE MANUAL BOOM
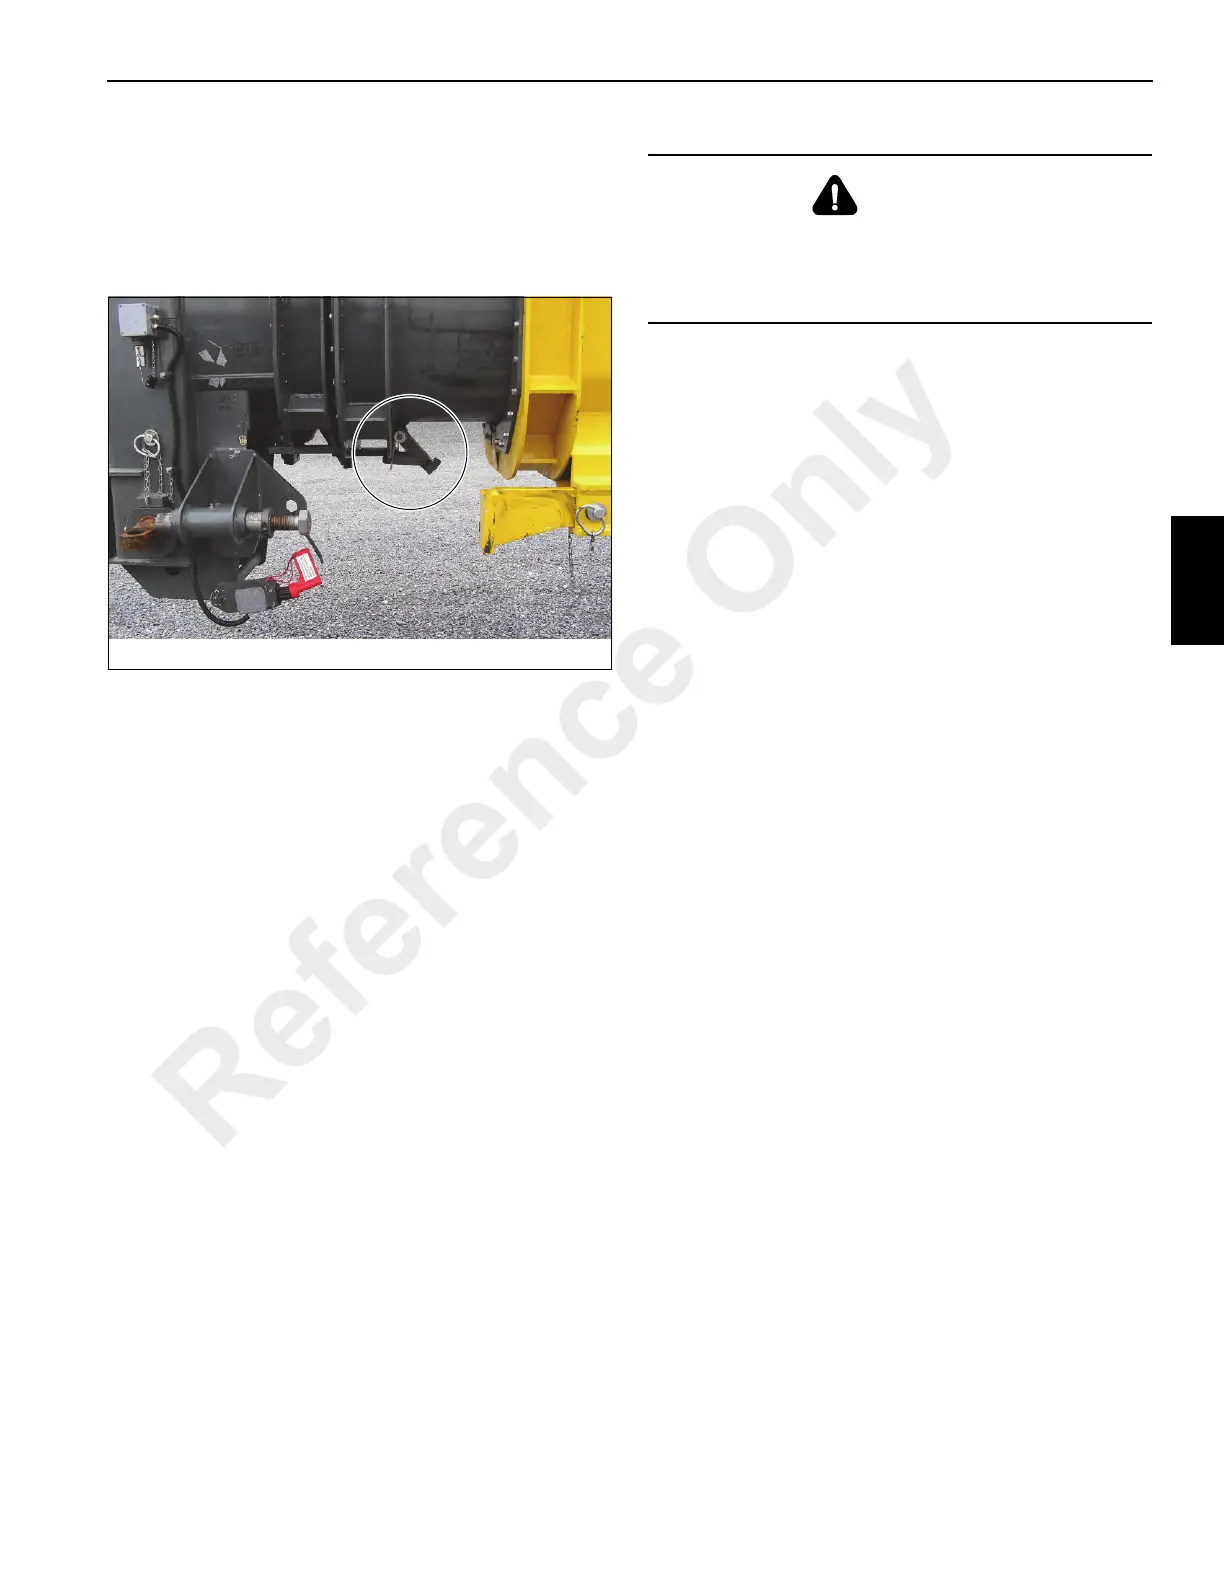
13. Pull down on the handle to disengage the spring loaded
boom extension stop block. Place the end of the handle
in the retainer plate. Fully retract the boom.
NOTE: When the boom retracts, the handle will be
released allowing the stop block to engage when
the boom is extended.
14. Ensure that all the stowage lugs on the base and
Section 4 are fully engaged with the pins on the stowage
brackets.
15. Insert lock hitch pin. Install the pin securing the
swingaway base to the front stowage bracket (see detail
A). Ensure the lock hitch pin is pushed all the way in.
16. Install the pin attaching the Stinger to the boom Section
1 stowage bracket (see Detail D).
NOTE: If the swingaway Stinger remained on the boom
stowage brackets, perform steps 17 thru 20.
17. Remove retainer clip and attach pin from the bushing on
Section 1.
18. Insert the attach pin into Section 1 to Stinger attach
fittings and install the retainer pin.
19. Ensure the spring loaded latch hook is engaged on
Stinger sheave end (see Detail E).
20. Ensure the pin attaching Stinger to the boom Section 1
stowage bracket (see Detail D) is in place.
21. Remove the retainer clips and attach pins from the
anchor and attach fittings on the right side of the boom
nose and stow them in the base of the swingaway.
22. Remove the clip pin and pin securing the boom
extension alignment device. Place the boom extension
alignment device in the stowed position and secure it in
place with the pin and clip pin.
.
23. Extend the boom enough to engage the boom stop
block.
24. Rig the boom nose and hoist cable as desired and
operate the crane using normal operating procedures.
BOOM EXTENSION ALIGNMENT DEVICE
ADJUSTMENT
1. Ensure the boom extension and retraction cables are
properly adjusted. If necessary, adjust the cables.
2. Fully retract the boom.
3. Following the boom erection procedures, install the pins
into the boom extension lugs on the right side of the
boom nose and secure in place with the clip pins.
4. Following the boom erection procedures, swing the
boom extension around and install the pin in the upper
left boom extension lug and secure in place with the clip
pin.
5. If the pin cannot be installed in step 4 because of lateral
misalignment, adjust the upper cross strut adjustment
screw on the swingaway adapter to align the holes.
6. Extend the boom approximately 15 cm (6 in).
7. Remove the pin securing the push bar assembly in the
stowed position and slide the push bar to the forward
position. Secure the push bar in place with the pin and
clip pin.
8. Retract the boom fully. Adjust the pusher bar, using the
adjustment bolt, until the holes in the lower left lug of the
boom extension align with the boom nose shaft holes.
Install the retaining pin in the swingaway lug and secure
the pin with the clip pin.
9. If the pin cannot be installed in step 8 because of lateral
misalignment, adjust the lower cross strut adjustment
screw on the swingaway adapter to align the holes.
10. Secure the adjustment bolt in place by tightening the
collar clamp.
11. When the boom extension is not in use, the boom
extension alignment device should be placed in the
stowed position.
DANGER
Failure to maintain the proper clearance between the
swingaway anchor fittings and the boom nose attach
fittings could cause these fittings to contact each other
during operation of the boom.
Reference Only

 Loading...


