Before connecting the USB cable of the ticket printer to the Easyphoto terminal, please follow
these steps:
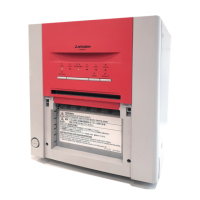
1. Switch your ticket printer off and open the paper cover.
Switch the printer on, keeping the “FEED” button pressed until the LED starts to flash rapidly
(for about 10 seconds).
Close the cover and release the “FEED” button.
One of these LED starts flashing:
Power (yellow-LED)
Error (red-LED)
Push the “FEED” button in order that ERROR LED keeps flashing.
Open the cover and press once the “FEED” button to confirm the change.
The ticket printer LED starts to cycle slowly to confirm that the printer has been modified.
Switch the ticket printer off and on again.
If after doing this, the printer is working but the paper is not being cut, please add the following
steps:
1. Switch off the ticket printer.
2. Open the cover and press FEED button while Power ON
2. Press FEED button approx. 5 sec. and wait for both LED (FEED and ERROR)
blinking by return.
3. Depress FEED then POWER LED ON, and ERROR LED OFF
4. Press FEED then, POWER LED OFF, and ERROR LED ON
5. Close cover then POWER ON blinking and ERROR LED ON
6. Switch OFF

 Loading...