BRAKES
9.7
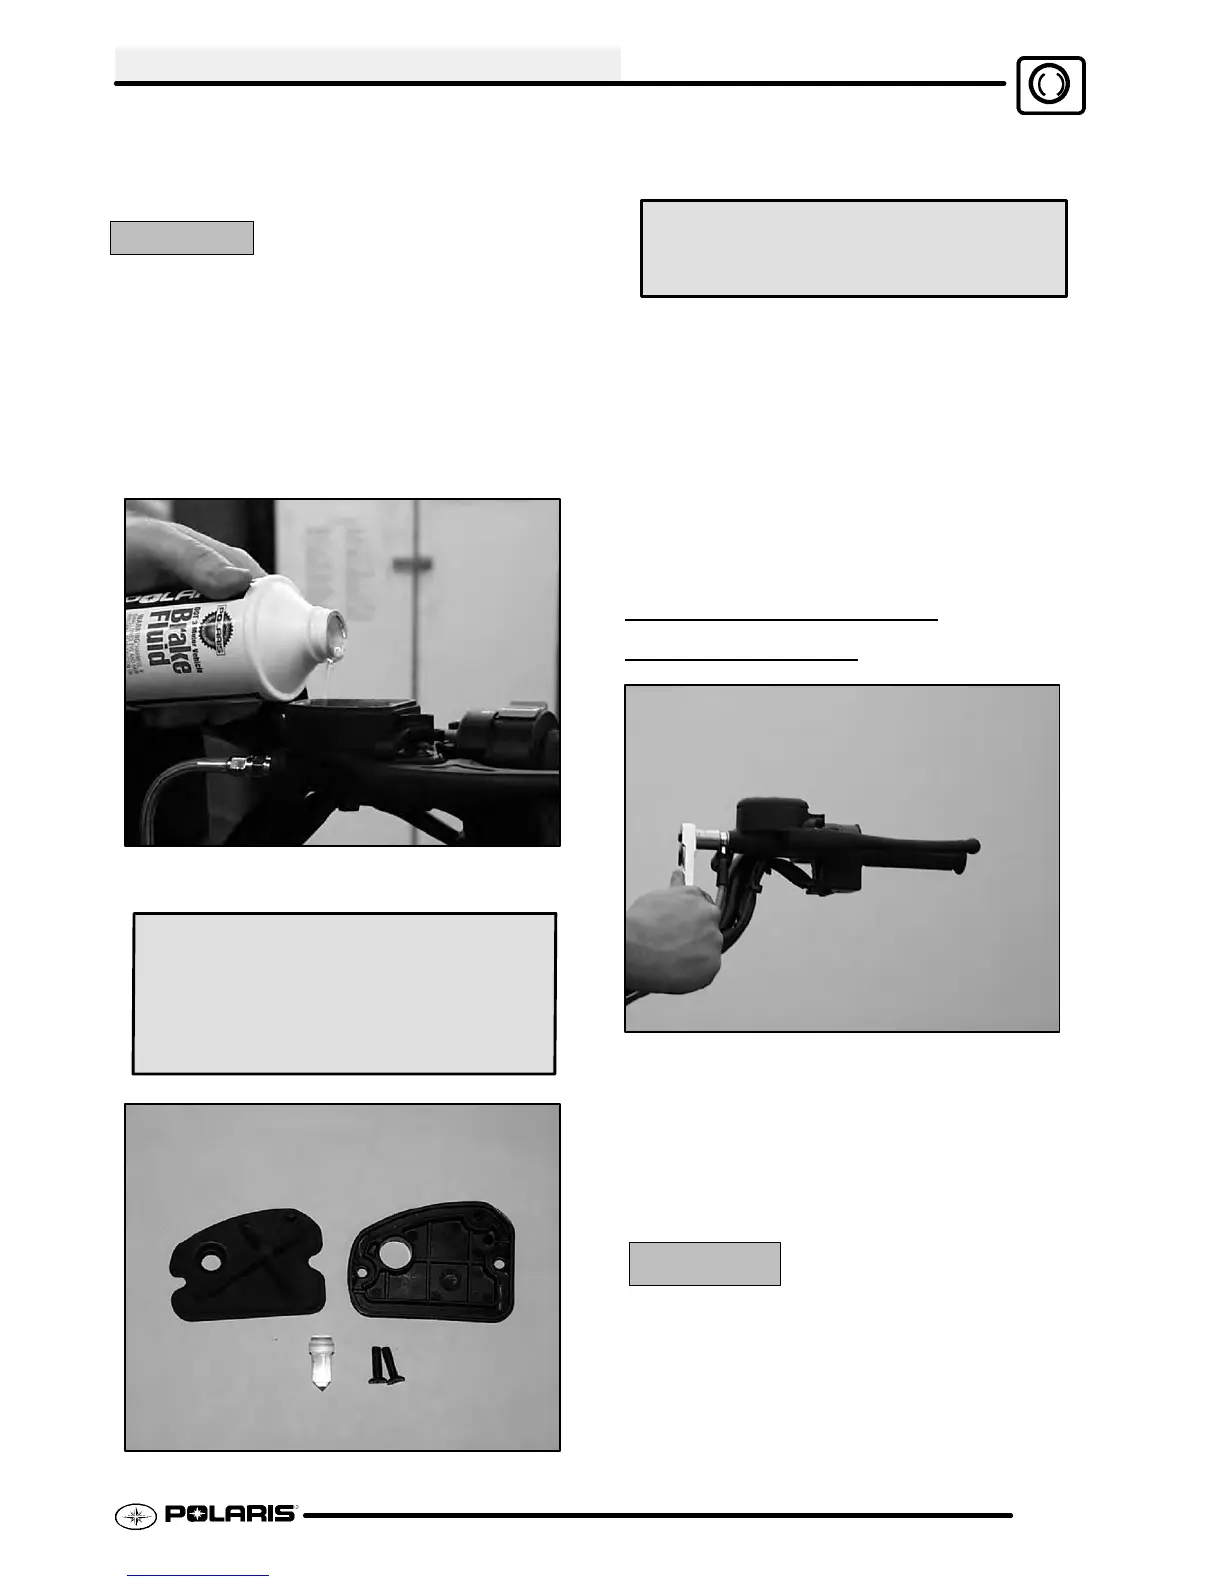
9. Repeat procedure until clean fluid appears in
bleeder hose and all air has been purged. Add
fluid as necessary to maintain level in reservoir .
CAUTION:
Maintain at least 1/2² (1.27 cm) of brake fluid in the
reservoir to prevent air from entering the master
cylinder.
10. Tighten bleeder screw securely and remove
bleeder hose.
11. Repeat procedure Steps 5-9 for the remaining
caliper(s).
12. Add brake fluid to the proper level.
Master Cylinder Fluid Level:
MAX level inside reservoir
Sight glass must look dark, if sight
glass is clear , fluid level is too low
13. Install diaphragm, cover, and screws. Torque the
screws to 5 in.lbs. (0.56 Nm).
Reservoir Cover Torque -
5 in. lbs. (0.56 Nm)
14. Field test machine at low speed before putting
into service. Check for proper braking action and
lever reserve. With lever firmly applied, lever
reserve should be no less than 1/2² (1.3 cm) from
handlebar.
15. Check brake system for fluid leaks and inspect all
hoses and lines for wear or abrasion. Replace
hose if wear or abrasion is found.
MASTER CYLINDER
DISASSEMBL
Y
1. Clean master cylinder and reservoir assembly.
Make sure you have a clean work area to
disassemble brake components.
2. Place a shop towel under brake line connection at
master cylinder. Loosen banjo bolt; remove bolt
and sealing washers.
CAUTION:
Brake fluid will damage finished surfaces. Do not
allow brake fluid to come in contact with finished
surfaces.
 Loading...