Getting Started
QL-800 User Guide 9
Installing the Printer Driver
Installing the Printer Driver (USB)
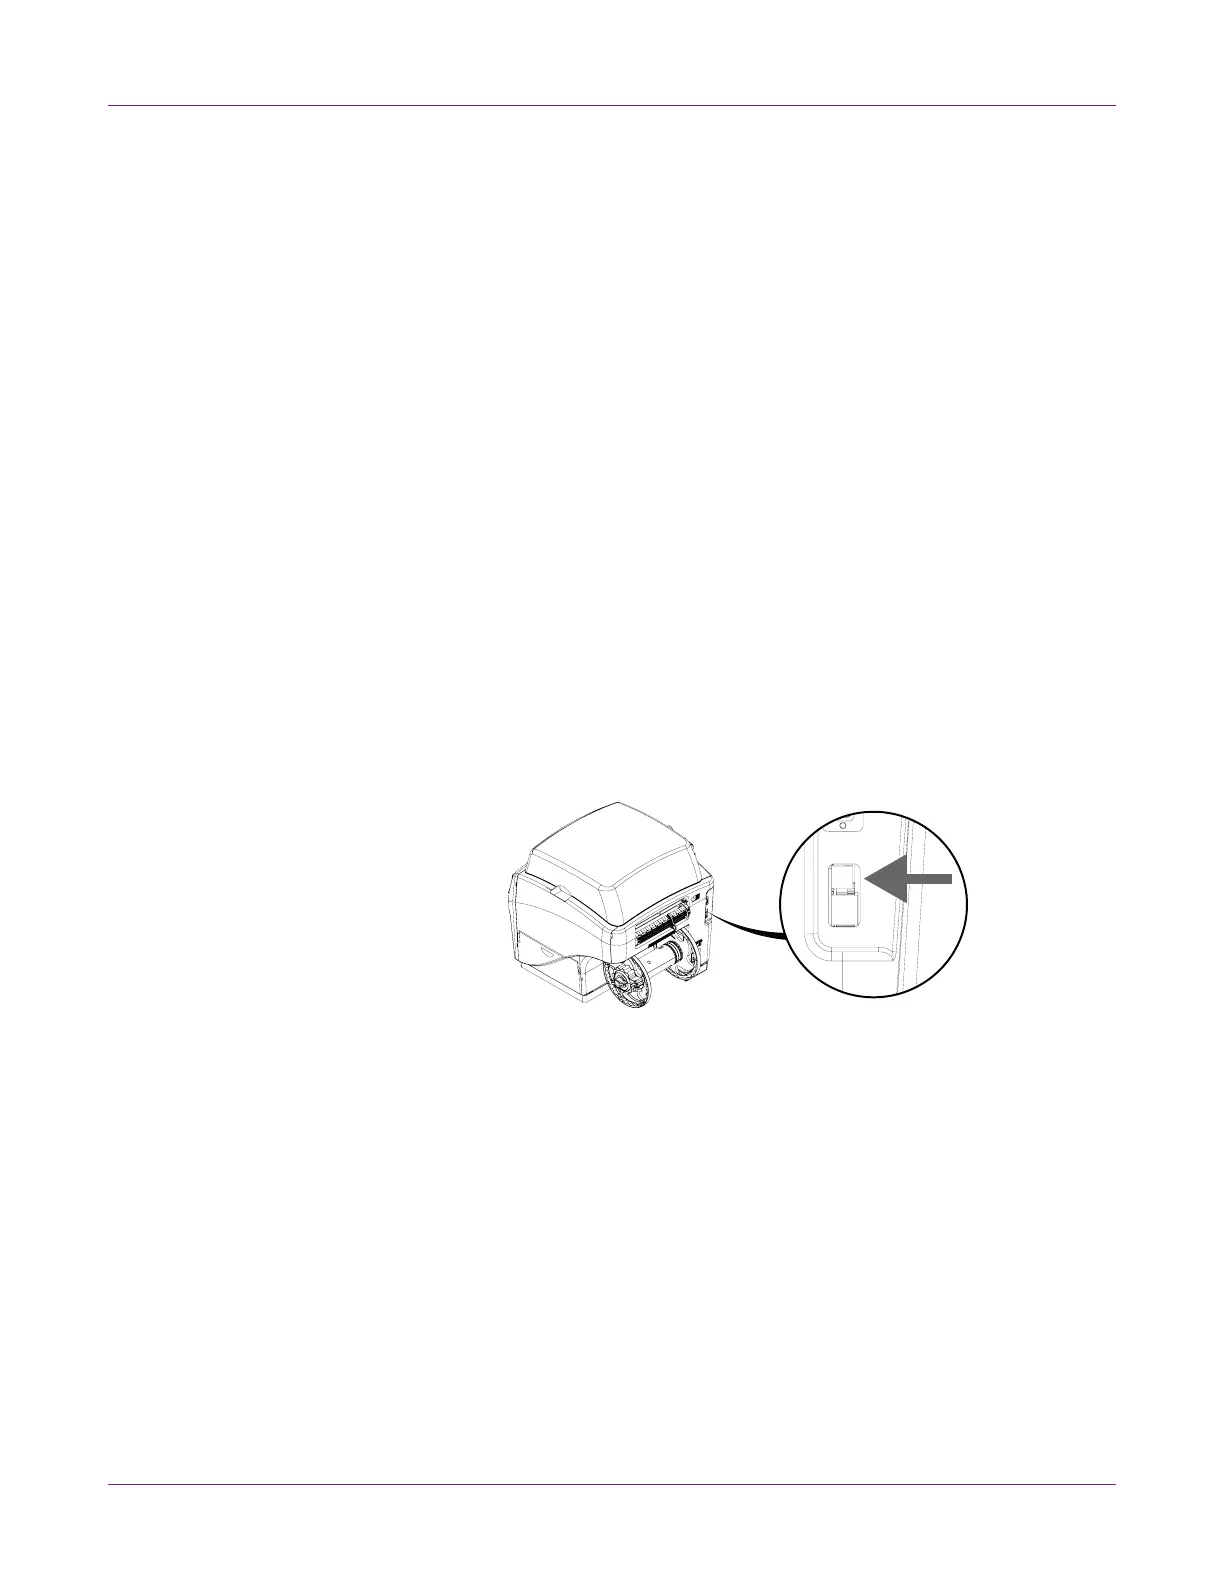
1 Ensure the QL-800 is powered on but not connected to your PC via the USB cable.
2 Power on your PC and insert the QL-800 Installer CD in the CD drive. The Installer
CD wizard will open. Choose Install Driver.
If the autorun program does not start automatically, use Windows Explorer to
launch the “Setup.exe” file located on the CD.
Note: If you do not have a CD drive, you can obtain the software from
www.QuickLabel.com/downloads.
3 Choose Install Printer Software. The software installation wizard will start.
Note: If the Windows logo testing or publisher verification warning messages
appear during installation, choose to continue the installation.
4 When prompted to select a printer connection method, choose Configure to print
using USB. Then choose Next.
Note: A USB configuration is required for the initial installation. You can later
install the printer as a network printer.
5 When prompted, connect the QL-800 to your PC with a USB cable. The installation
will continue once the USB connection is made.
6 When prompted, select whether the QL-800 will be set as the default printer.
7 Choose Finish.
Related Topics:
- Resolving Windows 7 and Windows 8 USB Installation Issues on page 90
 Loading...