Designing and Printing Labels
QL-800 User Guide 43
2 Adjust the offsets for the full-bleed label. See “Setting up Media Options” on page
35.
• Horizontal Offset - Add 0.02 to 0.04” (0.5-1 mm) to the horizontal offset. The
amount you add should be half of the width increase specified in the previous
step.
• Vertical Offset - Subtract 0.02 to 0.04” (0.5-1 mm) from the vertical offset. The
amount you subtract should be half of the height increase specified in the
previous step.
For example, if you defined the media size as 4.04 x 6.04 inches, use 0.02 as the
horizontal offset and -0.02 as the vertical offset.
3 Use the My Print Settings feature to save the full-bleed label settings. See “Saving
and Recalling Driver Settings” on page 39.
Save the settings with a meaningful name. For example, if your label is 4 x 6
inches, “Full-Bleed 4x6” may be a helpful name.
Choose this settings profile when you need to print full-bleed labels with the
configured options.
4 Choose OK.
Related Topics:
- Planning Full-Bleed and Non-Bleed Labels on page 30
Printing Labels
1 Ensure the label media has been loaded.
2 If you are printing from a third-party design application, ensure the printer driver
preferences are configured.
3 Open the label file using the appropriate software. Then choose to print the label,
and enter the number of copies you would like to print.
Note: If your software has a collate option, disable it before printing.
4 Print the labels.
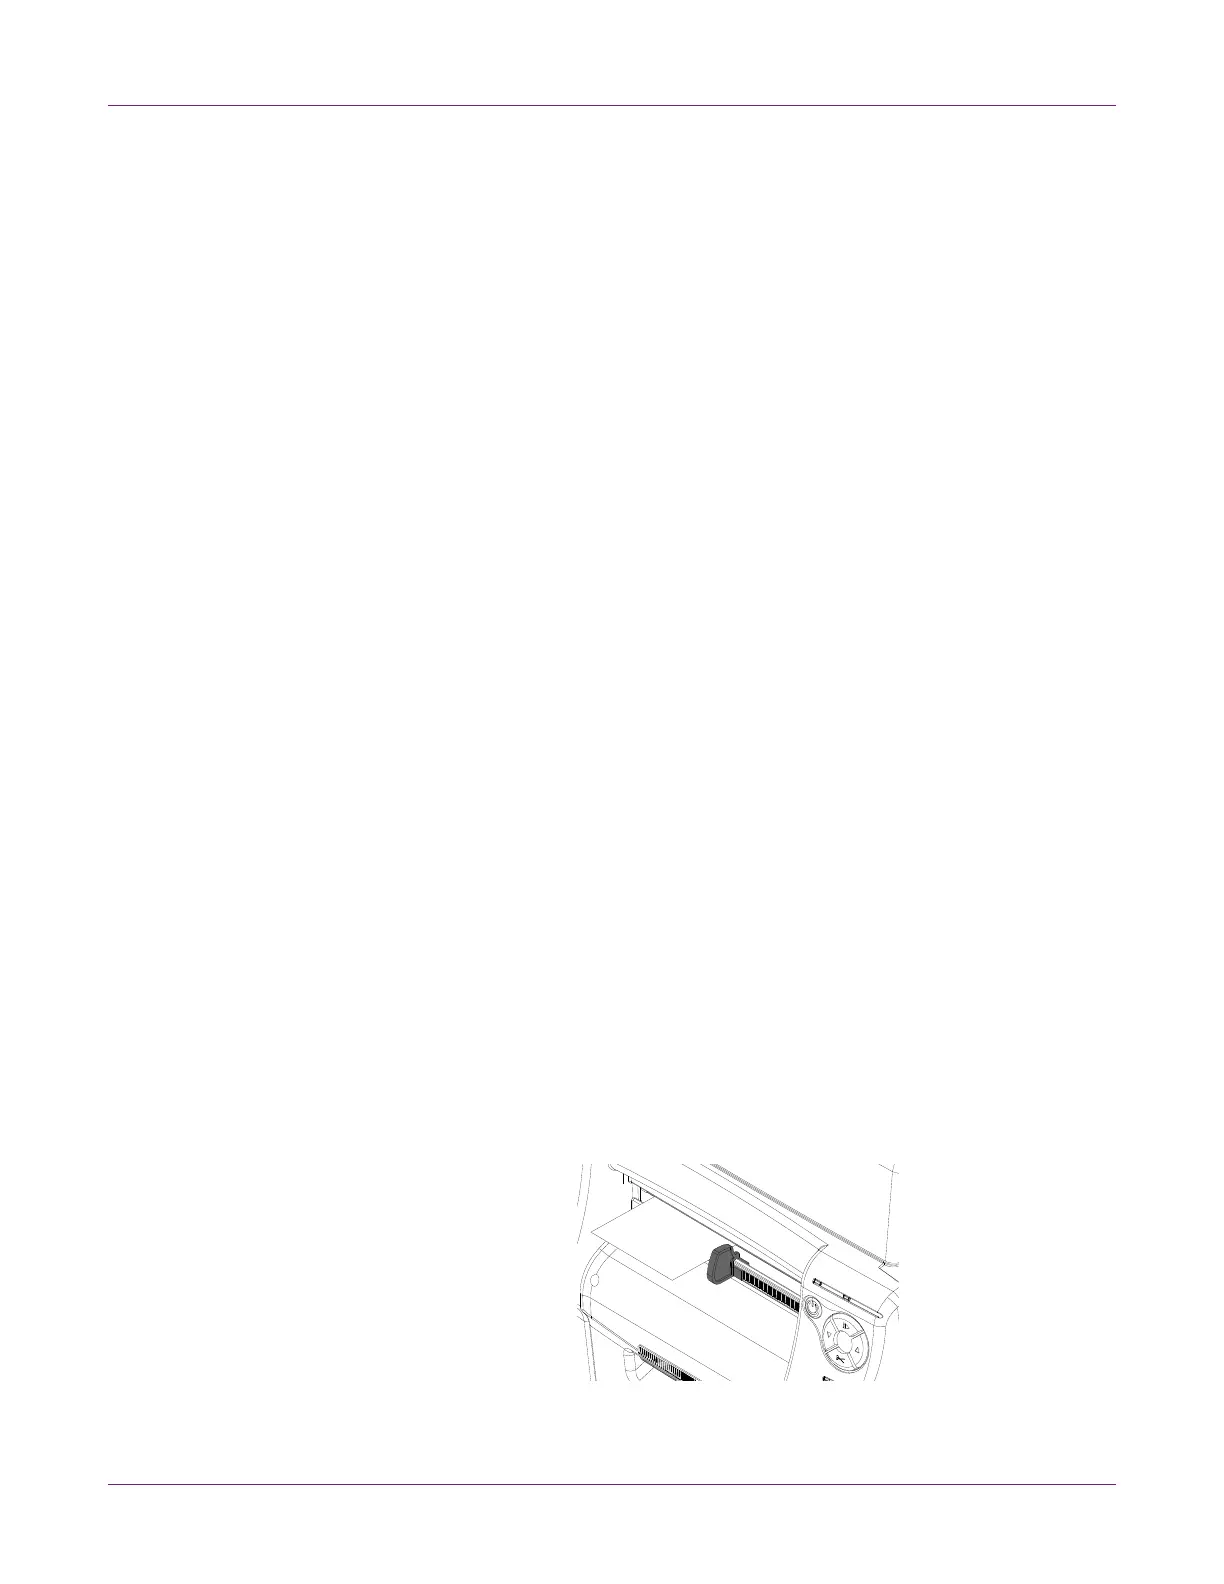
5 Adjust the media exit guide as needed. The edge of the media should lightly
contact the edge of the media exit guide.
 Loading...