Getting Started
QL-800 User Guide 15
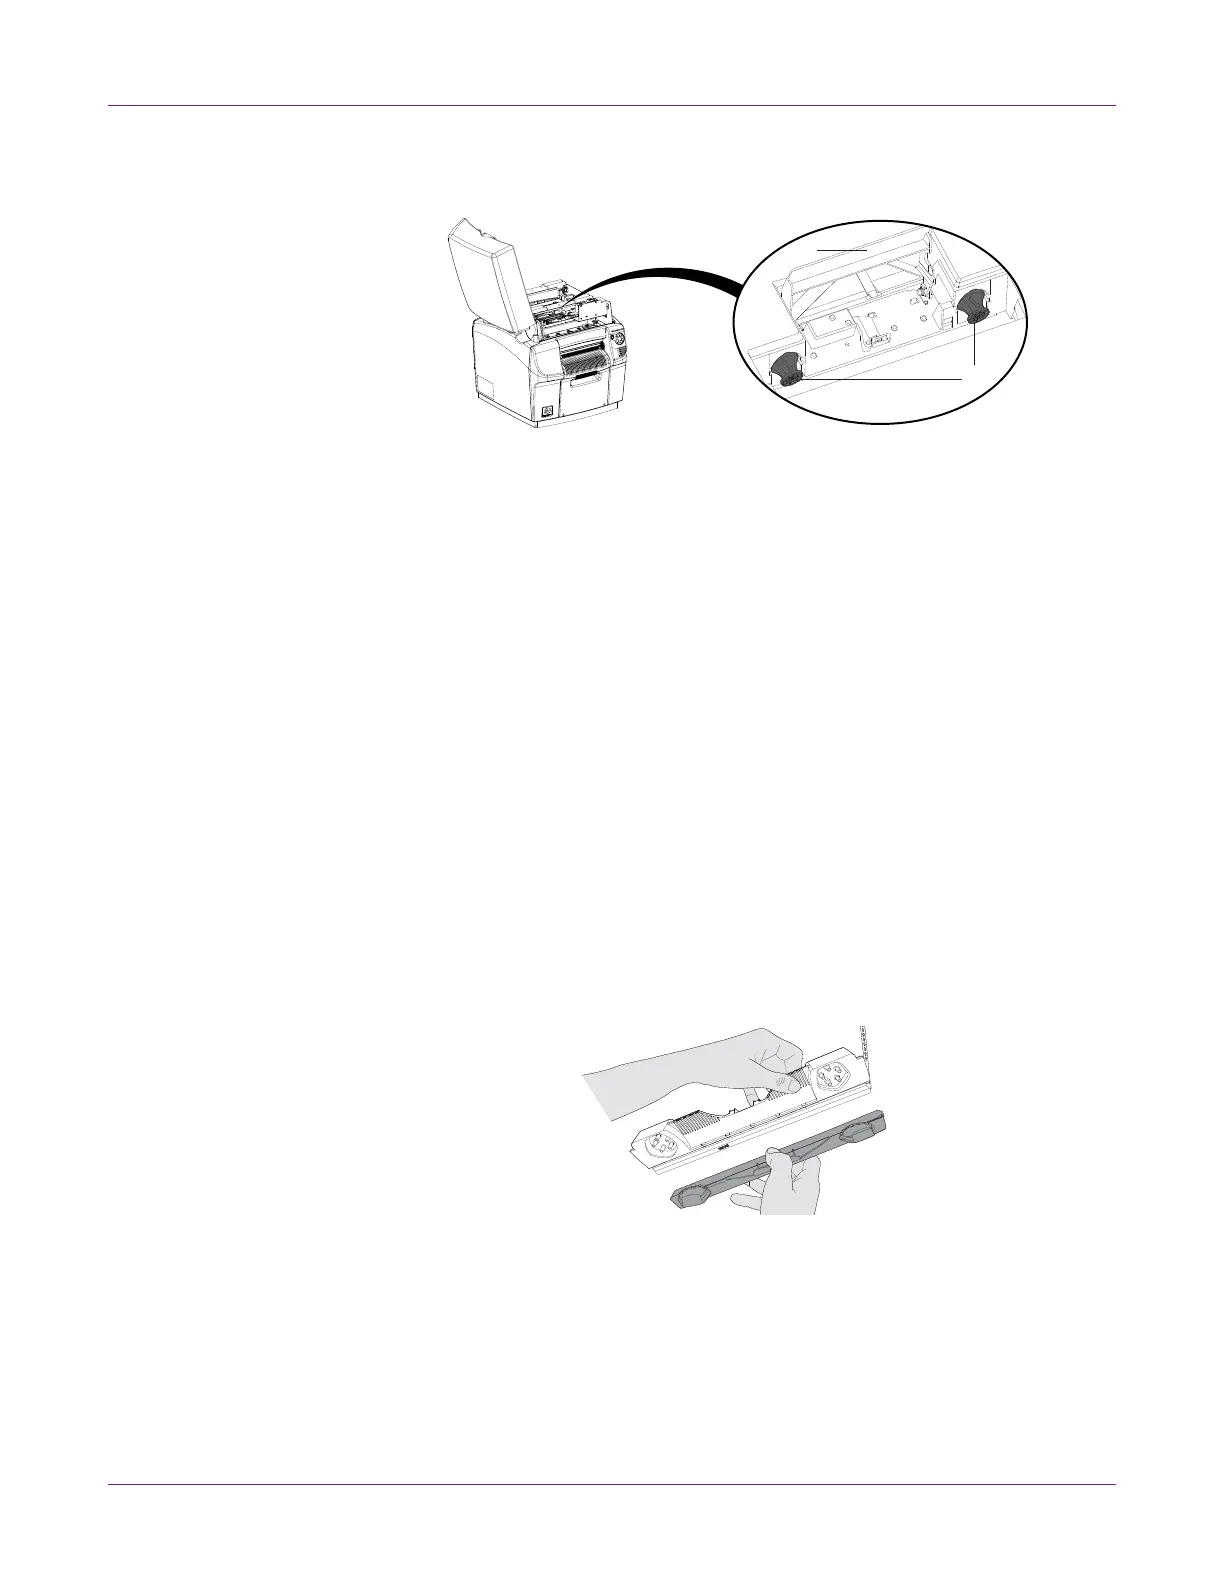
3 Make sure the printhead latch [1] is in the open (vertical) position. Remove the cap
protectors [2] from the two fluidic couplings.
Note: The printhead latch will be in the open position. Do not close the latch before
installing the printhead. If the latch is accidentally closed, do not pry it open. Turn
the printer off and back on again. The latch automatically opens during power up if
no printhead is installed.
4 Remove the printhead from the packaging.
Note: If the foil packing is damaged, report the issue to Technical Support or your
reseller.
Caution: Do not place the unprotected printhead cartridge on any surface. Protect
the printhead cartridge at all times from contamination such as dust or fibers.
5 Wipe any excess shipping fluid from the printhead cartridge with a clean, lint-free
cloth.
6 Remove the orange protective plastic cover from the printhead cartridge, holding
the printhead by the handle.
• Remove the flaps covering the ink ports.
• Remove the clip holding the cover near the center of the printhead cartridge.
• Carefully remove the protective cover. Do not touch any of the ink ports or
nozzle plate after the orange cover is removed.
[1]
[2]
 Loading...