Printer Maintenance
64 QL-800 User Guide
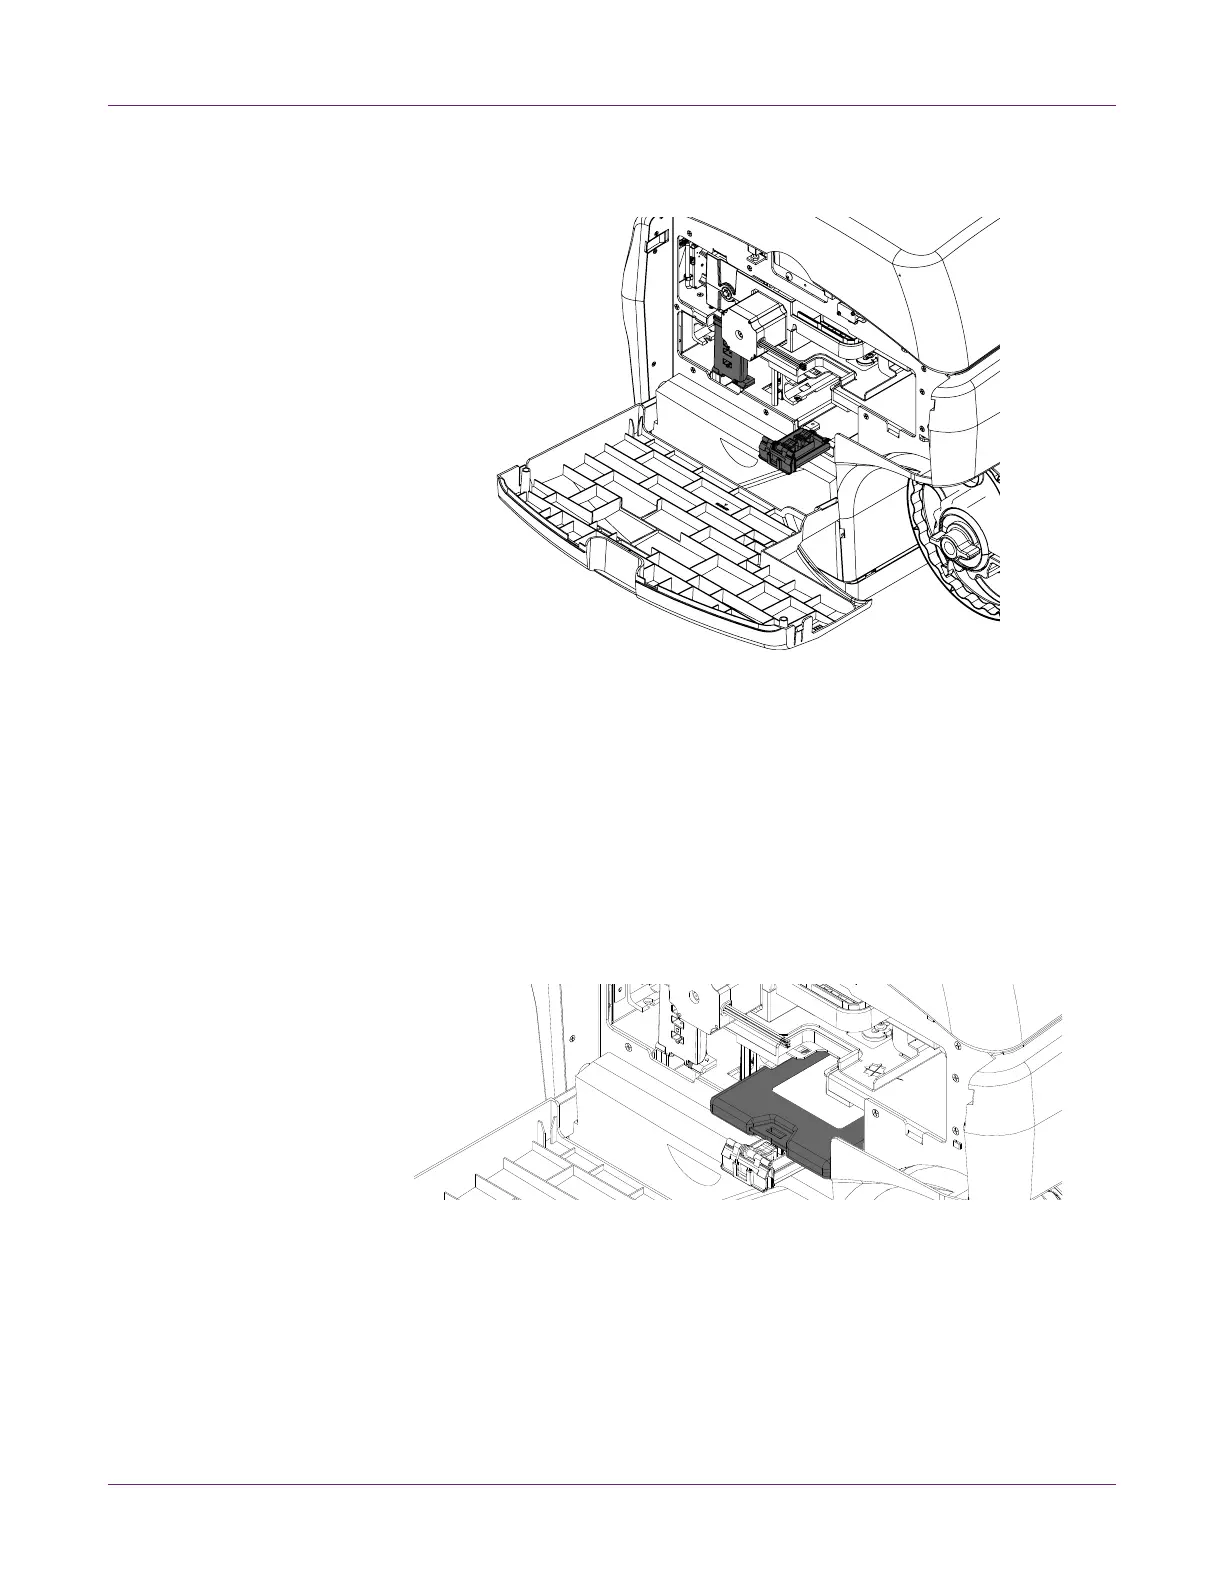
2 Open the ink cartridge latch for the empty ink cartridge. The latch can be opened
by pressing the top of the locking mechanism and pulling outward.
3 Remove the empty ink cartridge.
4 Slide in the new ink cartridge, nozzle end first, label side up. Push the cartridge in
all the way.
You will feel slight resistance near the end of this process as the nozzle engages
the ink needles inside the printer. Repeat this step for each color.
Caution: There are sharp needles in the ink cartridge slot. Never put your fingers
in this area.
Note: The printer is designed so that ink cartridges cannot be inserted in the
wrong slots. Do not attempt to insert ink cartridges in the wrong slots.
5 Close the ink cartridge latch.
6 Close the main side door.
 Loading...