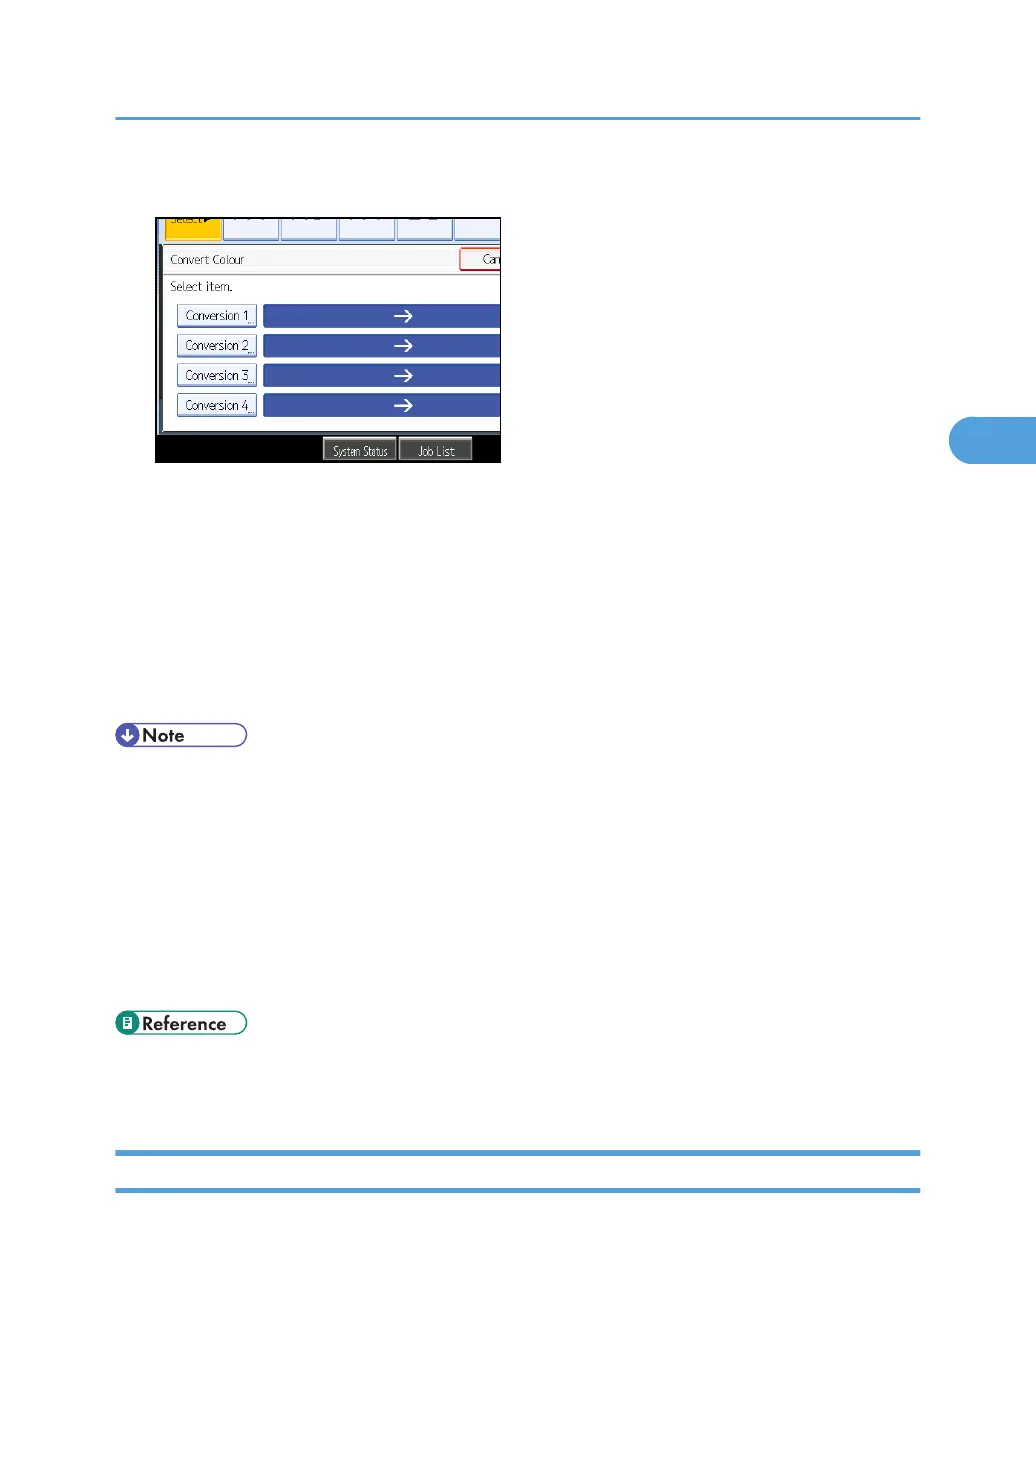
4. Select any one item from [Conversion 1] to [Conversion 4].
5. Selects the colour to be converted.
6. Selects the new colour.
You can adjust the density of the colour in four steps.
To select user colour, press [User Colour], and then select the colour.
To change more than two colours, repeat steps 4 to 6.
7. After selecting all colours to be converted, press [OK] three times.
8. Place the originals, and then press the [Start] key.
• The width of the colour to be converted can be adjusted in five levels. When the width of the colour
is set to [Wider] under Colour Sensitivity in User Tools and red has been specified, colours close to
orange and purple will be converted. You can change the setting. For details about Colour Sensitivity,
see “Adjust Colour Image”.
• To change the converted colour, press from [Conversion 1] to [Conversion 4], and then make the
selection again.
• The full colour counter will advance by “1”.
• For examples of what you can do with the colour functions, see “Available Colour Functions”.
• p.9 "Available Colour Functions"
• p.237 "Adjust Colour Image"
Erase Colour
Copies by erasing a certain colour in the image of the original.
1. Select a colour mode.
Colour Functions
109
 Loading...