3
Shooting
48
You can select an autofocus mode when shooting with Live
View in [Live View] of the A3 menu, or in [Contrast AF] of the
control panel. The autofocus mode can also be changed
by turning R while pressing b during Live View.
u Caution
• When f is selected, the focus lock operation (composition
adjustment with the half press of the shutter release button)
does not work.
You can set the position and range of the autofocusing area
(AF area).
1 Set the autofocus mode to g or h.
2 Press c.
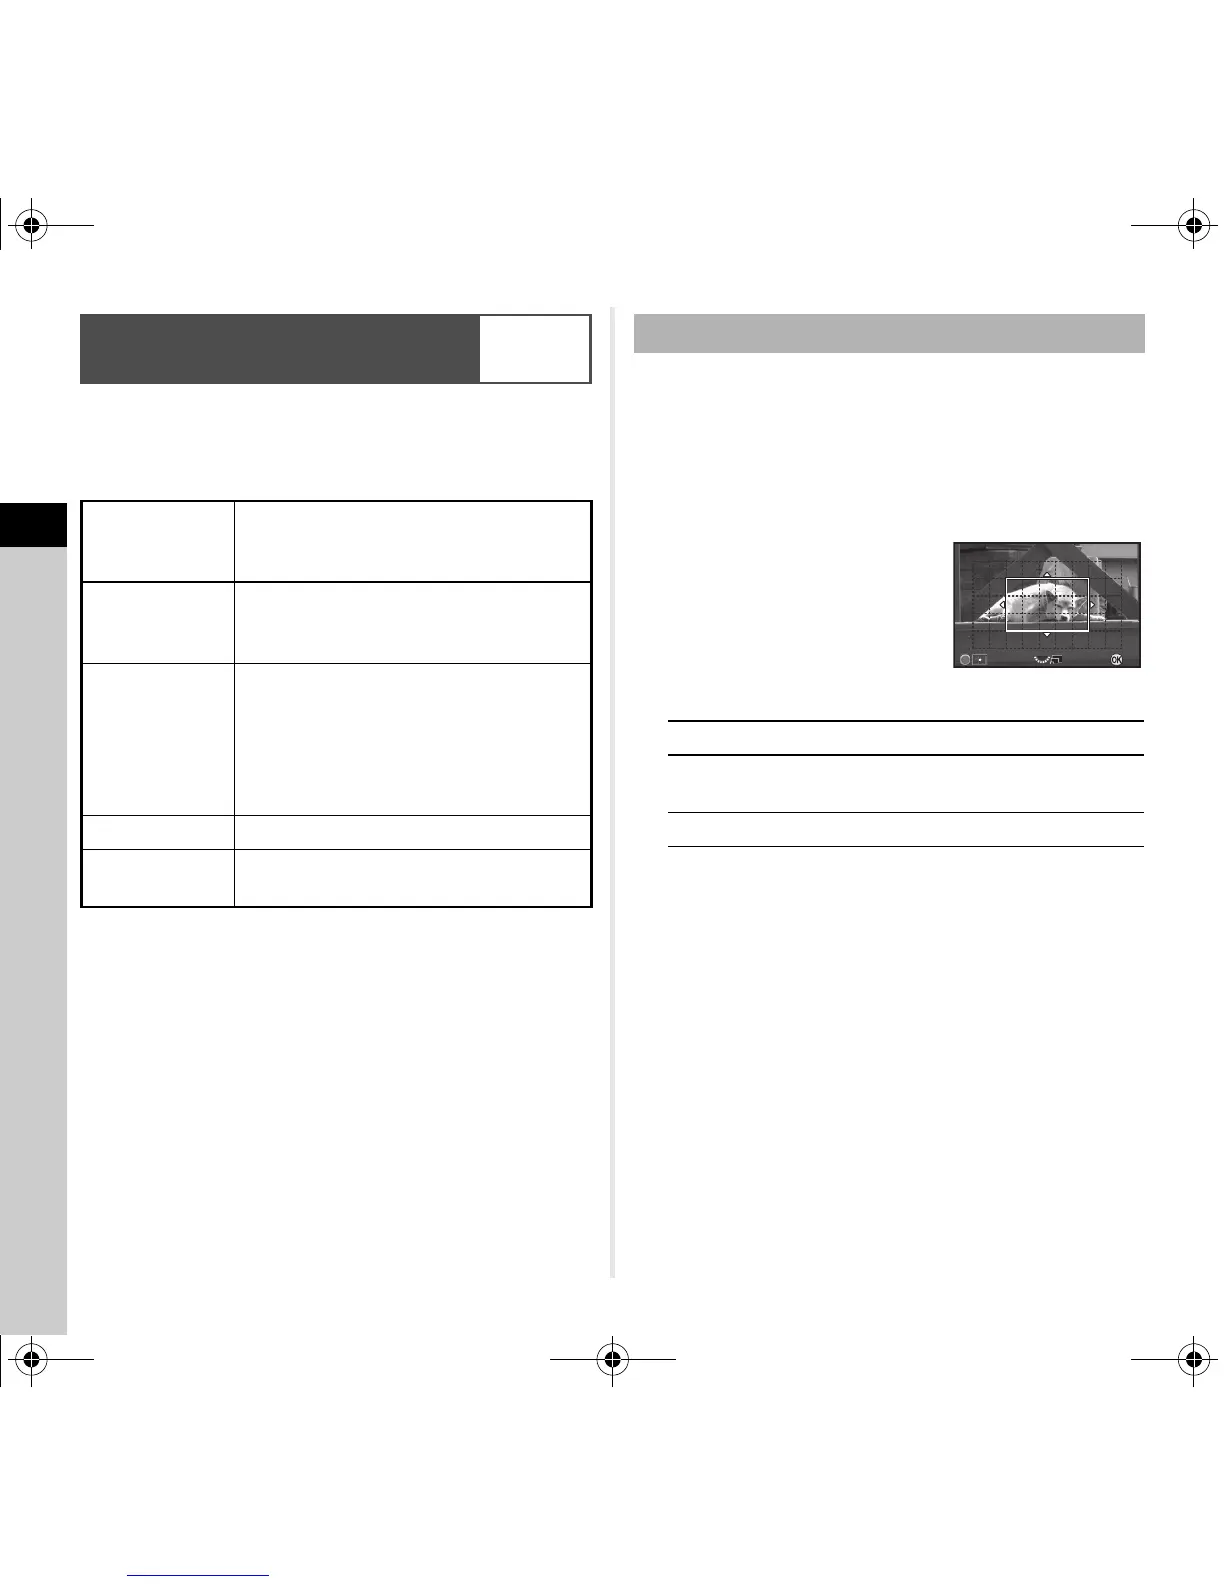
3 Select the AF area.
Use the frame that appears
on the monitor to change the
position and size of the AF area.
Available operations
4 Press E.
The AF area is set.
t Memo
• When [Focus Peaking] is set to [ON] in [Live View] of the
A3 menu, the outline of the subject in focus is emphasized
and makes it easier to check the focus. This function works
in both v and w modes.
Setting the AF Mode during Live
View
A3/v
e
Face
Detection
Detects and tracks faces of people.
The main face detection frame for AF and
AE is displayed in yellow.
f
Tracking
Tracks the subject in focus.
The shutter can be released even if the
subject is not in focus.
g
Multiple AF
Points
Sets the focusing area to the desired area.
The sensor is divided into 45 areas
(9 horizontal by 5 vertical), and you can
select a wider or narrower focusing area
by using 1, 9, 15, or 21 of those 45
available areas.
h
Select Sets the focusing area by the pixel.
i
Spot
Sets the focusing area to a limited area at
the center.
Selecting the Desired Focusing Area
ABCD
Changes the position of the AF area.
R
Increases/reduces the size of the
AF area (when g is selected).
M
Returns the AF area to the center.

 Loading...