3
Shooting
51
u Caution
• There are restrictions on some drive modes when used
in combination with some other functions. (p.88)
t Memo
• Only 4, Q, or Y can be selected in C mode.
• The Drive Mode setting is saved even after the power
is turned off. If [Drive Mode] is set to S (Off) in [Memory]
of the A4 menu, the setting returns to [Single Frame
Shooting] when the power is turned off. (p.83)
• The [Shake Reduction] of the A3 menu is automatically set
to [OFF] when the drive mode is set to [Self-timer], [Remote
Control], or [Mirror Lock-up Shooting].
• When the drive mode that employs
the self-timer or remote control
is selected, exposure may
be affected by the light entering
through the viewfinder. In such
a case, use the AE Lock function
or attach the optional ME
viewfinder cap. Remove the eyecup before attaching
the ME viewfinder cap.
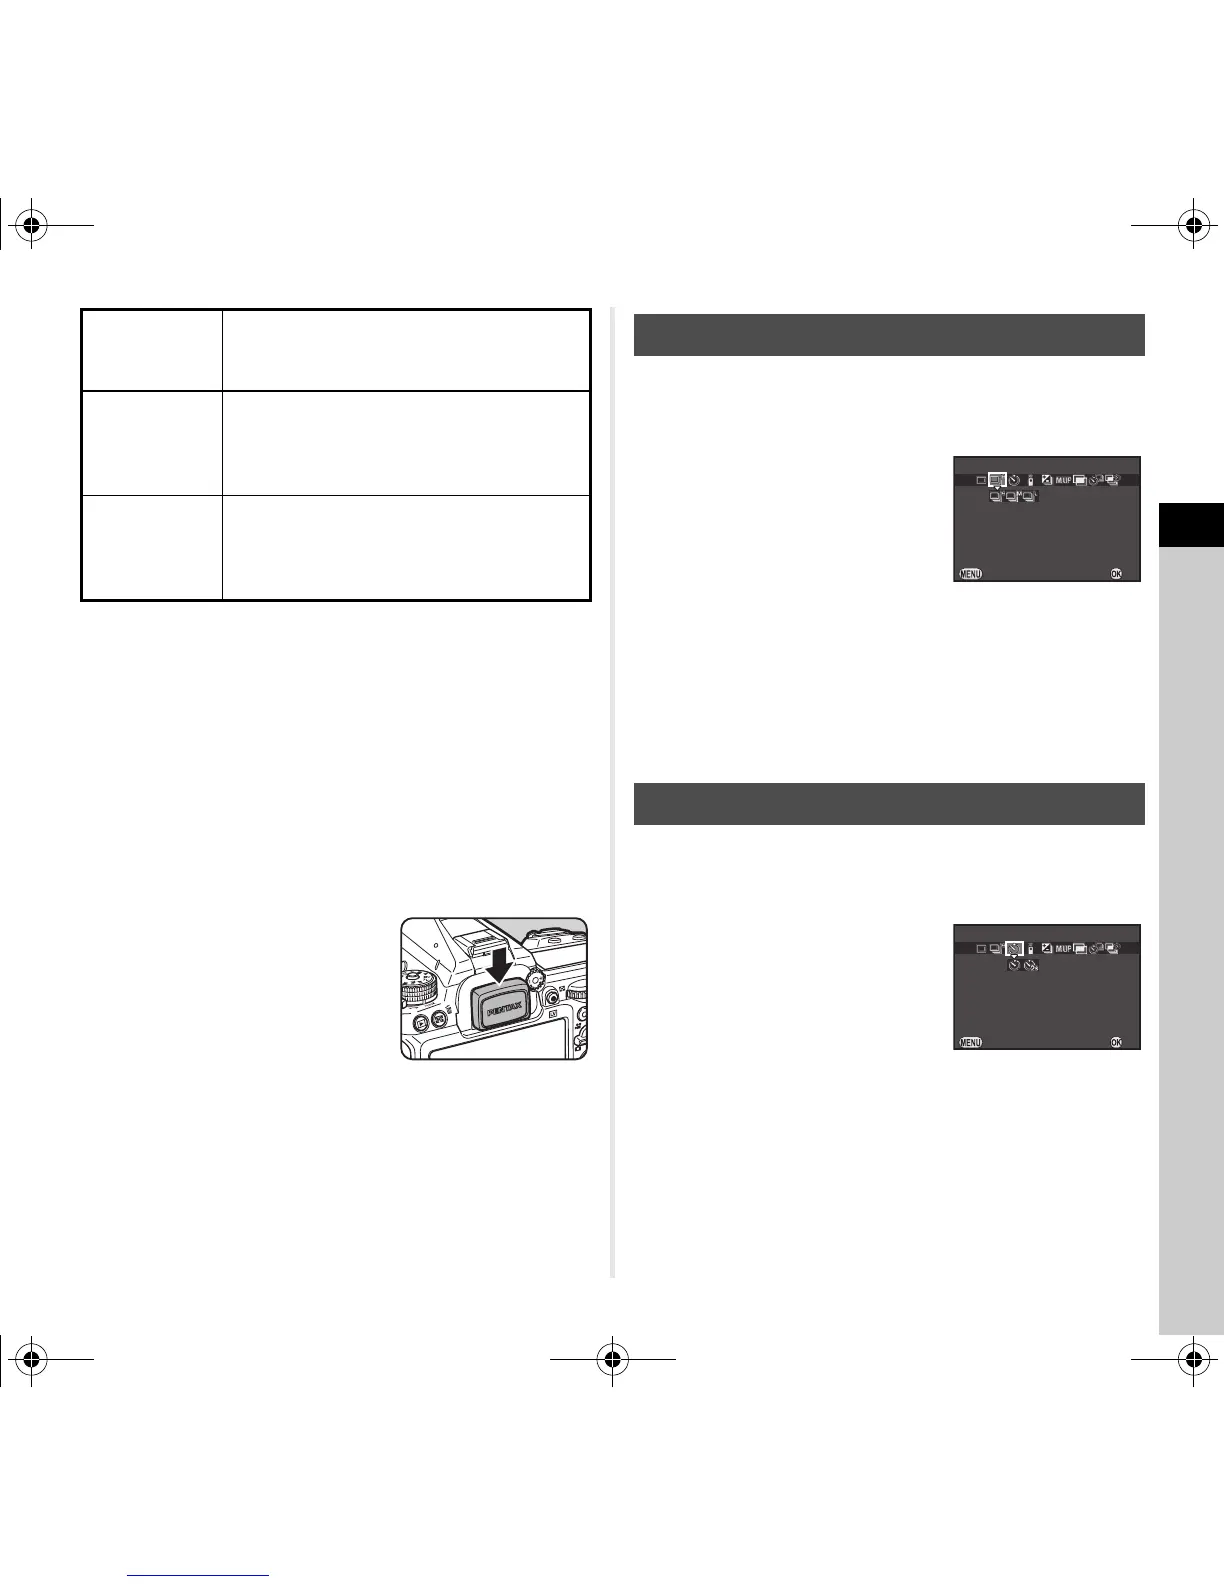
1 Press A in standby mode.
The Drive Mode screen appears.
2 Select Z and press B.
3 Select Z, a, or b and press E.
The camera returns to standby mode.
t Memo
• When the autofocus mode is set to x, the focus position
is locked in the first frame.
1 Press A in standby mode.
The Drive Mode screen appears.
2 Select O and press B.
3 Select O or P and press E.
The camera returns to standby mode.
4 Press the shutter release button halfway, and then
fully.
The self-timer lamp blinks.
The shutter is released after about 12 seconds or 2 seconds.
Interval
Shooting
(Y)
Takes pictures at a set interval from a set
time. (p.54)
Interval
Composite
(3)
Takes pictures at a set interval from a set
time and merges them into a single image.
Star and moon trails can be captured in one
image. (p.54)
Interval Movie
Record
(Y)
Takes pictures at a set interval from a set
time and saves them as a single movie file.
(p.55)
Available only in C mode.
Continuous Shooting
Self-timer

 Loading...