3
Shooting
56
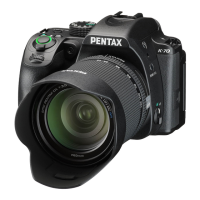
1 Press C in standby mode.
The White Balance setting screen appears.
2 Select the desired white
balance setting.
Available operations when shooting with the viewfinder
Proceed to Step 5 if you do not need to fine-tune the white
balance.
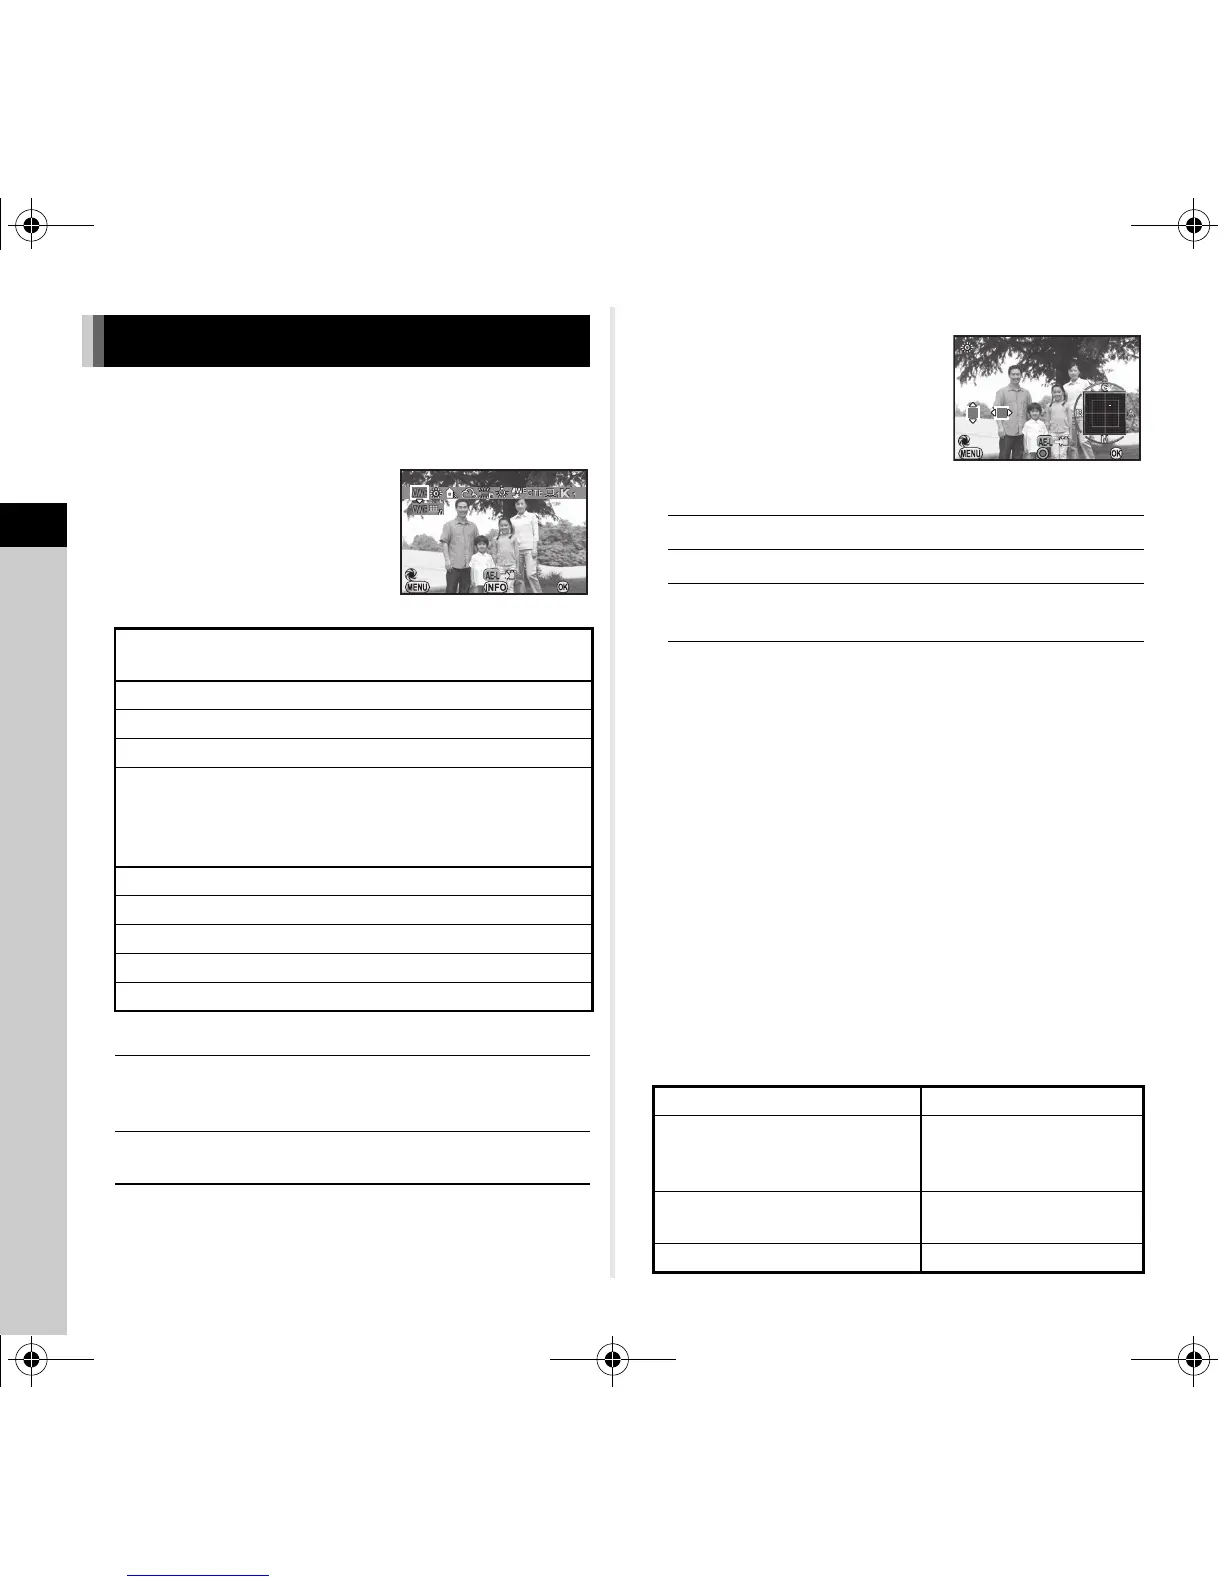
3 Press G.
The fine-tuning screen appears.
Available operations
4 Press E.
The screen of Step 2 reappears.
5 Press E.
The camera returns to standby mode.
u Caution
• The Digital Preview operation in Step 2 cannot be performed
when the drive mode is set to [Multi-exposure],
[Interval Shooting], or [Interval Composite].
t Memo
• When u is set, even if various light sources are present at
the shooting location, the camera automatically adjusts the
white balance according to the light source of each area.
(u is not available in C mode.)
• The following settings for the white balance can be set in the
E2 menu.
Setting the White Balance
g
g Auto White Balance
u Multi Auto White Balance
h
Daylight
i
Shade
j
Cloudy
k
q Fluorescent - Daylight Color
r Fluorescent - Daylight White
s Fluorescent - Cool White
t Fluorescent - Warm White
l
Tungsten
m
Flash
n
Color Temperature Enhancement
o
Manual White Balance 1 to 3
p
Color Temperature 1 to 3
Main switch to U Uses Digital Preview to preview
the background image with the
white balance setting applied.
H
Saves the preview image (only
when the image can be saved).
OK
AB
Adjust: Green-Magenta
CD
Adjust: Blue-Amber
M
Resets the adjustment value to the default
setting.
10. WB Adjustable Range Fixed, Auto Adjustment
11. WB When Using Flash
Auto White Balance, Multi
Auto White Balance,
Flash, Unchanged
12. AWB in Tungsten Light
Strong Correction, Subtle
Correction
13. Color Temperature Steps Kelvin, Mired

 Loading...