4 Checking and Performing Printer Adjustments
61
CL4NX/CL6NX Service Manual
4.12
Adjusting the Ribbon Tension
Required tool:
• Phillips screwdriver (JIS #2 or equivalent)
1 Adjust the print head pressure balance before you adjust the ribbon tension.
Refer to Section 4.9 Adjusting the Head Pressure Balance for details.
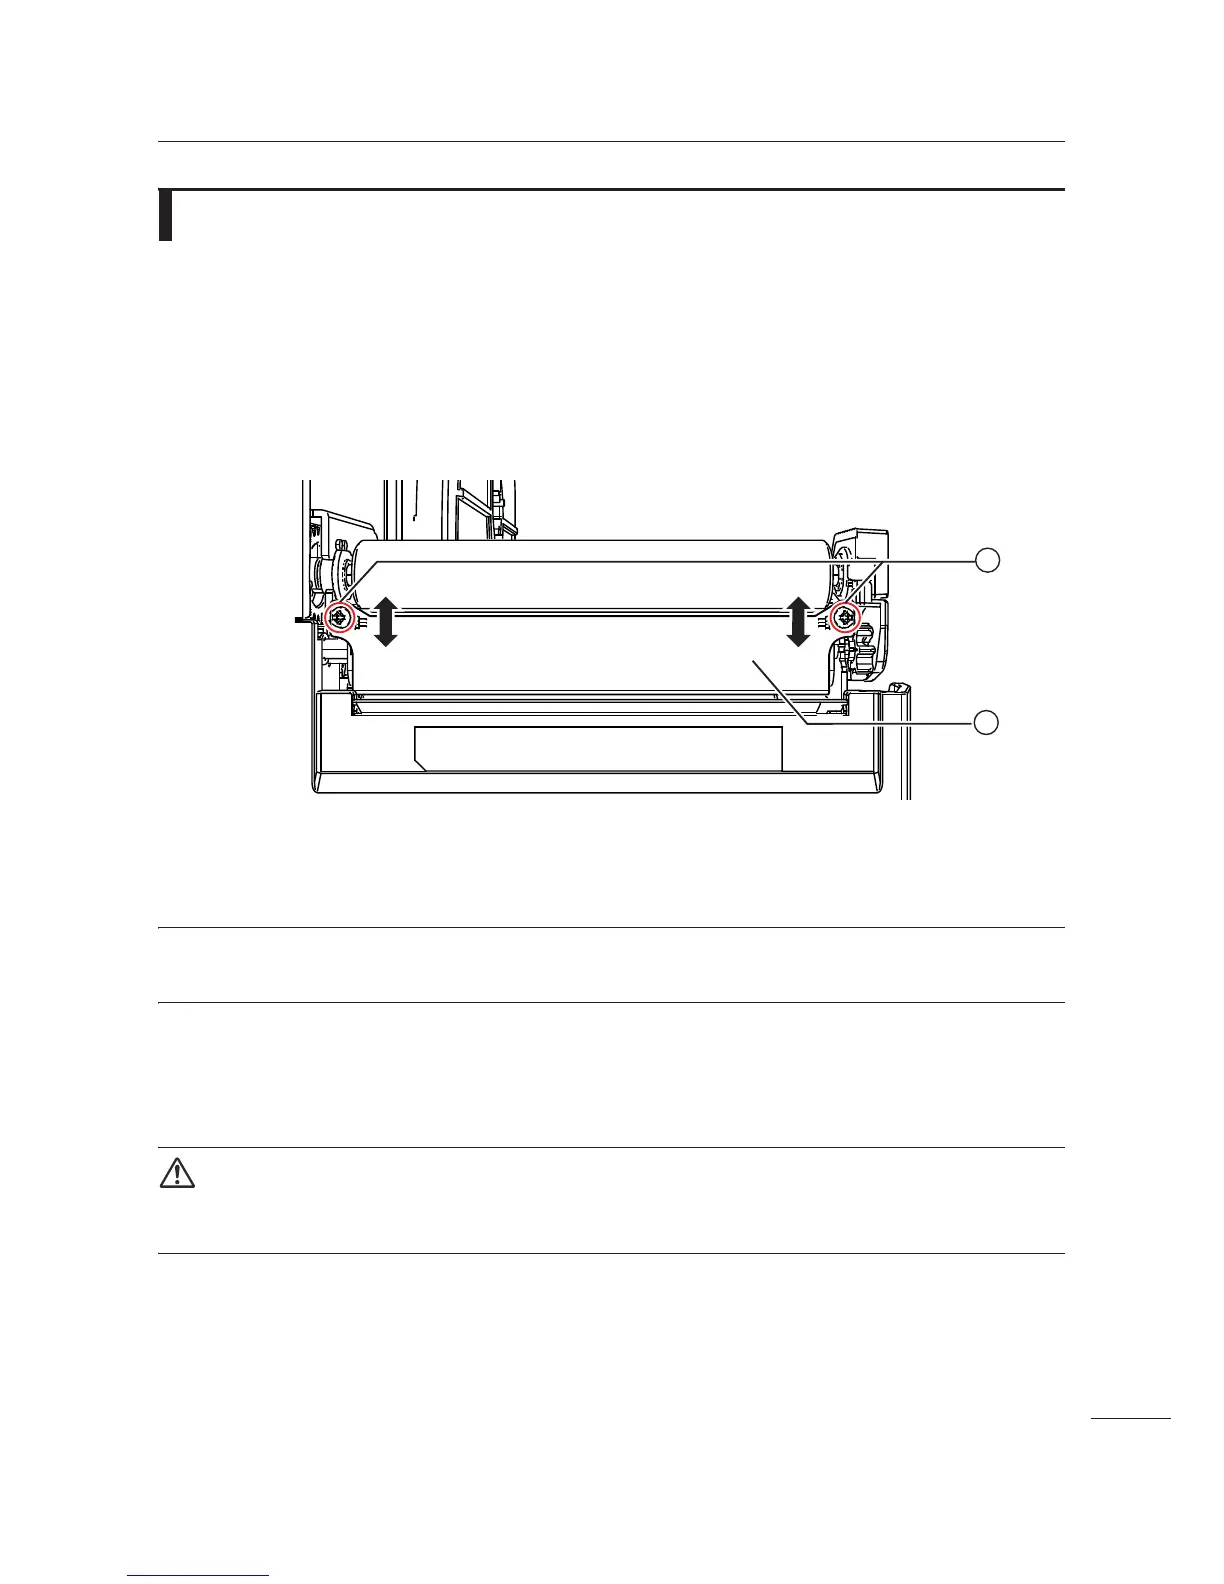
2 Loosen two screws . attaching the ribbon adjustment plate 3 to the print head
assembly.
Note
Do not remove the screws ..
3 Move the ribbon adjustment plate up or down to adjust.
Adjust the left side of the adjustment plate upward when wrinkle occurs on the right.
Adjust the right side of the adjustment plate upward when wrinkle occurs on the left.
CAUTION
If you adjusted the ribbon adjustment plate to fully raised, the ribbon tearing sound (scrunching noise)
increases. To avoid this, lower the ribbon adjustment plate completely before you adjust.
4 Tighten two screws . to set the position.
5 Perform the factory test print.
Refer to Section 4.4 Test Print Check for details.
2
1
 Loading...