9 eSieFusion Imaging
Instructions for Use 9 - 27
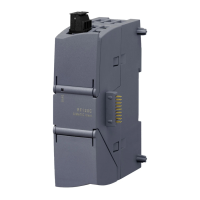
Attaching the Sensors to the Electronics Unit
Ports for sensors on the electronics unit are associated with a specific transducer port on the
ultrasound system.
1 Left
2 Center
3 Right
Port 4 on the electronics unit is reserved for the needle sensor.
To connect a sensor to the electronics unit:
Insert the sensor connector in the corresponding port on the electronics unit until you hear
an audible click.
Attaching Sensors to the Transducer or Needle
Refer to the manufacturer's instructions included with the device.
Troubleshooting the Tracking System
An LED on the front panel of the electronics unit provides status information for troubleshooting
the tracking system. The LED slowly blinks green when the tracking system is fully functional
and the transmitter is not activated. The LED displays solid green when the tracking system is
fully functional and the transmitter is activated.
Symptom Possible Cause Recommend Action
Front panel LED is not
illuminated
No power.
Check the power cord connection to
the electronics unit and to the power
source (outlet).
Cycle power to the electronics unit.
Front panel LED blinks red
and yellow
A valid transmitter is not connected to
the electronics unit or is not connected
properly.
Attach a transmitter to the electronics
unit.
Check the connection from the
transmitter to the electronics unit.
Front panel LED slowly blinks
green and orange
The tracking system has not fully
initialized.
Wait a few minutes for the tracking
system to complete its initialization
process. The LED will then slowly
blink green.
The tracking system is unable
to communicate using the
USB connection
USB cable is not properly connected.
Disconnect and reconnect the USB
cable to the electronics unit.
Cycle power to the electronics unit.
 Loading...