5.5.2 Transfer converters connected via USB into the project
Integrating the converter into the project
Procedure
1. Switch on the converter power supply.
2. First insert a USB cable into your PC and then into the converter.
3. The PC operating system installs the USB driver when you are connecting the converter and
PC together for the rst time.
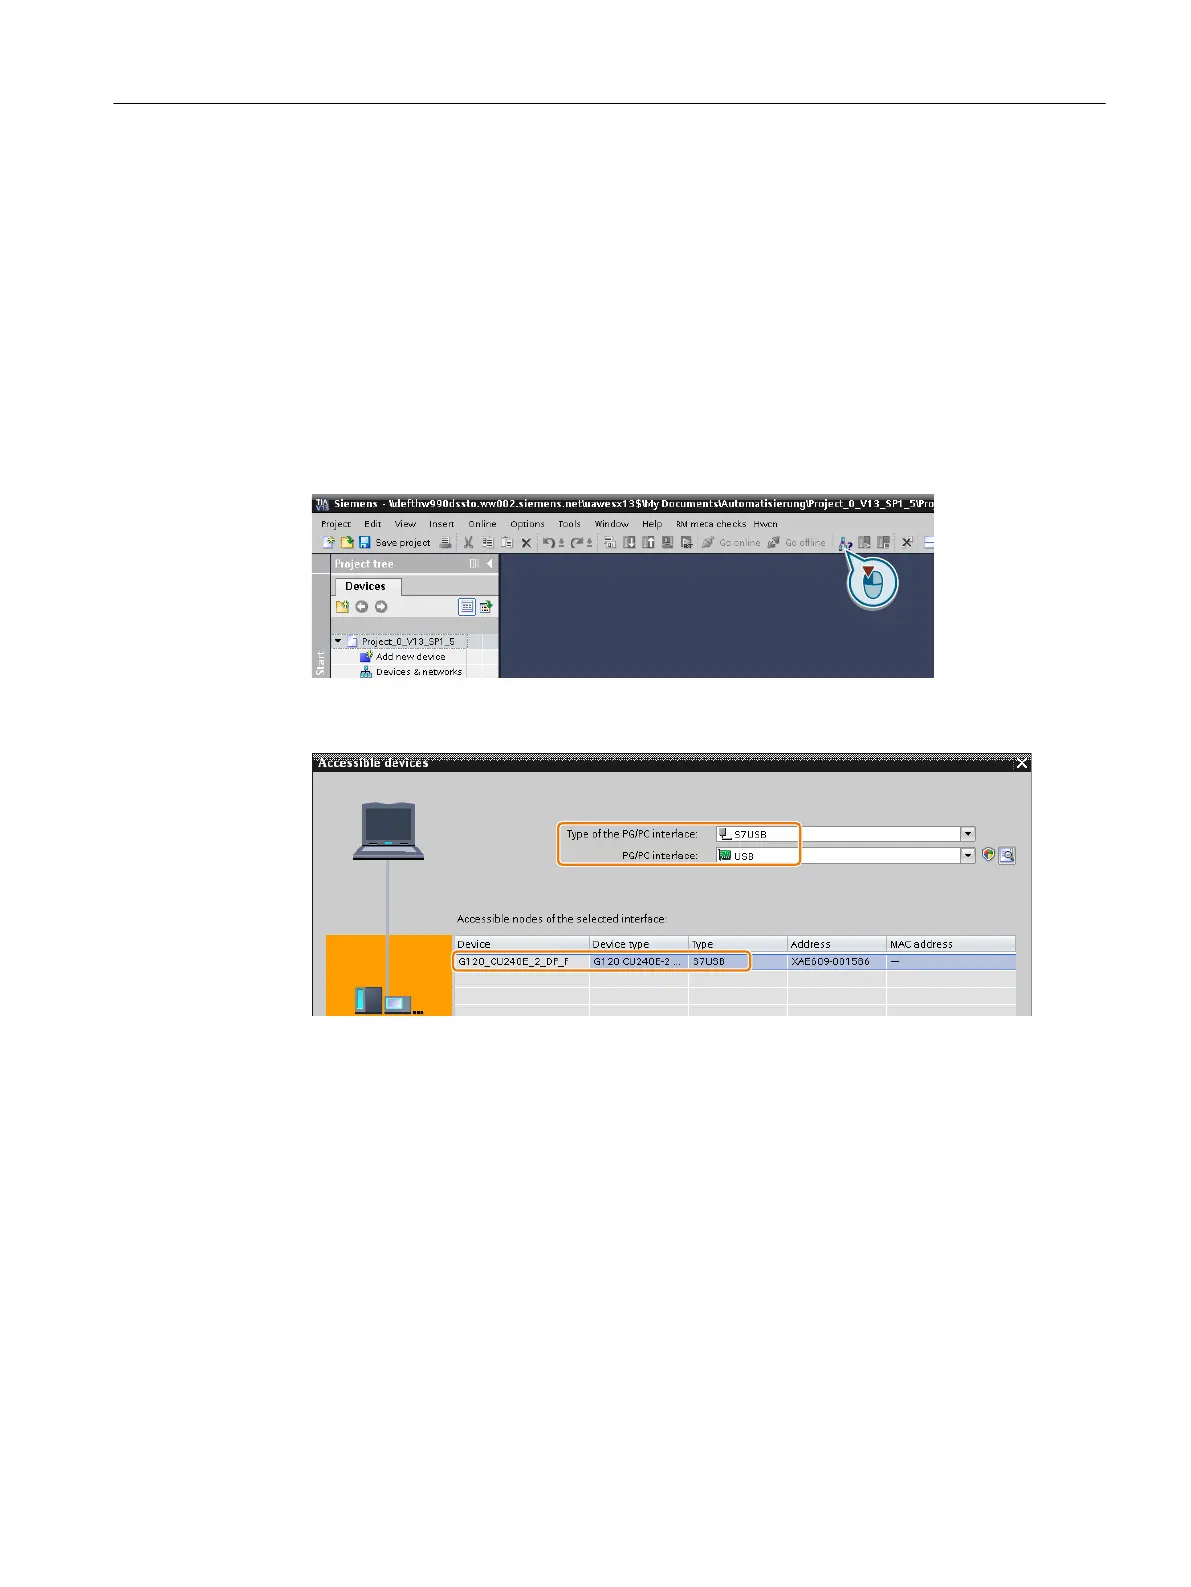
4. Press the "Accessible nodes" button.
5. When the USB interface is appropriately set, then the "Accessible nodes" screen form shows
the converters that can be accessed.
If you have not correctly set the USB interface, then the following "No additional nodes
found" message is displayed. In this case, follow the description below.
6. Transfer the converter into the project using the menu: "Online - Upload device as new
station (hardware and software)".
You have transferred a converter accessible via the USB interface into your project.
❒
Commissioning
5.5Quick commissioning with a PC.
SINAMICS G120C Converters
Operating Instructions, 02/2023, FW V4.7 SP14, A5E34263257B AK 139
 Loading...