HT-ST9
10
SECTION 2
DISASSEMBLY
• This set can be disassembled in the order shown below.
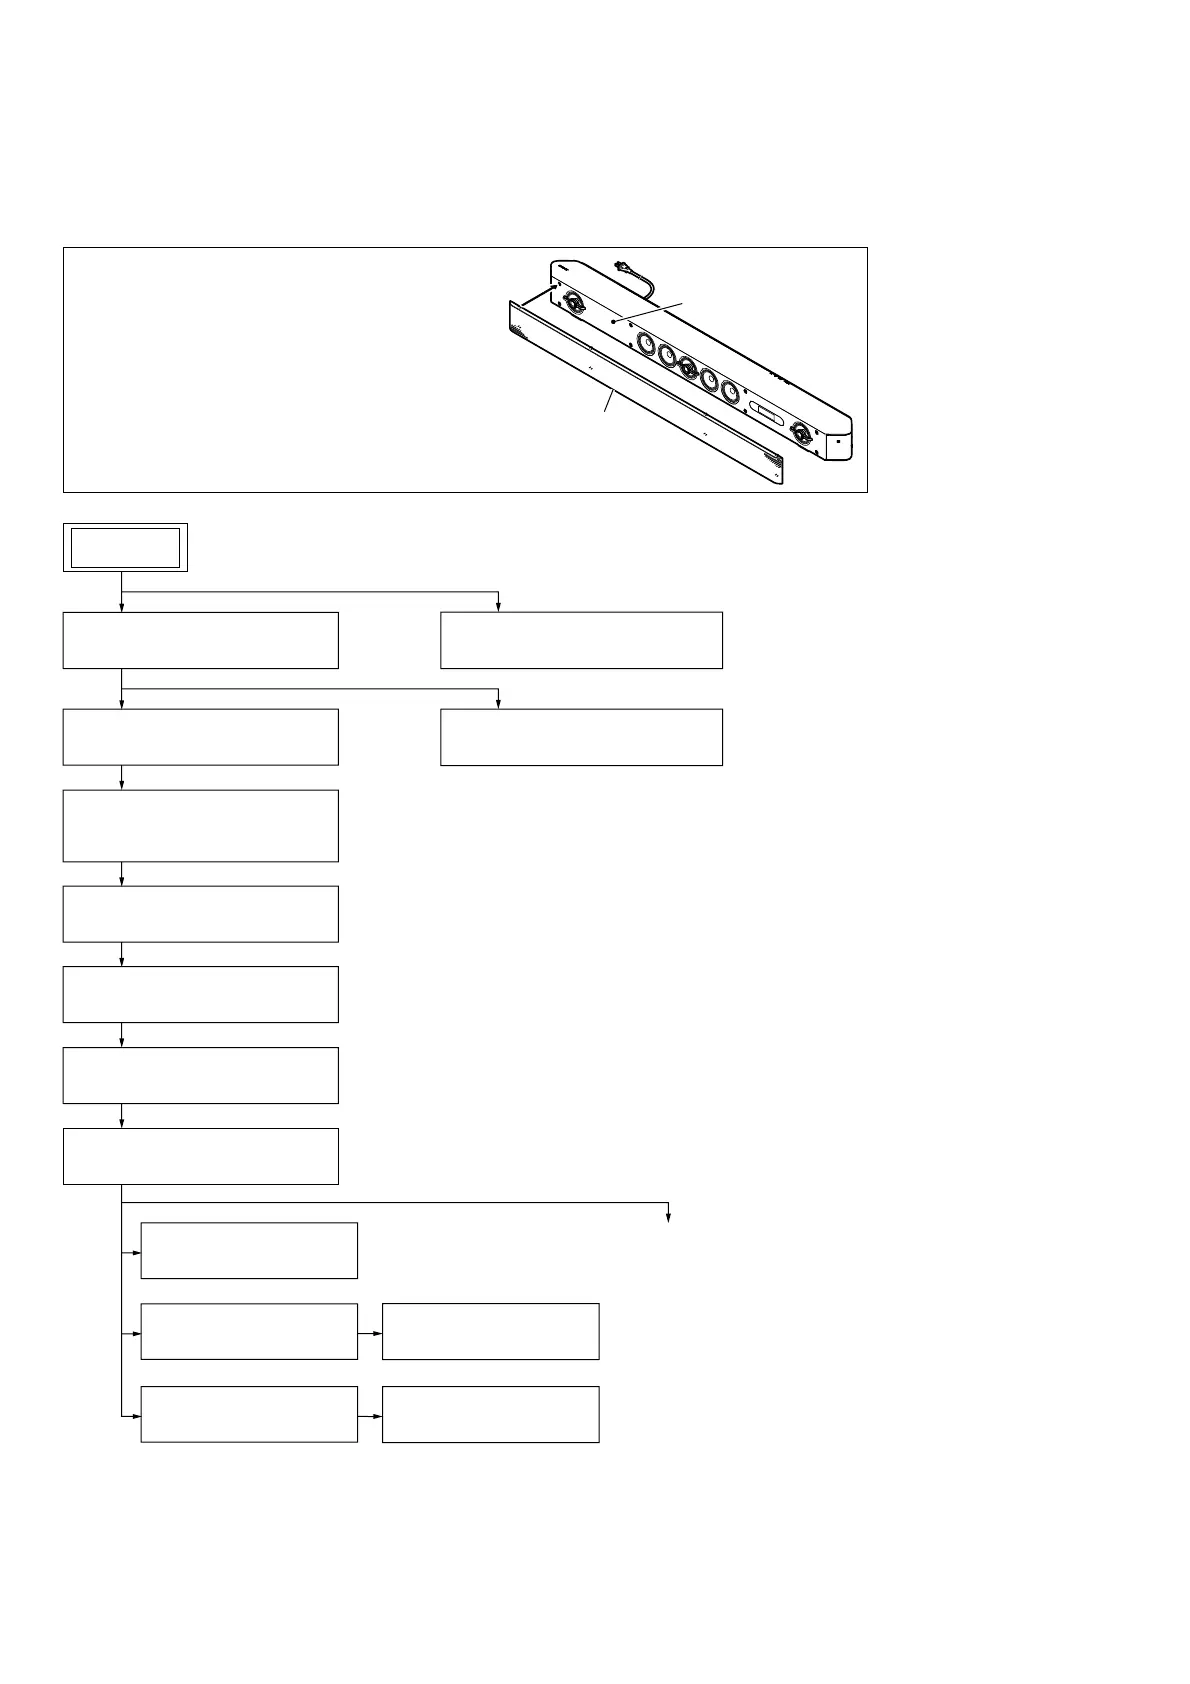
2-1. DISASSEMBLY FLOW
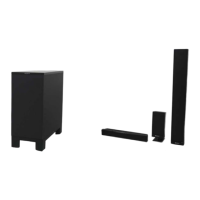
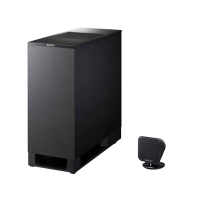
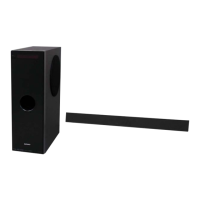
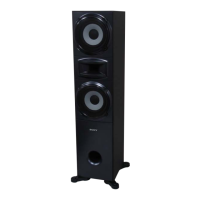
SET
2-10. AMP BOARD
(Page 19)
2-11. IO BOARD
(Page 20)
2-13. POWER CORD (AC1)
(Page 22)
2-14. POWER BOARD
(Page 23)
to page 11
2-12. MB1406 BOARD
(Page 21)
2-2. COVER (REAR) BLOCK
(Page 12)
2-3. REAR PANEL (L) BLOCK
(Page 13)
2-4. REAR PANEL (R) ASSY,
BASE COVER (REAR)
(Page 14)
2-6. PANEL (SIDE L, R)
(Page 15)
2-7. PANEL (BOTTOM) BLOCK
(Page 16)
2-8. CHASSIS BLOCK-1
(Page 17)
2-9. CHASSIS BLOCK-2
(Page 18)
2-24. GRILLE ASSY
(Page 33)
2-5. KEY BOARD, BUTTON ASSY
(Page 14)
Note:
When disassembling with the speaker side face down,
make sure to install the grille assy.
Disassembling with the speaker side face down without
installing the grille assy will damage the protrusion of
the tweeter.
If the grille assy cannot be installed, make sure not to
disassemble with the speaker side face down.
grille assy
speaker side face
 Loading...