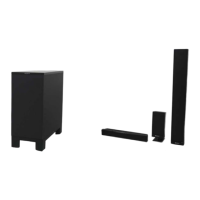
HT-ST9
41
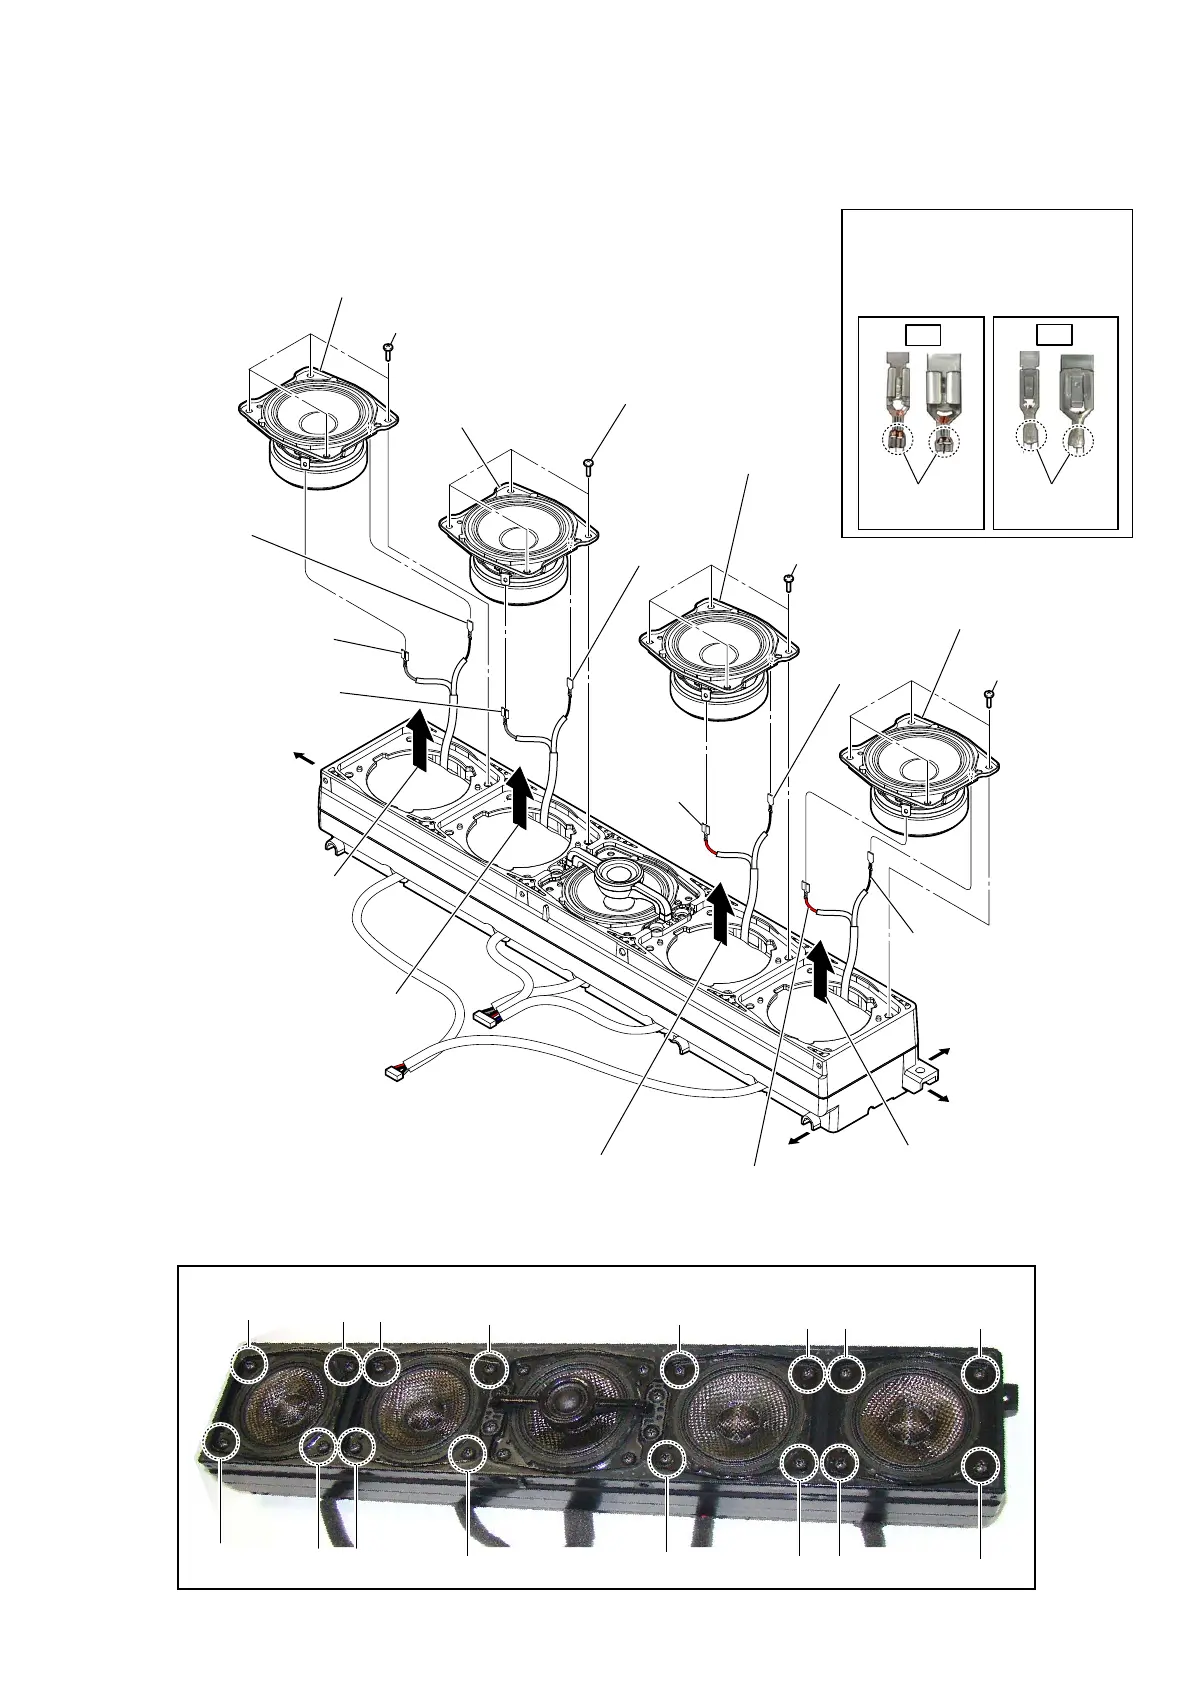
2-33. LOUDSPEAKER (SP5, SP6, SP7, SP8) (CENTER)
1 four screws
(3.5)
4 loudspeaker (6.5 cm)
(surround (Rch)) (SP5)
3 terminal
(narrow side)
[black]
3 terminal
(wide side)
[red]
2
Lift up the loudspeaker (SP5)
in the direction of the arrow.
– Center speaker block front view –
1 four screws
(3.5)
4 loudspeaker (6.5 cm)
(surround back (Rch))
(SP8)
3 terminal
(narrow side)
[black]
3 terminal
(wide side)
[red]
2
Lift up the loudspeaker (SP8)
in the direction of the arrow.
1 four screws
(3.5)
1 four screws
(3.5)
4 loudspeaker (6.5 cm)
(surround back (Lch))
(SP7)
4 loudspeaker (6.5 cm)
(surround (Lch)) (SP6)
2
Lift up the loudspeaker (SP7)
in the direction of the arrow.
2
Lift up the loudspeaker
(SP6) in the direction
of the arrow.
3 terminal
(narrow side)
[black]
3 terminal (wide side)
[gray]
3 terminal
(narrow side)
[black]
3 terminal
(wide side)
[gray]
OK
NG
Note 1:
When installing the speaker wire,
make the position of caulking of
terminals is outside.
Installation direction for
the woofer speaker wire
Caulking is
outside.
Caulking is
inside.
Right side
Top side
Left side
Bottom side
2
67
3
0
qf
qg
qa
Note 2:
When installing screws, follow the installing procedure in the numerical order given.
1
9
qd
qh
qs
4 5
8
 Loading...