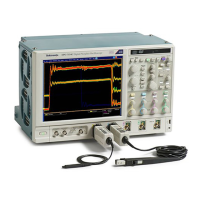
Performance Tests (MSO70000/C Series, DSA/DPO70000B/C Series, and DPO7000 Series)
1. Install the tes
t hookup and preset the instrument controls:
a. Initialize the instrument: Press the Default Setup button.
b. Hook up the pulse generator:
<4GHzmodels: TouchVe rtica l, select Vertical Setup,andthen
touch Termination 50 Ω.
Connect the pulse generator output to a 50 Ω precision coaxial cable
followed by a 90° right-angle female to male SMA adapter. The
adapter is connected to one side of the female SMA T connector.
The other s
ide of the SMA T is connected to a 60 inch 50 Ω coaxial
cable. Connect the SMA short, to the remaining end of the cable.
Now connect the male SMA T connector to Ch 1 through an SMA
female to BNC male adapter.
Set the pulse generator output for a positive-going pulse with a
rise-time as shown in the table for your instrument, and for the fastest
possible repetition rate (at least 1 kHz). (See Table 3-10 on page 3-78.)
Set the pulse g enerator output for about 500 mV. (This amplitude can
be adjusted later to g et a 5-division pulse on screen.)
c. Modify the initialized front-panel control settings:
Power on the pulse generator.
Touch Utilities, select User Preferences, select the Units tab, and
then select the 1-2-5 button.
Readjust the Trigger Level knob so the trigger level is about 50% of
the rising edge of the positive pulse.
Press Autose t . You may see both positive and negative pulses. Adjust
the Trigger Level knob so the trigger level is about 50% of the rising
edge of the positive pulse.
From the button bar, touch the Horiz/Acq button and select the
Acquisition tab. Press t he RT buttontoturnonRealTimeOnly.
< 4 GHz models: Set the horizontal SCALE as indicated in the
following table.
MSO70000/C, DSA70000B/C, DPO7000B/C, DPO7000, MSO5000, DPO5000 Series 3–77

 Loading...


