3.3 Printing on Custom Size or Long-size Paper 61
Printing on Custom Size Paper
The following procedure uses Windows XP WordPad as an example.
Important
• Make sure to set paper sizes correctly. Setting wrong paper sizes can cause printer malfunctions.
Note
• The method for displaying the Properties dialog box varies depending on the application being used.
Refer to the documentation of the application.
1. On the [File] menu, select [Print].
2. Select the printer from the [Select Printer] list box, and then click [Preferences].
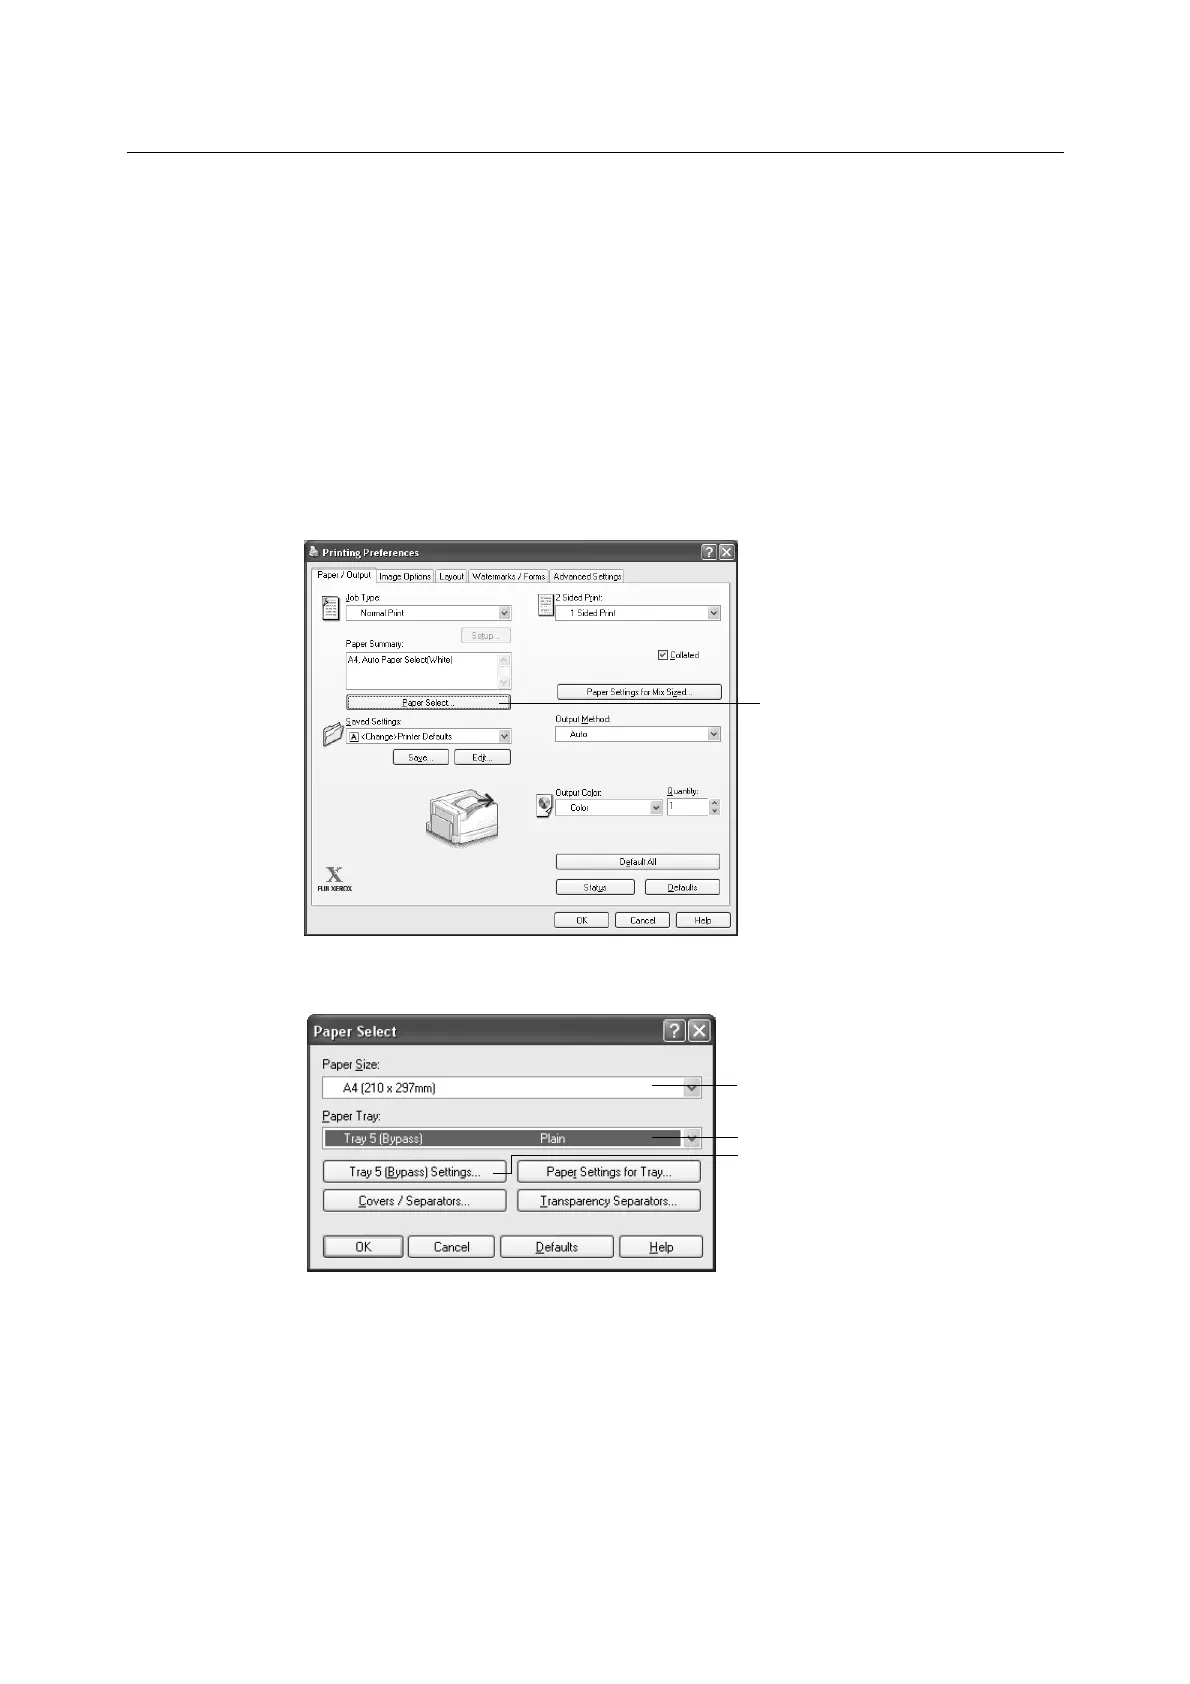
3. The [Paper/Output] tab appears.
Click [Paper Select].
4. For [Paper Tray], select the tray where you loaded the custom size paper.
5. To change the paper type while [Tray 5 (Bypass)] is selected for [Paper Tray], click
[Tray 5 (Bypass) Settings] to display the [Tray 5 (Bypass) Settings] dialog box.
Configure the [Paper Type for Tray 5 (Bypass)] and [Feed Orientation] settings, and
then click [OK].
Note
• If you are using long size paper, select [Heavyweight (HW) (106 - 169 g/m2)].
6. For [Paper Size], select the size of the document to be printed.
Click [OK] to close the dialog box.
3
5
4
6
 Loading...


