88 3 Printing
Sending E-mails
This example shows how to use Outlook Express to send e-mail from a computer to the
printer.
1. Use your e-mail software to create the e-mail and attach any TIFF, PDF, or XPS files.
Important
• Configure your mail software settings to specify text format for the e-mail message. Only e-mail
messages in text format are supported.
Note
• Attaching a document with a filename extension that is something other than tif, pdf, or xps can result in
abnormal printing.
• Attachment of up to 31 documents is supported.
2. Enter the printer’s e-mail address for the address.
3. Send the e-mail.
The e-mail will be printed after it is received by the printer.
Note
• E-mail messages and attached documents are printed in accordance with the following settings on the
receiving printer.
• Mail Message: A4-size, one-sided
• TIFF File Attachment: current [TIFF/JPEG] setting for [Memory Settings] under the CentreWare
Internet Services [Language Emulations] setting
• PDF File Attachment: [PDF] when [PDF Bridge] is selected for [PDF] > [Process Mode] on the control
panel; current [PostScript] setting for [Memory Settings] under CentreWare Internet Services
[Language Emulations] when [PS] is selected for [Process Mode]
• XPS File Attachment: Settings of Print Ticket (operation depends on [XPS] settings configured with
control panel) included in the XPS
Receiving and Printing E-mail Manually
Though e-mail is printed automatically when it is received by the printer, it also can be
printed manually from the control panel.
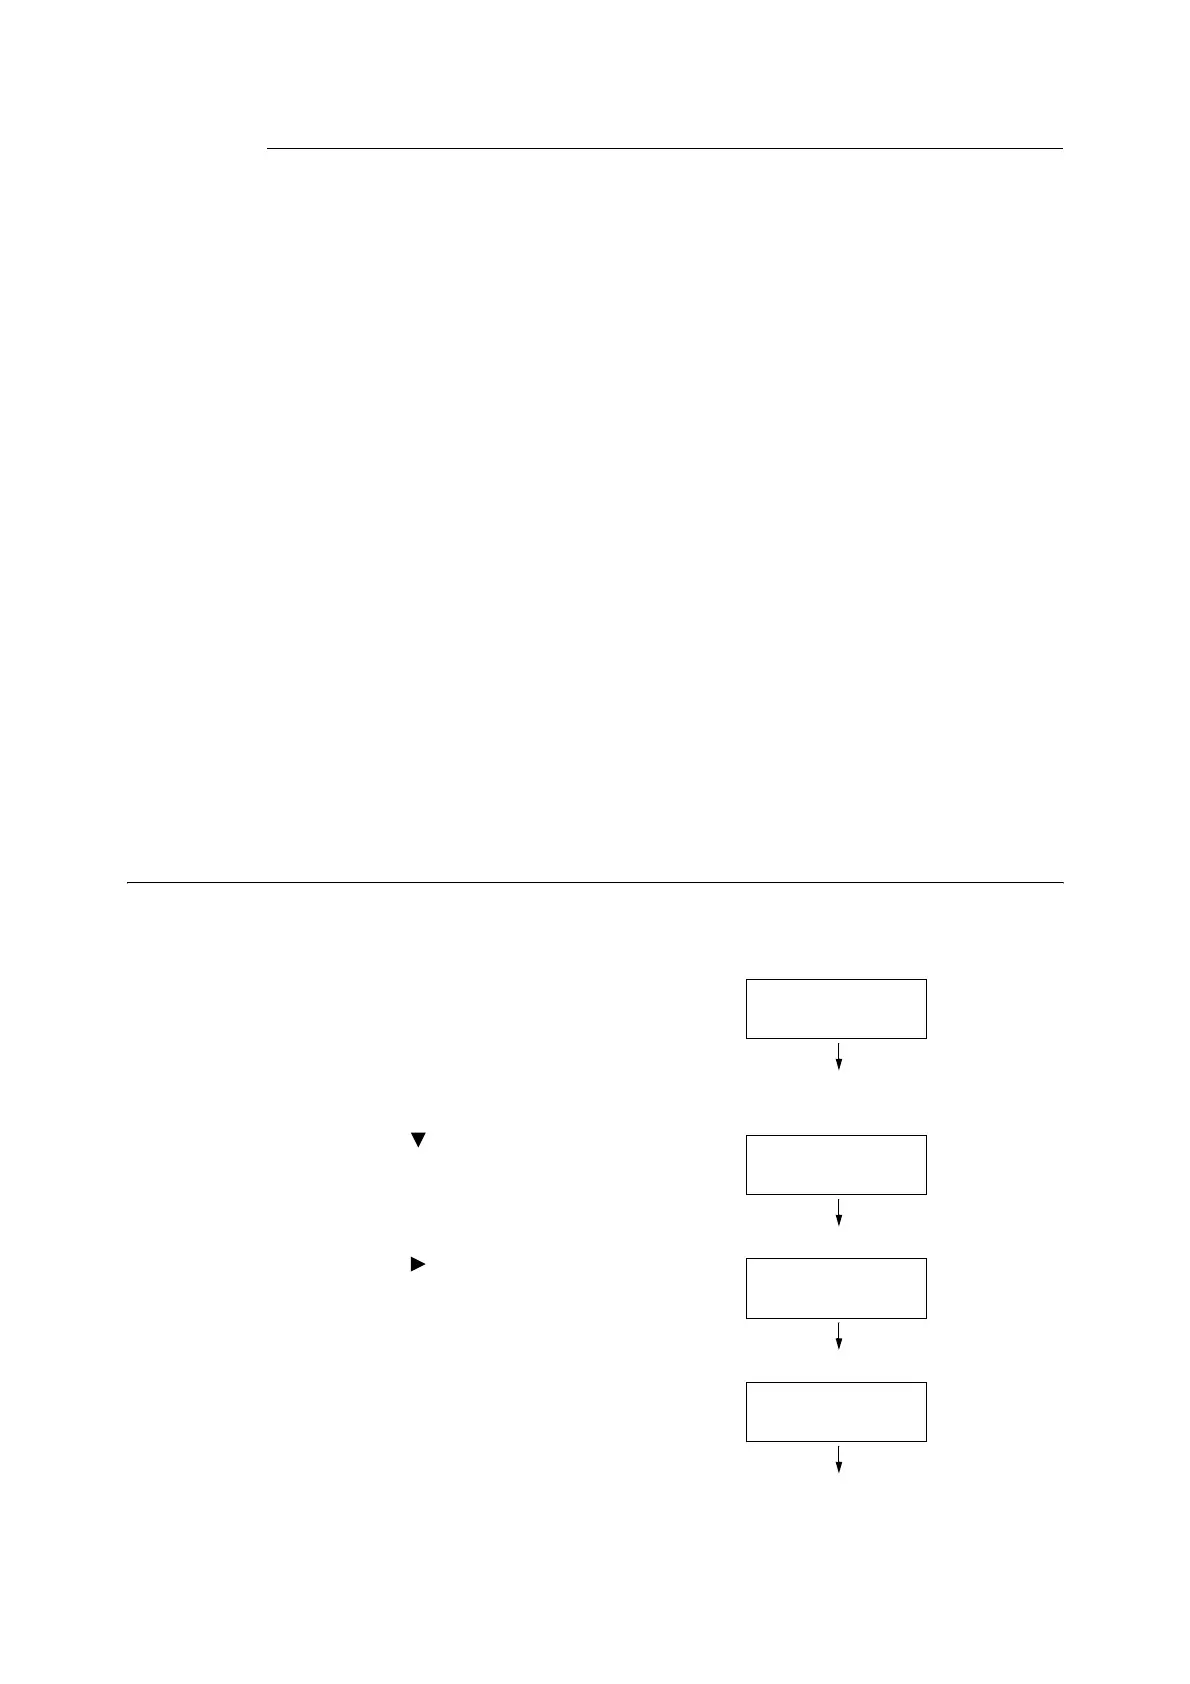
1. On the control panel, press the <Secure
Print/Sample Set> button.
Note
• In some environments, [Pte. Charge Print] will appear
on the display first.
2. Press the < > button until [Mail Print] is
displayed.
3. Press the < > or <OK> button to select.
A receive start confirmation screen is
displayed.
4. Press the <OK> button.
This starts reception of the e-mail. The
message is printed after reception is
complete.
Print Menu
Secure Print
Print Menu
Mail Print
Mail recvd.
Use OK to process
Mail received
Job in queue
 Loading...


