Upgrading Firmware
33
NX-Series Controllers - WebConsole & Programming Guide
Once the process is complete, you can upgrade the remaining firmware files. All device files must be kept at compatible firmware
versions for proper operation. Therefore, all files should be used when upgrading any firmware associated with the Integrated
Controllers.
Be sure to follow the required order for installing firmware files. See the Required Order of Firmware Updates section on page 31 for
more information.
Resetting the Factory Default System and Device Values
1. In NetLinx Studio, access the Device Addressing dialog:
Right-click on any system device listed in the Workspace and select Device Addressing.
Select Diagnostics > Device Addressing from the Main menu.
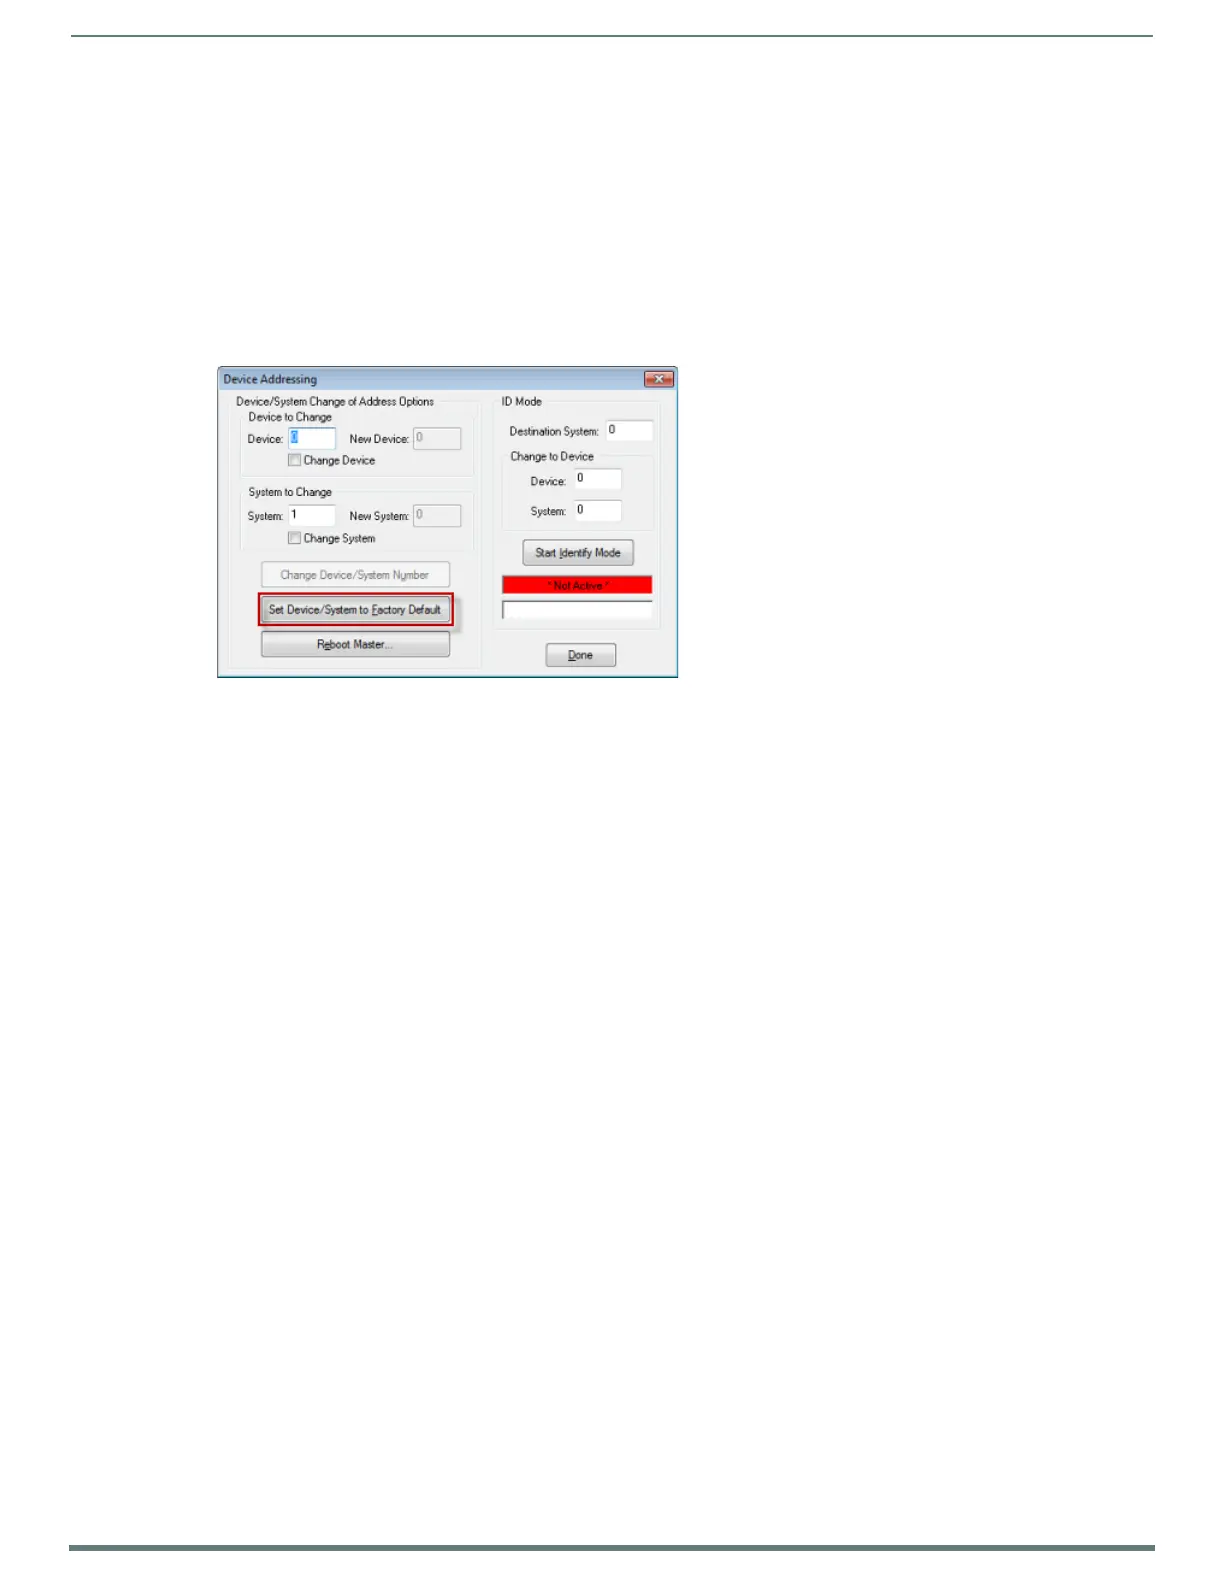
2. Click the Set Device/System to Factory Default button (FIG. 27):
This resets both the system value and device addresses (for definable devices) to their factory default settings. The system
information (in the OnLine Tree tab of the Workspace window) refreshes and then displays the new information.
NOTE: By setting the system to its default value (#1), Modero panels that were set to connect to the Master on another System value
will not appear in the OnLine Tree tab of the Workspace window. For example: A Modero touch panel was previously set to System #2.
The system is then reset to its default setting of System #1 and then refreshed from within the Workspace window. The panel will not
reappear until the system is changed (from within the System Connection page on the Modero) to match the new value and both the
Master and panel are rebooted.
3. Click Done to close the Device Addressing dialog.
4. Click Reboot (from the Tools > Reboot the Master Controller dialog) and wait for the System Master to reboot.
NOTE: The STATUS and OUTPUT LEDs should begin to alternately blink during the incorporation. Wait until the STATUS LED is the only
LED to blink.
5. Click Done. Wait until the Master Reboot Status field reads *Reboot of System Complete*.
6. Click the OnLine Tree tab in the Workspace window to view the devices on the System.
7. Right-click the associated System number (or anywhere within the tab itself) and select Refresh System. This establishes a
new connection to the specified System and populates the list with devices on that system.
8. Use Ctrl+S to save these changes to your NetLinx Project.
FIG. 27
Device Addressing dialog
 Loading...