WebConsole - Network Options
40
NX-Series Controllers - WebConsole & Programming Guide
Adding a Custom NIST Server to the List
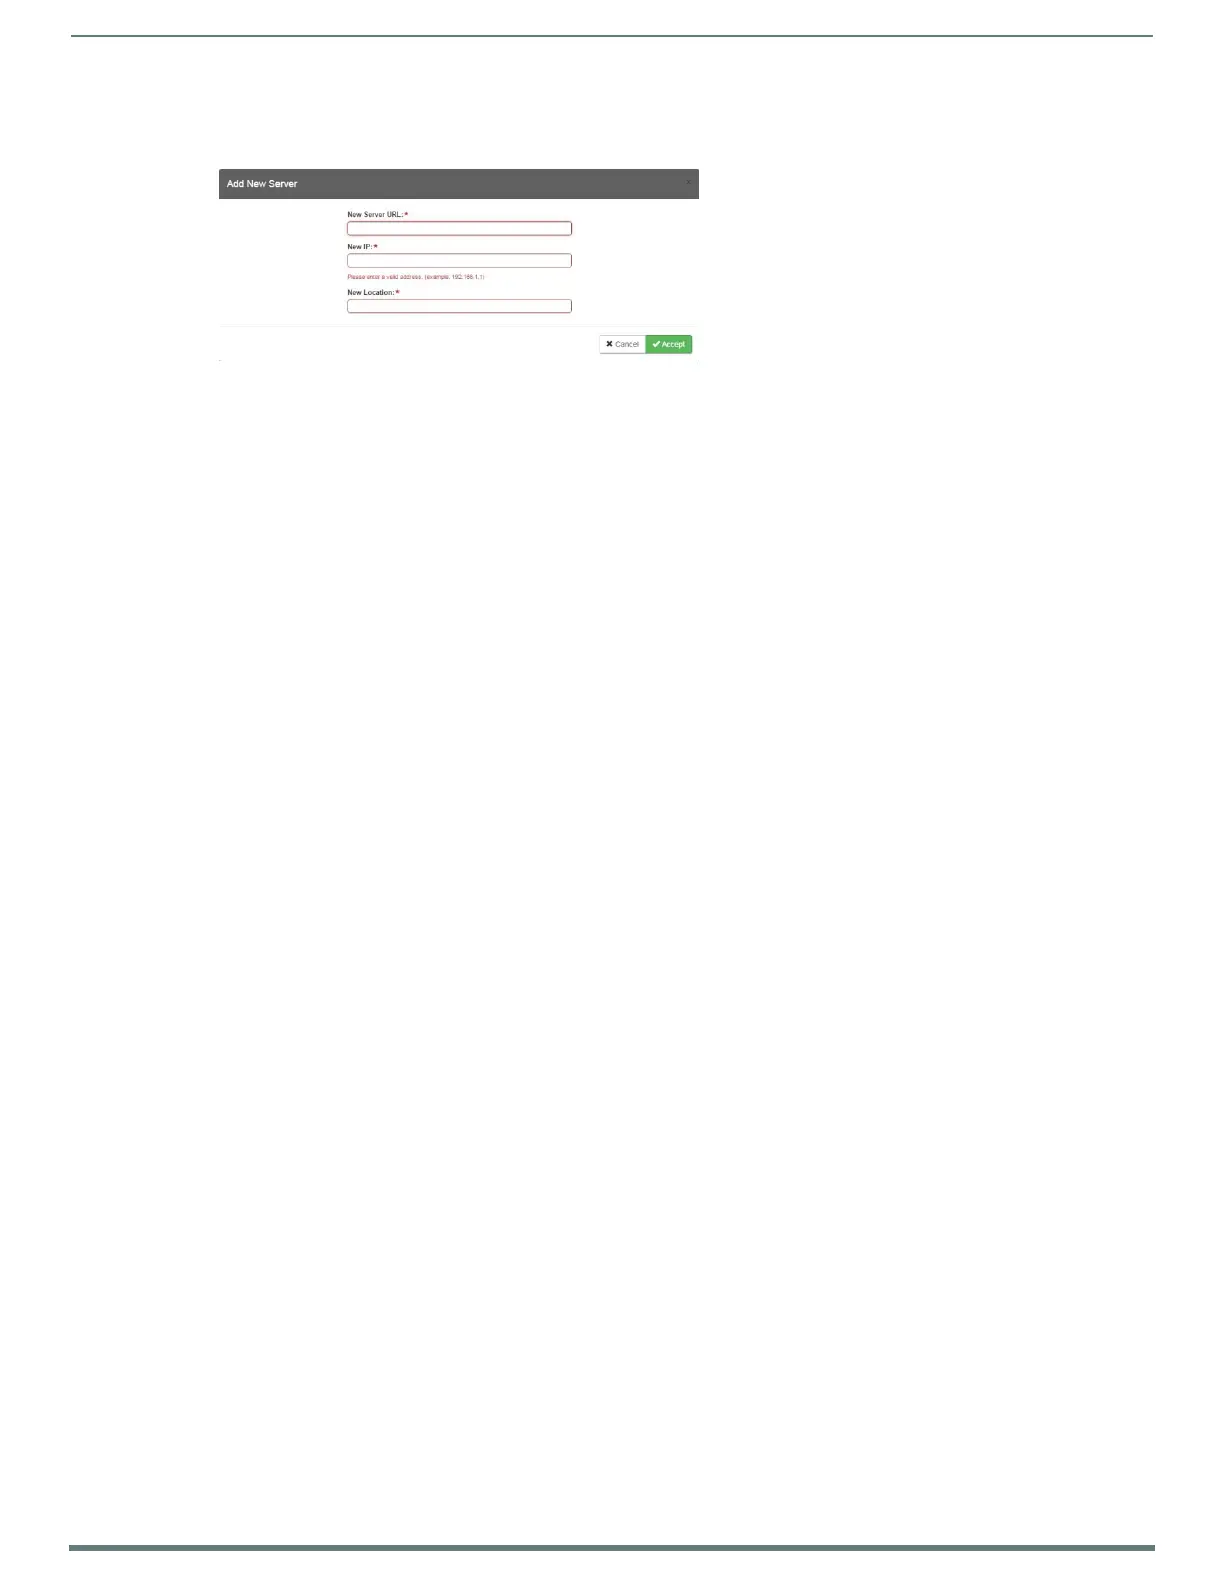
1. Click Add Server. The Add New Server dialog opens (FIG. 36).
2. In the New Server URL field, enter the URL of the NIST Server. The URL is used only to help you manage entries, and is not
verified or used internally by the clock manager.
3. Enter the NIST Server’s IP Address in the New IP field. This is used internally and must be a valid IP address.
NOTE: The strings entered into the URL and Location fields are not used to connect to NIST Servers. The IP Address (entered
into the IP field) specifies the NIST Server(s) that will be used. As stated above, the address entered into the IP field must be
must be a valid IP address (not a URL).
4. Enter the NIST Server’s location in the New Location field. This is used only to help the user manage entries and it is not
verified or used internally by the clock manager.
5. Click Accept to save these settings to the Master.
Removing an NIST Server From the List
1. Click on the Remove (x) button to the right of a user-added NIST Server in the NIST Server Manager list.
2. Click Accept to save these settings to the Master.
NOTE: The built-in entries cannot be removed.
Clock Manager NetLinx Programming API
Refer to Appendix C: Clock Manager NetLinx Programming API section on page 145 for a listing and description of the Types/
Constants and Library Calls that are included in the NetLinx.AXI to support Clock Manager functions.
FIG. 36
Add New Server dialog
 Loading...