Read Status Operation
IQ-301 PN 50036:F 10/29/2001 119
4.9.2 How to Enter Read Status
Press the
ENTER
key. The control panel displays the Program Entry screen as shown in
Figure 112:
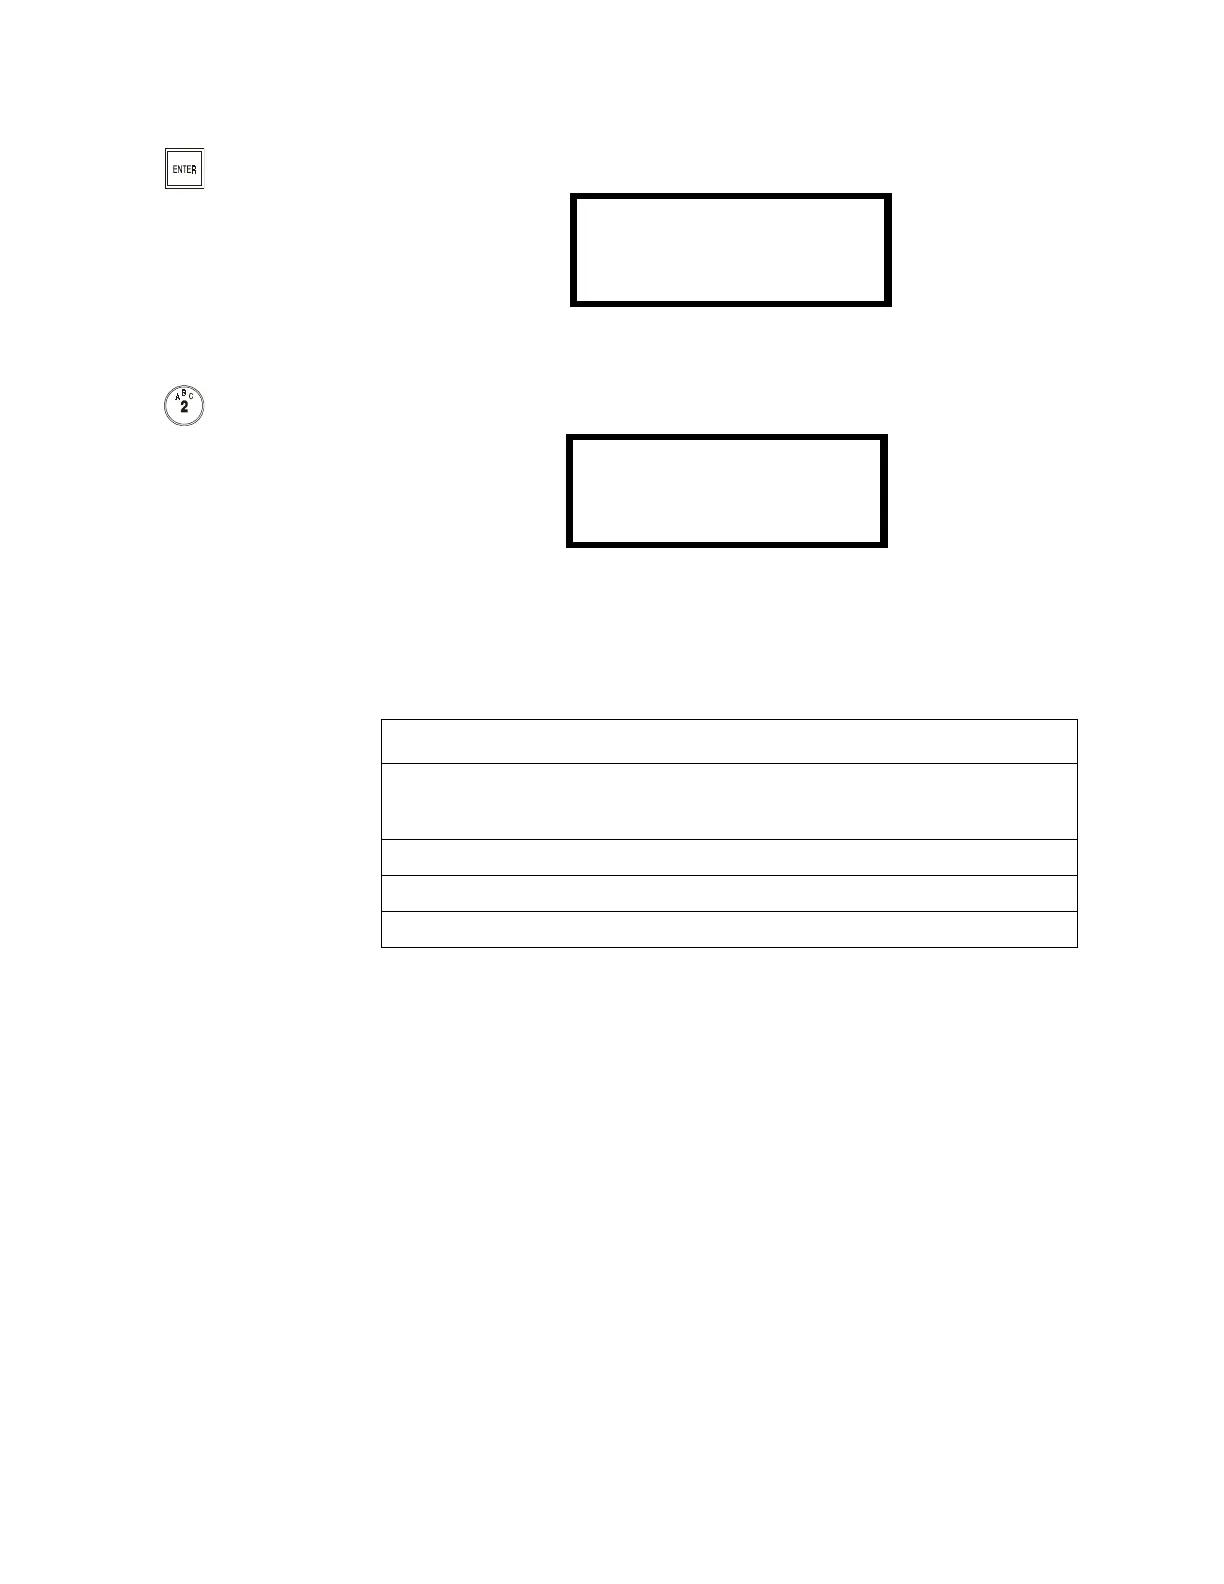
Figure 112 Program Entry Screen
From the Program Entry Screen, press the 2 key. The control panel displays the Read
Status screen as shown in Figure 113:
Figure 113 Read Status Screen
4.9.3 Read Status Options
If attempting to read a point
that is not installed, the control
panel displays NOT
INSTALLED.
To do a Read Status, follow the instructions in Table 41. For explanation of history
operation, refer to “Using the History Buffer” on page 124.
Table 41 Read Status Options
During all Read Status operations (except print operations) the control panel starts a
two-minute timer each time you press a key. If the control panel does not detect a key
press for two minutes, the control panel leaves the current operation and returns to the
previous display.
• Press the Left cursor (Backspace) key to delete the previous entry.
• Press the left cursor (backspace) again to exit Read Status.
4.9.4 Read Point
Read Point operations display point status on the LCD display and on the terminal
mode LCD-80s, but the status is not sent to the serial ports or the History buffer. After a
point read, you can press the down key to read the next point in sequence, or press the
up key read the previous point in sequence. The sequence of points is:
• Detector points 01-99
• Module points 01-99
• Panel Circuits 01-04
• System parameters
• Software Zones 01-89
• Special Zones 90-99
1=PROGRAM
2=READ@STATUS
(BACKSPACE@TO@ABORT)
READ@POINT=*/#,AA,E
PRINT@POINTS=1,E
READ@HISTORY=2,E
PRINT@HISTORY=3,E
To Do this
Read Point • Select the type of point to read: * for a detector, # for a module, or *#
for a bell circuit.
• Enter the two-digit address of the point; then press the
ENTER
key.
Print Points Press the 1 key; then press the
ENTER
key.
Read History Press the 2 key; then press the
ENTER
key.
Print History Press the 3 key; then press the
ENTER
key.
 Loading...