R5906113 /08 UDX 43
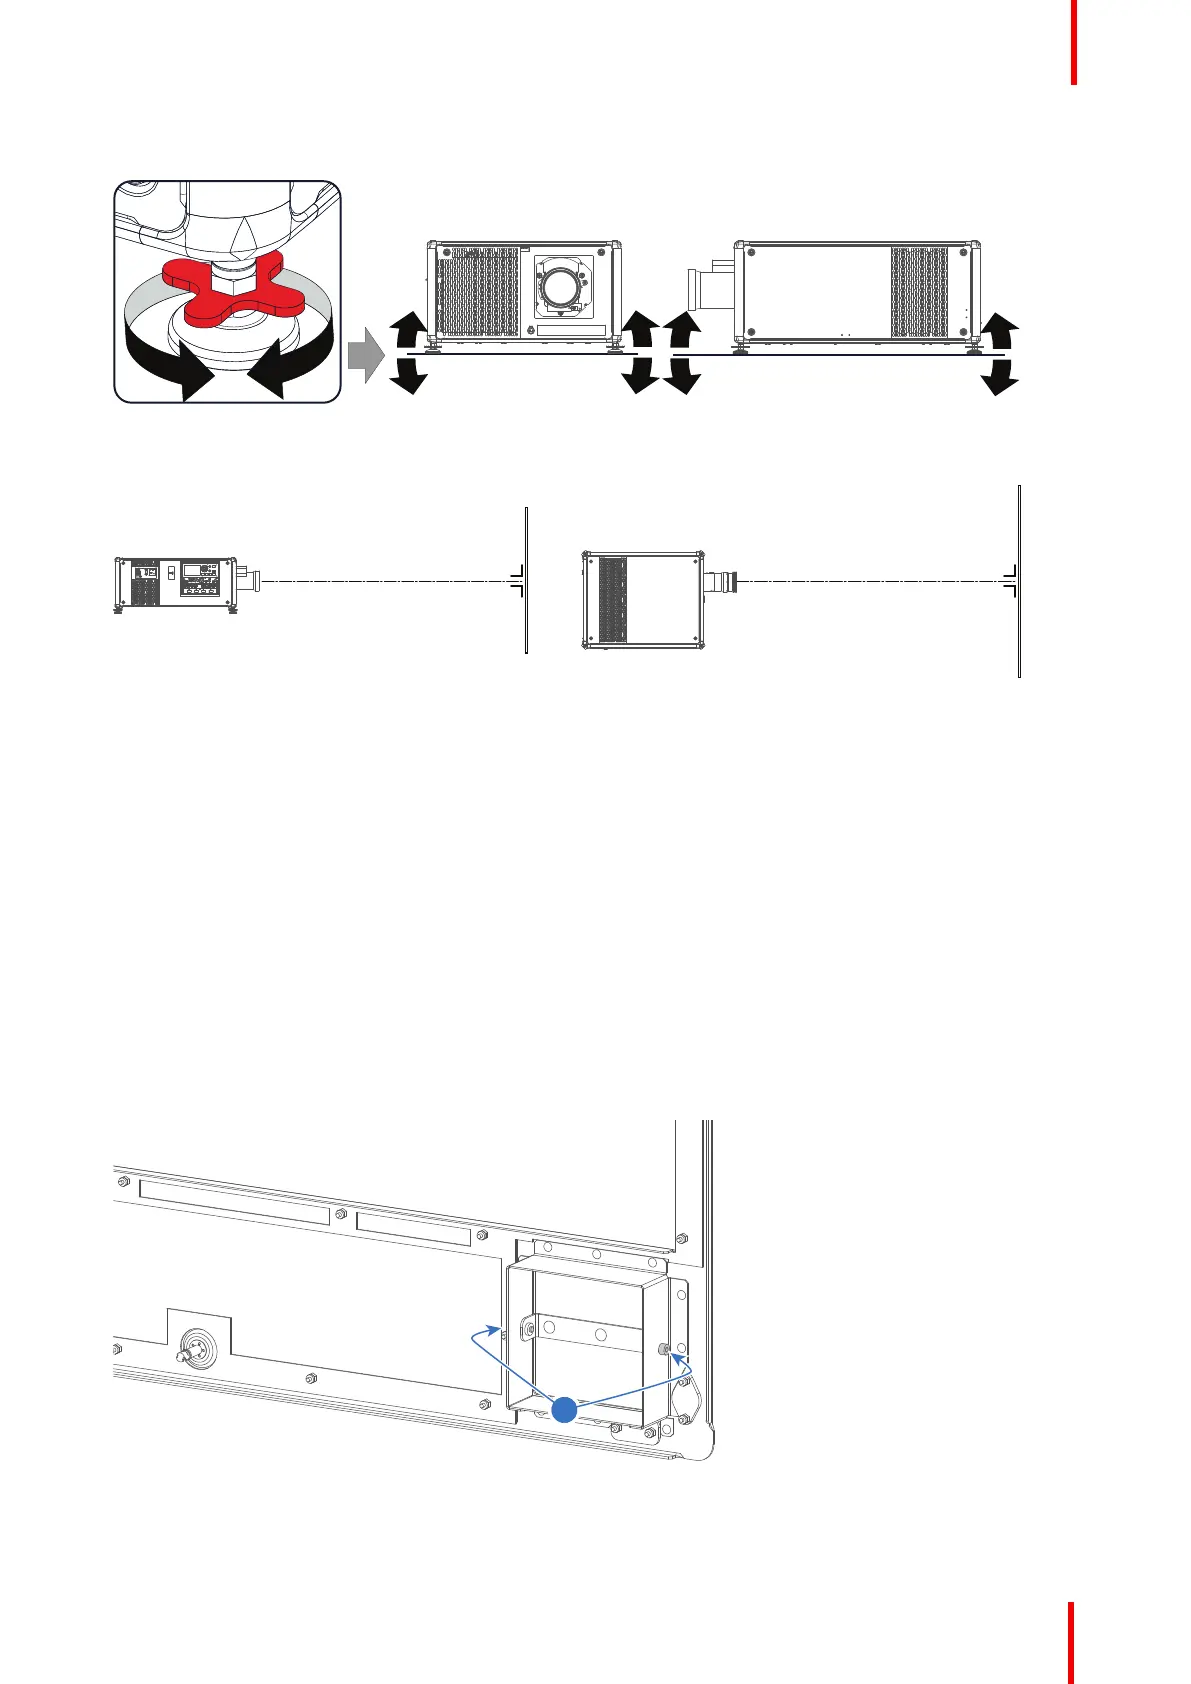
3. Turn the adjustable feet in or out until the projected hatch pattern has a perfect rectangle shape and is leveled.
Image 4-2: Level alignment
When this is achieved, the projector is set horizontal and vertical at right angles to the screen.
Image 4-3: Angle adjustment
4.3 Connecting the projector to the external cooler
What has to be done?
When opting to install a “silent” version of the projector, the cooling must be installed as a separate device.
The cooling circuit of the external cooler has to be connected with the cooling circuit of the projector. To make
this possible, you will need the following:
• 2 cooling tubes of 8 meters length
• The data cable to connect between the UDX and the external cooler
How to access the hose connections on the projector
1. Remove the back cover of the projector. See “Removal of the back cover”, page 108.
2. Loosen the two screws holding the protective plate from the back cover (reference 1 Image 4-4).
Image 4-4
3. Remove the protective plate (reference 2, Image 4-5) from the back cover.
Physical Installation
 Loading...