etc.
This series DVR max supports 8 SATA HDDs. Please use HDD of 7200rpm or higher.
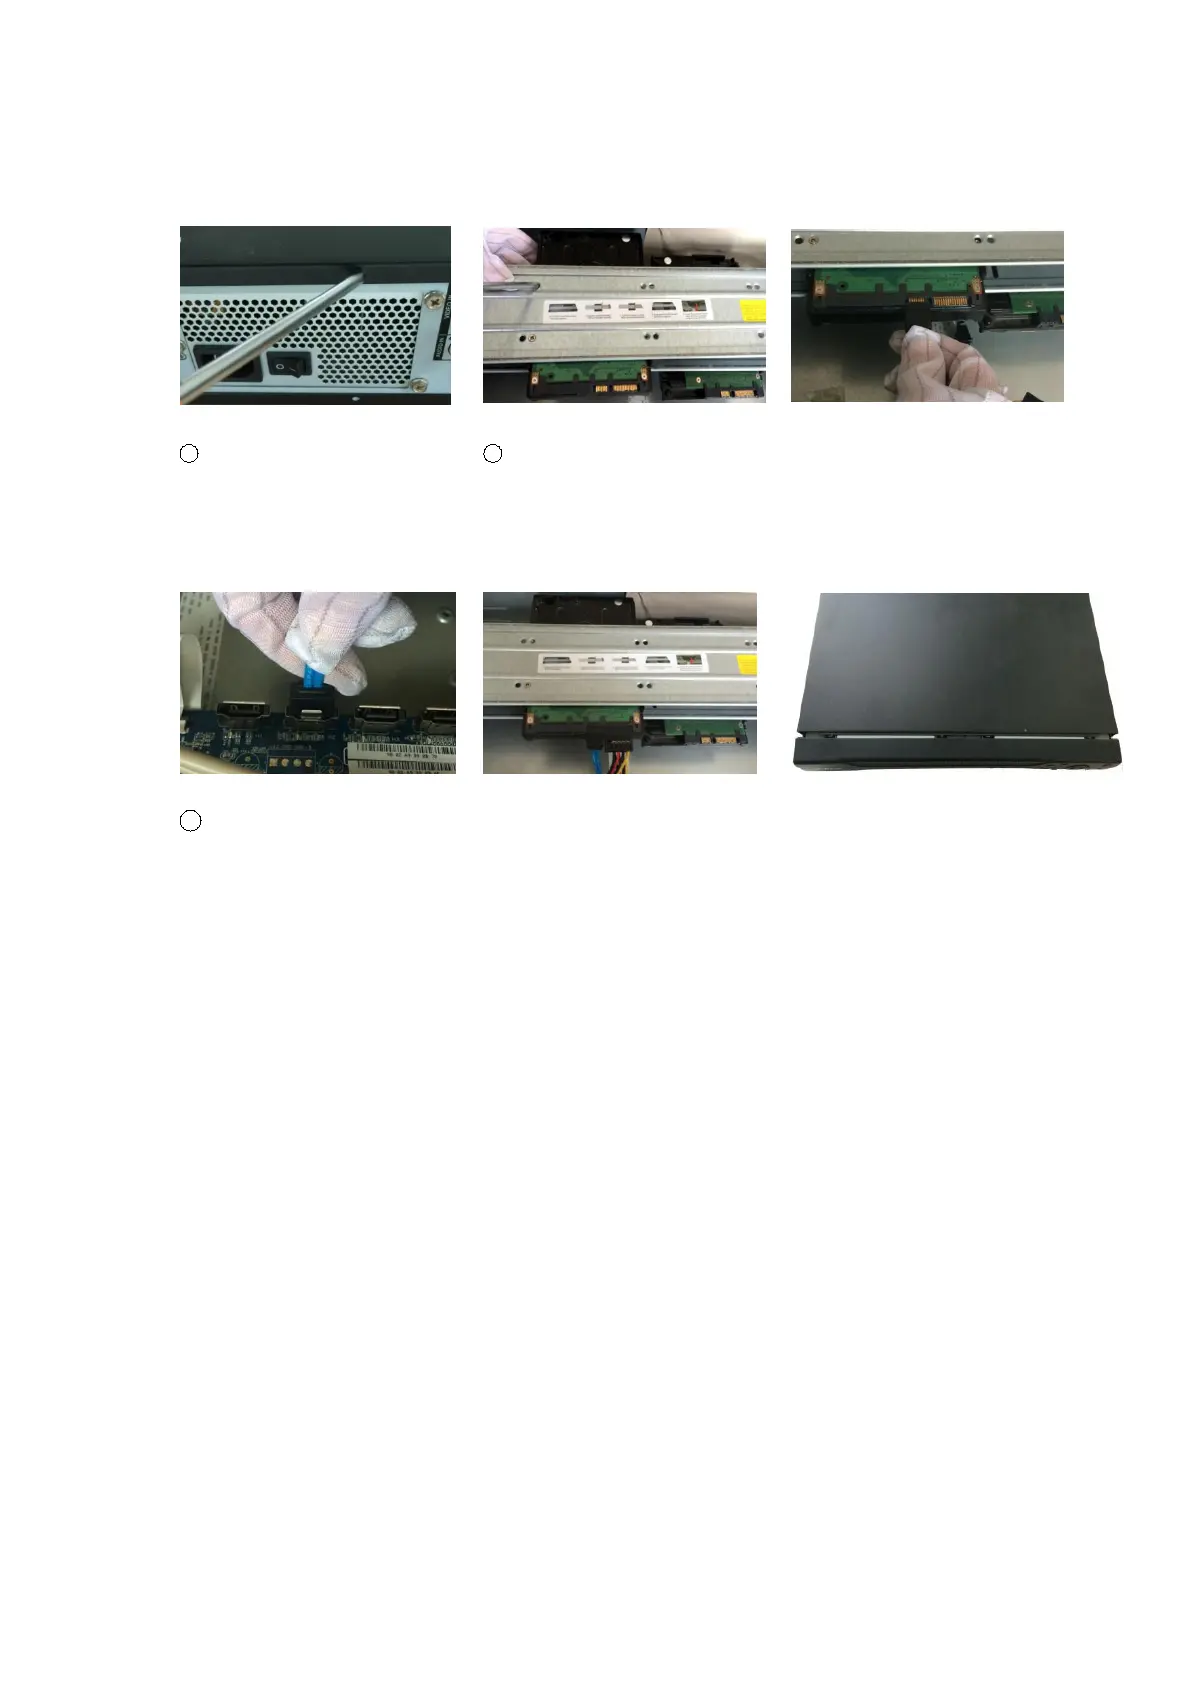
1
Loosen the screws of the
upper cover and side panel.
Remove the cover.
bracket. Remove the top
bracket if you want to install
HDD to the bottom bracket.
③ Connect the one end of the HDD
cable to the HDD.
4
Connect the other end of the
HDD cable to the mainboard.
⑤Connect the power cable to the
HDD.
⑥Put the cover back and fix the
screws to secure firmly.
Important:
If the HDD amount is less than four, you do not need to install the HDD bracket.
When there is a bracket, please make sure the installation direction of HDDs is the same.
The DVR occupies 1.5U/2U rack units of vertical rack space.
Use twelve screws to fix the unit
Please make sure the indoor temperature is below 35℃ (95°f).
Please make sure there is 15cm (6 inches) space around the device to guarantee
sound ventilation.
Please install from the bottom to the top.
If there are more accessories connected in the rack, please take precaution
measures in case the rack power is overload.
3.4 Connecting Power Supply
Please check input voltage and device power button match or not.
We recommend you use UPS to guarantee steady operation, DVR life span, and other
peripheral equipments operation such as cameras.
 Loading...