NOTE: Do not pull and release the Stretch (SR) Tapes from the display panel. Separation of the brackets from the display
panel is not required.
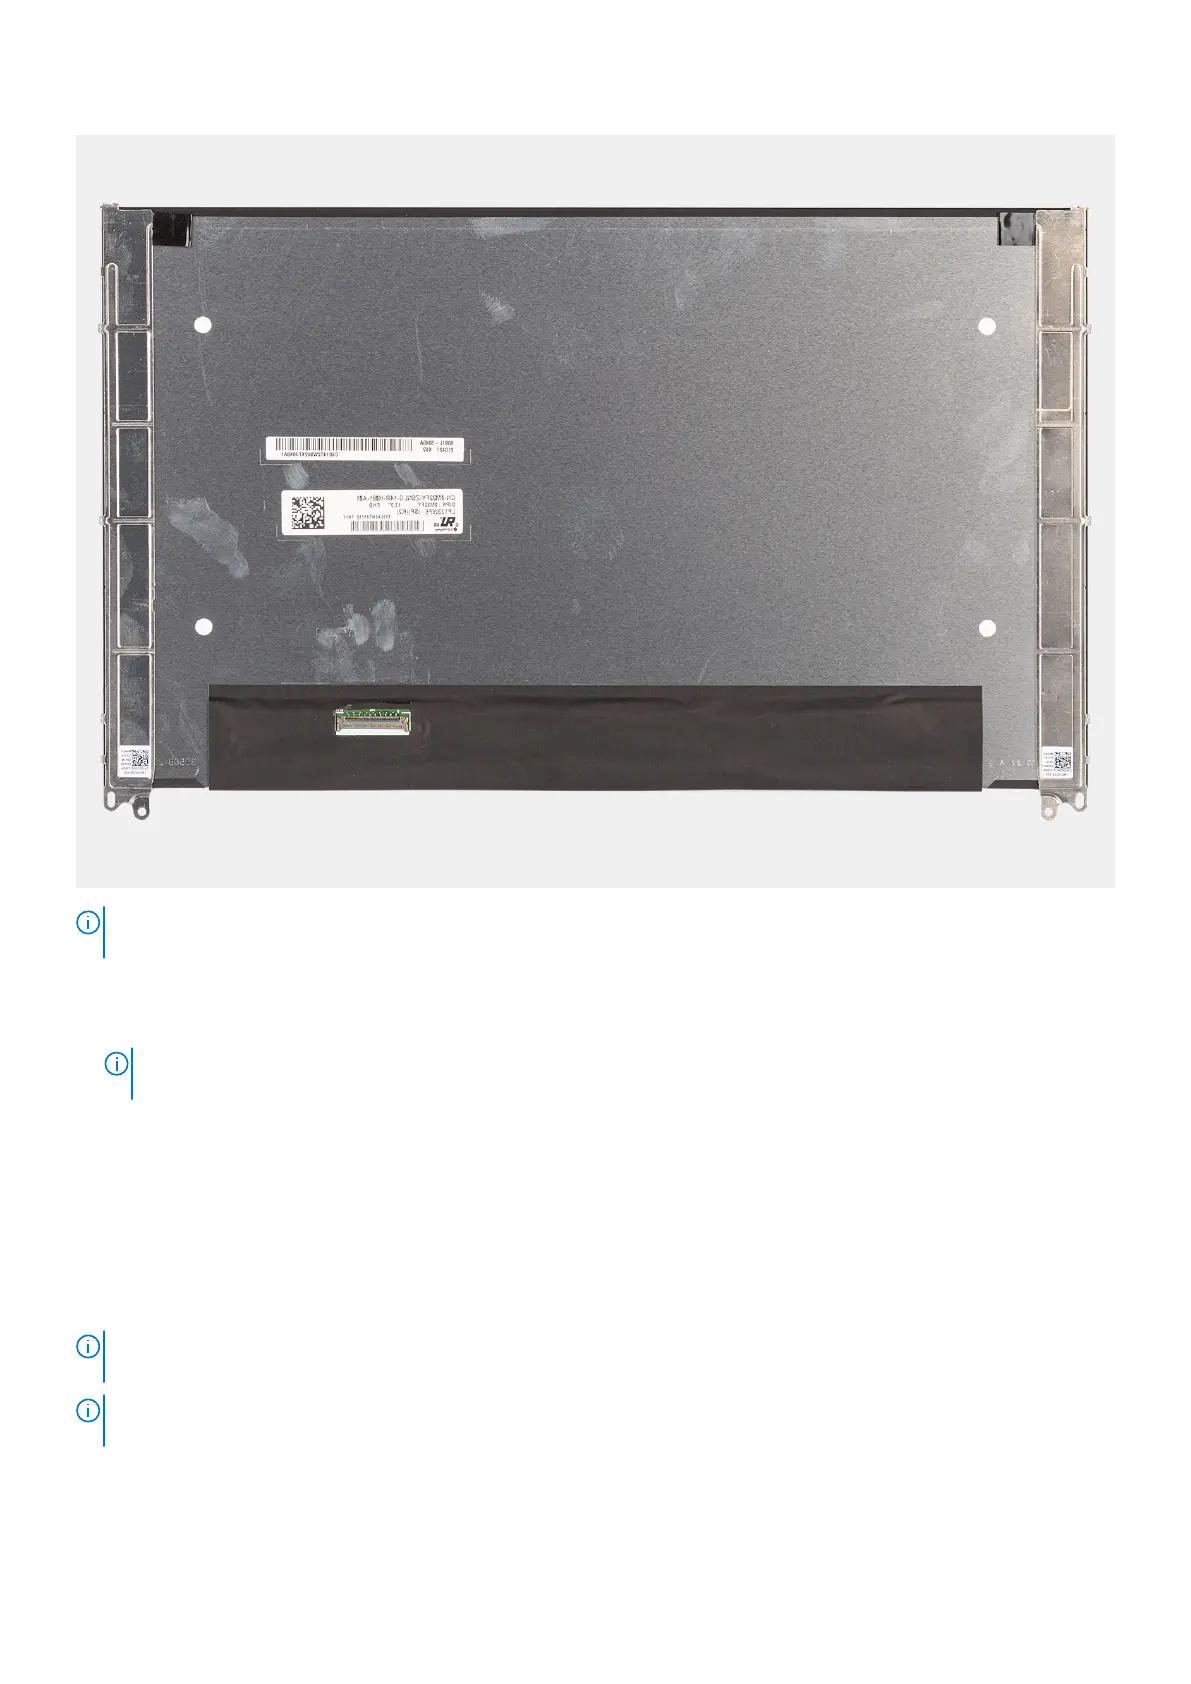
Steps
1. Remove the two (M2x2.5) screws that secure the display panel to the display assembly.
NOTE:
When removing the display panel, disengage the display panel tabs from the display cover before flipping it over
for removal.
2. Lift to turn over the display panel to access the display cable.
3. Peel the conductive tape on the display cable connector.
4. Lift the latch and disconnect the display cable from the connector on the display panel.
Installing the display panel
Prerequisites
NOTE:
The display panel installation procedure is applicable only for Latitude 5330 laptop and not for the 2-in-1
configuration.
NOTE: The display panel and its support brackets are defined as a single assembly and cannot be further disassembled once
it is removed from the display back cover. The support brackets are not to be removed from the display panel.
If you are replacing a component, remove the existing component before performing the installation procedure.
94
Removing and installing components
 Loading...