Table 150. Configuration 12: R1Q+R2A+R4Q (continued)
Card type Slot priority Maximum number of cards
Intel (NIC: 10Gb) 6, 3 2
Intel (NIC: 10Gb) 7, 1, 2 3
Intel (NIC: 10Gb) 6, 3 2
Intel (NIC: 1Gb) 7, 1, 2 3
Intel (NIC: 1Gb) 6, 3 2
Intel (NIC: 1Gb) 7, 1, 2 3
Intel (NIC: 1Gb) 6, 3 2
Broadcom (NIC: 1Gb) 7, 1, 2 3
Broadcom (NIC: 1Gb) 6, 3 2
Foxconn (External Adapter) 7, 1, 2, 6, 3 5
Removing the expansion card risers
Prerequisites
1. Follow the safety guidelines listed in the Safety instructions.
2. Follow the procedure listed in the Before working inside your system.
3. Remove the air shroud or remove the GPU air shroud.
4.
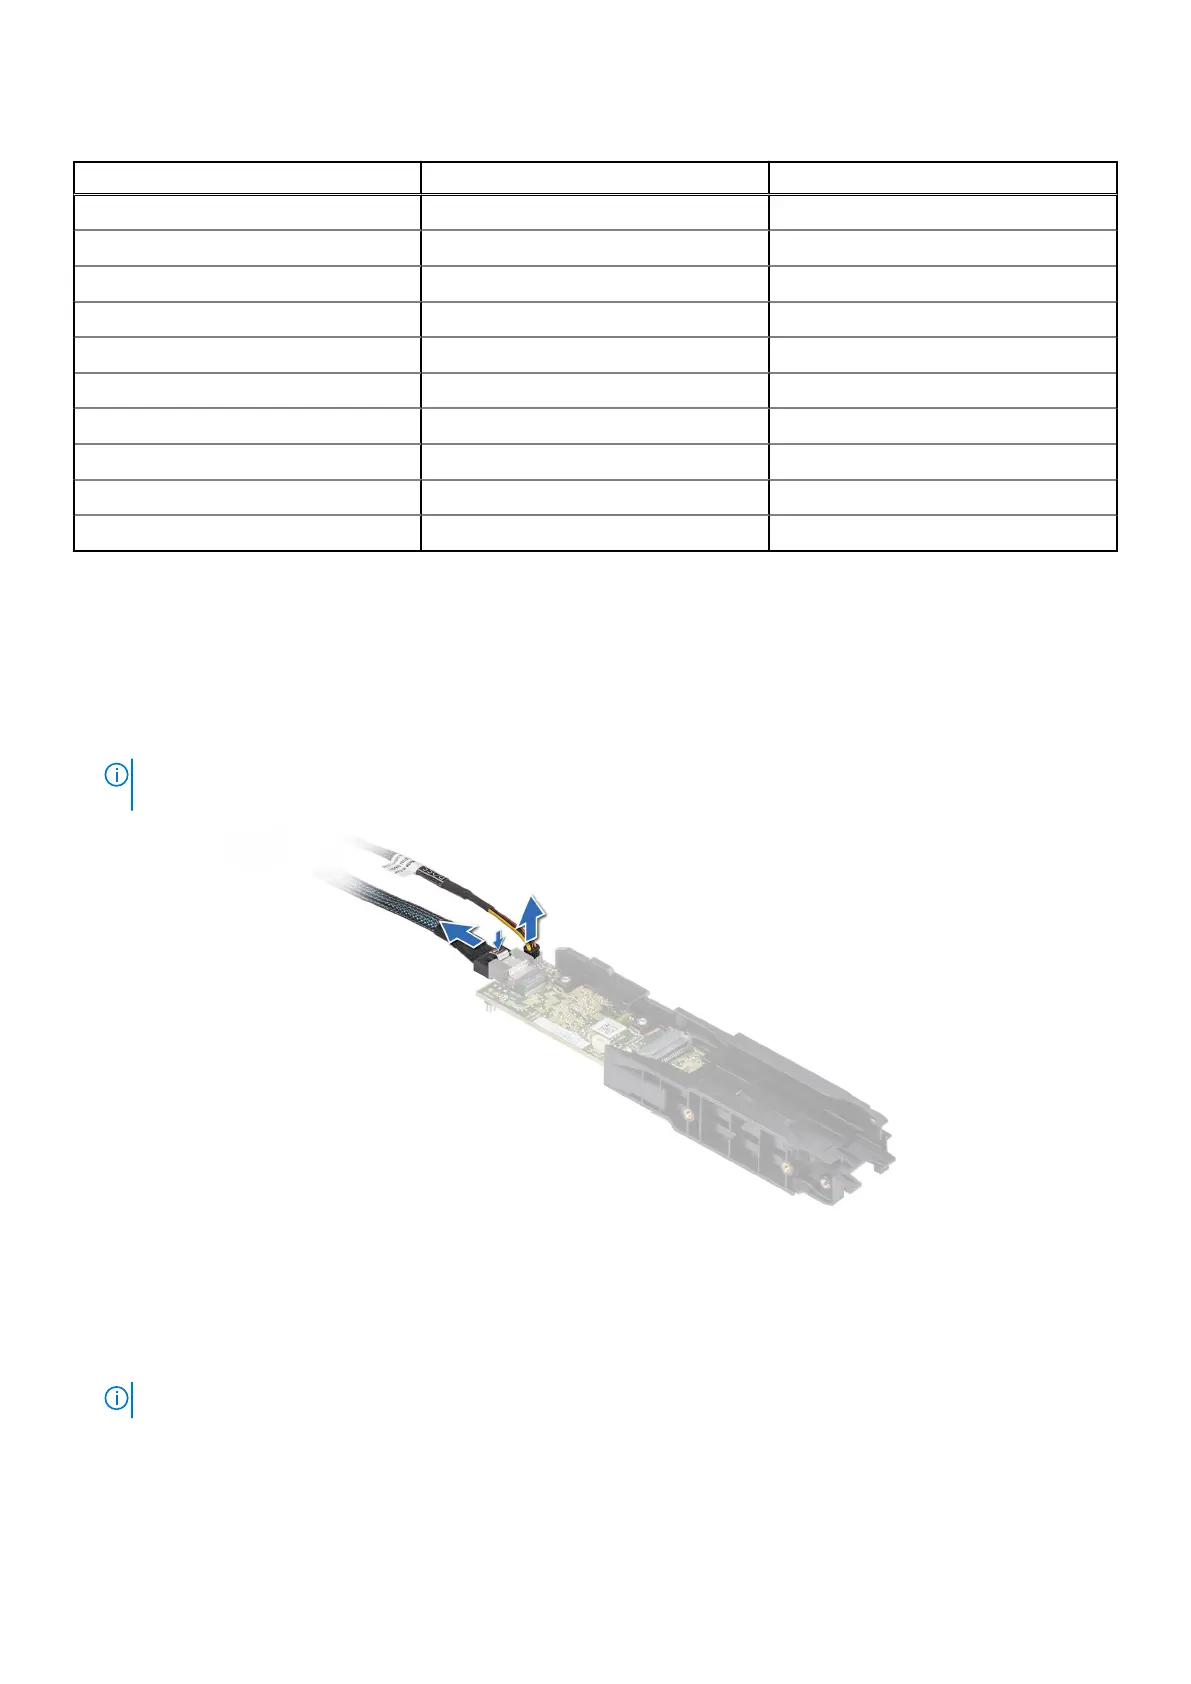
NOTE:
If BOSS-N1 module is installed, be sure to disconnect the BOSS-N1 power cable and Signal cable before
removing the Riser 1 cage.
5. If applicable, disconnect the cables from the expansion card or system board.
Steps
1. Loosen the captive screws on the riser and system.
2. Press the blue release tab or blue button on the riser and holding the edges lift the expansion card riser from the riser
connector on the system board.
NOTE: The numbers on the image do not depict the exact steps. The numbers are for representation of sequence.
Installing and removing system components 241

 Loading...