v Position the label within the recessed label area (see 5 in Figure 6-1 on page
6-1).
v With light finger pressure, smooth the label so that no wrinkles or bubbles exist
on its surface.
v Verify that the label is smooth and parallel, and has no roll-up or roll-over. The
label must be flat to within 0.5 mm (0.02 in.) over the length of the label and
have no folds, missing pieces, or smudges.
v Do not place other machine-readable labels on other surfaces of the cartridge.
They may interfere with the ability of the drive to load the cartridge.
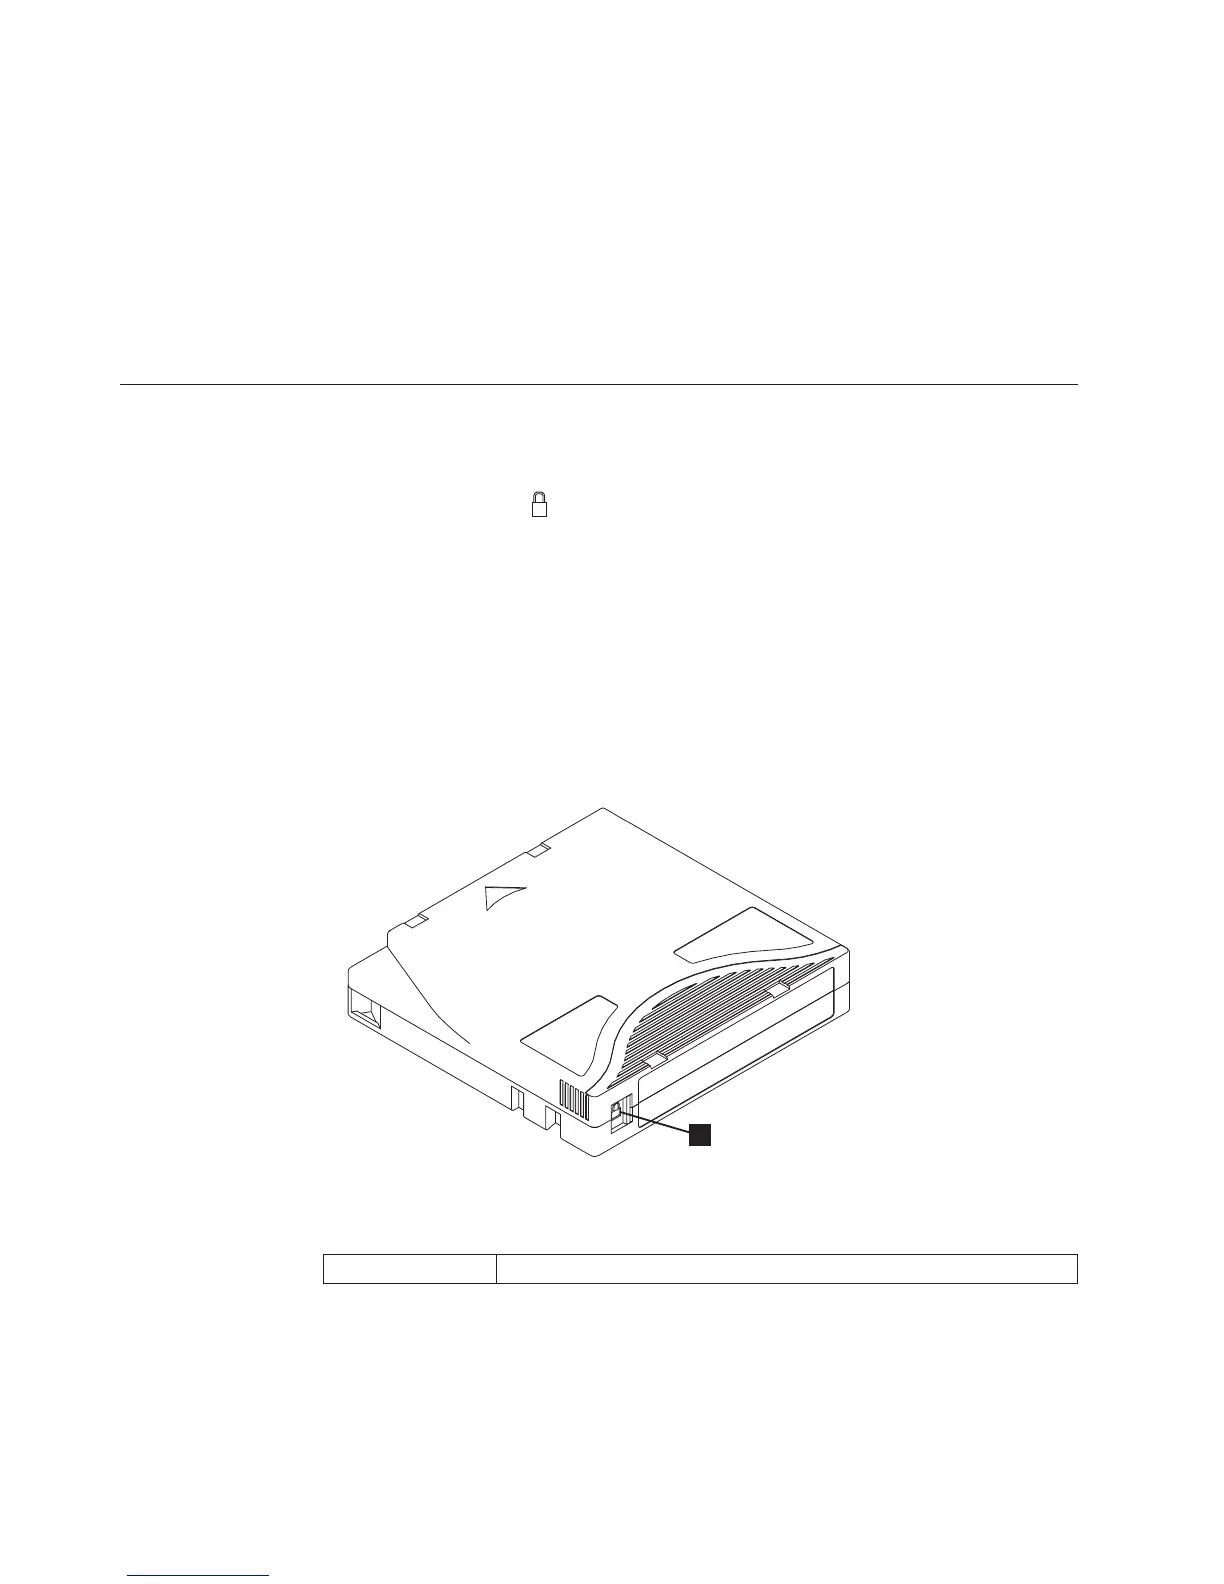
Write-Protect Switch
The position of the write-protect switch on the tape cartridge (see 1) determines
whether you can write to the tape. If the switch is set to:
v The locked position
(solid red), data cannot be written to the tape.
v The unlocked position (black void), data can be written to the tape.
If possible, use your server's application software to write-protect your cartridges
(rather than manually setting the write-protect switch). This allows the server's
software to identify a cartridge that no longer contains current data and is eligible
to become a scratch (blank) data cartridge. Do not write-protect scratch (blank)
cartridges; the tape drive will not be able to write new data to them.
If you must manually set the write-protect switch, slide it left or right to the
desired position.
Table 6-4. Location of the write-protect switch
1 Write-Protect Switch
A67E0026
1
Figure 6-4. Setting the write-protect switch
6-6 Dell PowerVault TL2000 Tape Library and TL4000 Tape Library User's Guide
 Loading...