1. Purge the system and shut down as described in Shut down on pag
e 62 and let the
system cool down.
2. Isolate the power and disconnect the mang half from the electrical supply
connector, then isolate the water and the gas purge supply. Switch o the nitrogen
and cooling water supplies. Disconnect the nitrogen supply, taking care as any
trapped gas under pressure is released. Disconnect the cooling water supply
followed by the cooling water return.
3. Switch o the nitrogen and cooling water supplies. Disconnect the nitrogen supply,
taking care as any trapped gas under pressure is released. Disconnect the cooling
water supply followed by the cooling water return.
4. Disconnect the inlet and outlet from the vacuum and exhaust systems and install
blanking caps.
5. If necessary, disconnect the air extracon port from the factory extracon system.
6. If necessary, disconnect any accessories from the system.
7. Adjust the levelling feet so that the system rests on the castors.
8. Move the system to the locaon where maintenance will be done. Aer
maintenance is complete, re‑install the system as described in Installaon on page
25.
9.3 Drain the cooling water for decommissioning
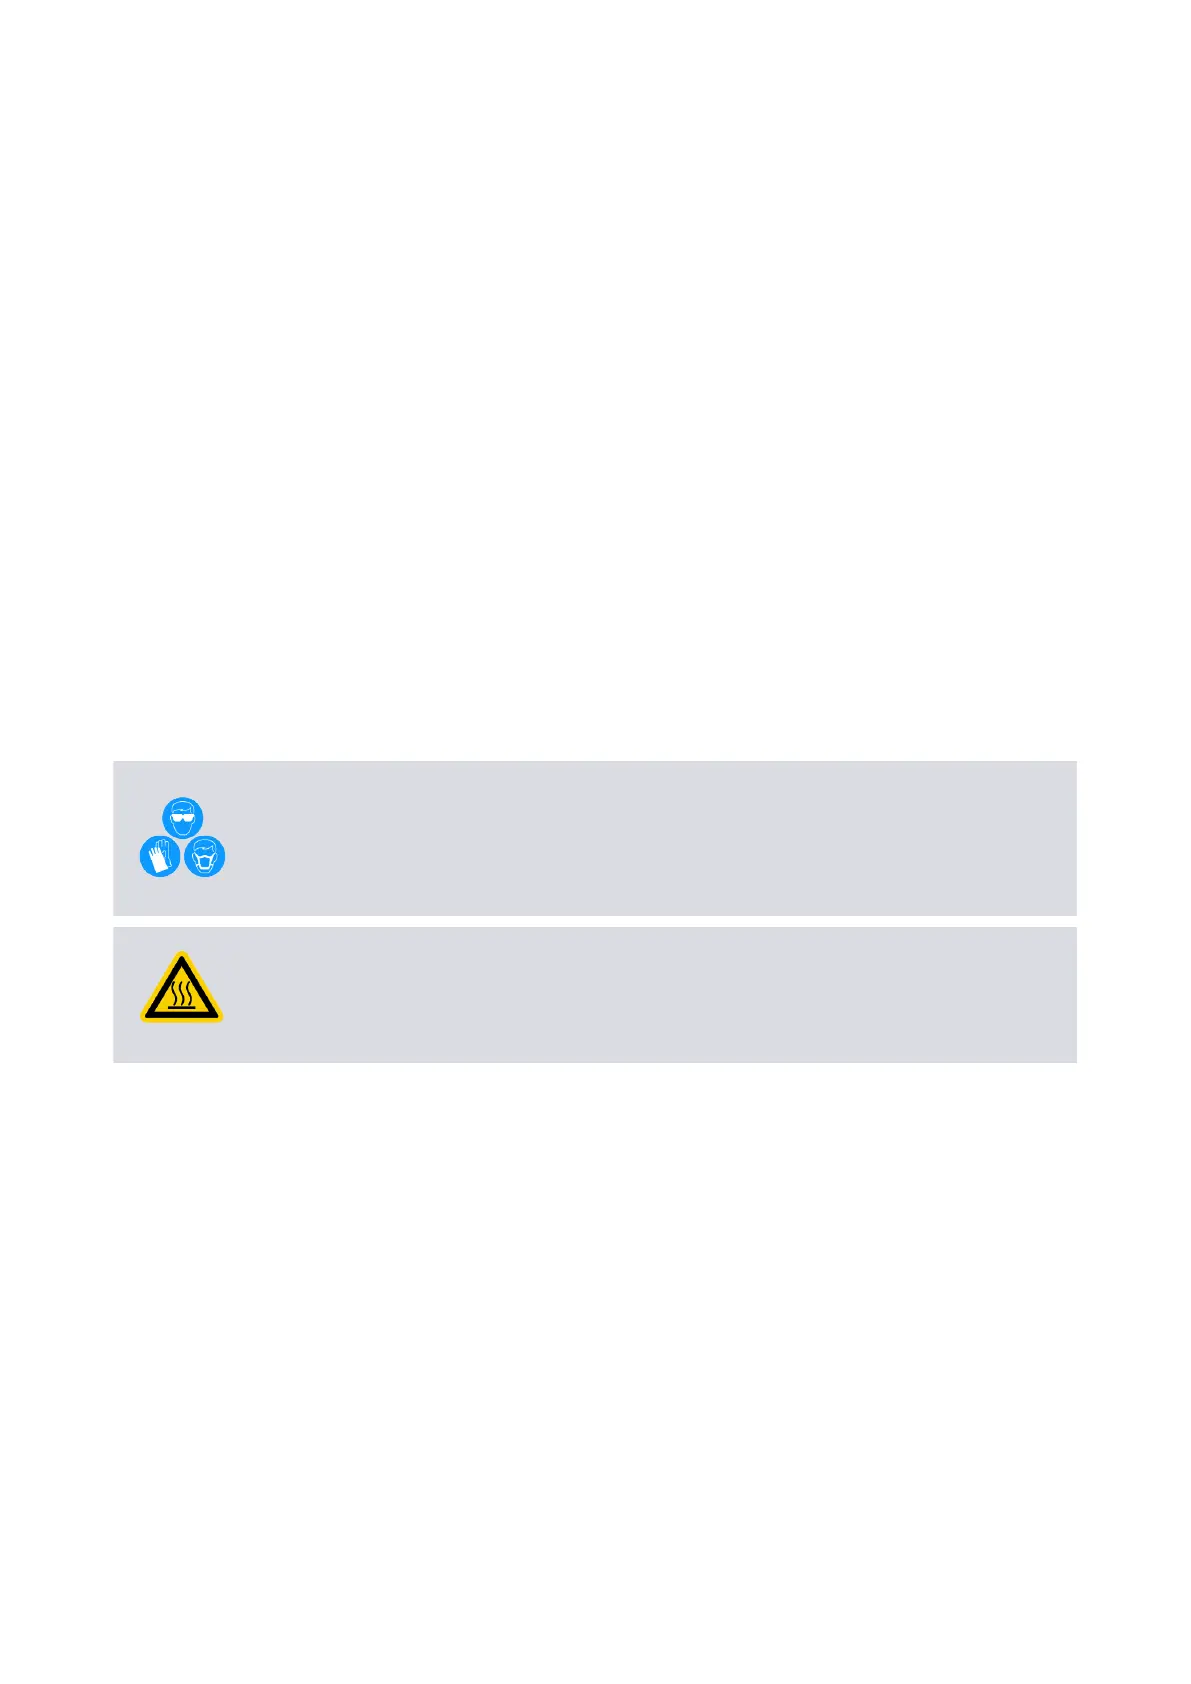
WARNING: PERSONAL PROTECTIVE EQUIPMENT
Risk of injury
. Personal protecve equipment (PPE) can decrease the risks of injury or
death to personnel and damage or destrucon to equipment or products. Wear the
correct PPE necessary for the task.
WARNING: HOT SURFACE
Risk of burn injury
. The exhaust of T variant systems will heat up to maximum
temperature as soon as the electrical supply is switched on.
1. Relocate the system for decommissioning as stated in Relocate the system for
decommissioning on page 86.
2. Connect a regulated clean dry air supply (5 bar (g) or 73 psi (g)) to the cooling
water supply connecon (Figure: Controls/connectors on the rear of the system).
Do not turn on the air supply yet.
3. Connect a drain hose to the cooling water return connecon (Figure: Controls/
connectors on the rear of the system). Put the open end of the drain hose in an
applicable collecon container.
4. Turn on the clean dry air supply.
5. Monitor the drain hose outlet unl no further cooling w
ater is purged.
6. Aach the external EMS link plug (supplied) to the EMS connecon on the rear of
the system (Figure: Controls/connectors on the rear of the system). Failure to do so
will result in being unable to purge the water system sasfactorily.
7. Connect the system to an applicable mains electrical supply. The control system
will now open each temperature control valve, purging the cooling water from all
ow paths. Aer two minutes, remove the electrical supply. Wait for 10 seconds
10/2020 - ©Edwards Limited
Page 87M56635880_D
M56635880_D - Decommissioning

 Loading...