EasyManua.ls Logo

Epson SC-F2100 SERIES User Manual

Epson SC-F2100 SERIES
143 pages
To Next Page IconTo Next Page
To Previous Page IconTo Previous Page
Page #31 background image
Before Printing
To maintain good print quality, perform the following
inspection before starting printing operations each day.
Check the amount of ink remaining:
Check the amount of ink remaining on the screen, and
replace with a new ink cartridge when ink is expended.
When ink is running low, we recommend replacing the
cartridge as soon as possible.
If an ink cartridge runs out while printing, you can
continue printing after replacing the ink cartridge.
However, if the ink cartridge is replaced during a print
job, the tone of the print results may differ depending on
the drying conditions.
U “Shaking and Replacing Ink Cartridges” on
page 83
Print Pattern
Print a check pattern to check for clogged nozzles.
Perform head cleaning if parts of the pattern are faint or
missing.
Print a Check Pattern U “Checking for clogged
nozzles” on page 78
Head Cleaning U “Cleaning the print head” on
page 80
Stir White ink
When using White ink, make sure you stir the ink when
a message is displayed on the screen when you turn on
the printer.
White ink may sediment (components settling to the
bottom of the liquid) easier than other ink due to the ink
characteristics. Sedimentation may cause print quality
to decline and nozzles to become clogged.
U “Shaking and Replacing Ink Cartridges” on
page 83
Pre-treatment (only for
White ink)
When printing with White ink, you need to apply
pre-treatment liquid to the T-shirt. Applying
pre-treatment liquid allows the White ink to develop
creating a more vivid color. When only printing with
color ink, we recommend that you do not perform
pre-processing as printed material can become too
delicate for washing and rubbing.
Prepare a roller or sprayer to apply the liquid to the
T-shirts.
U “Preparation” on page 27
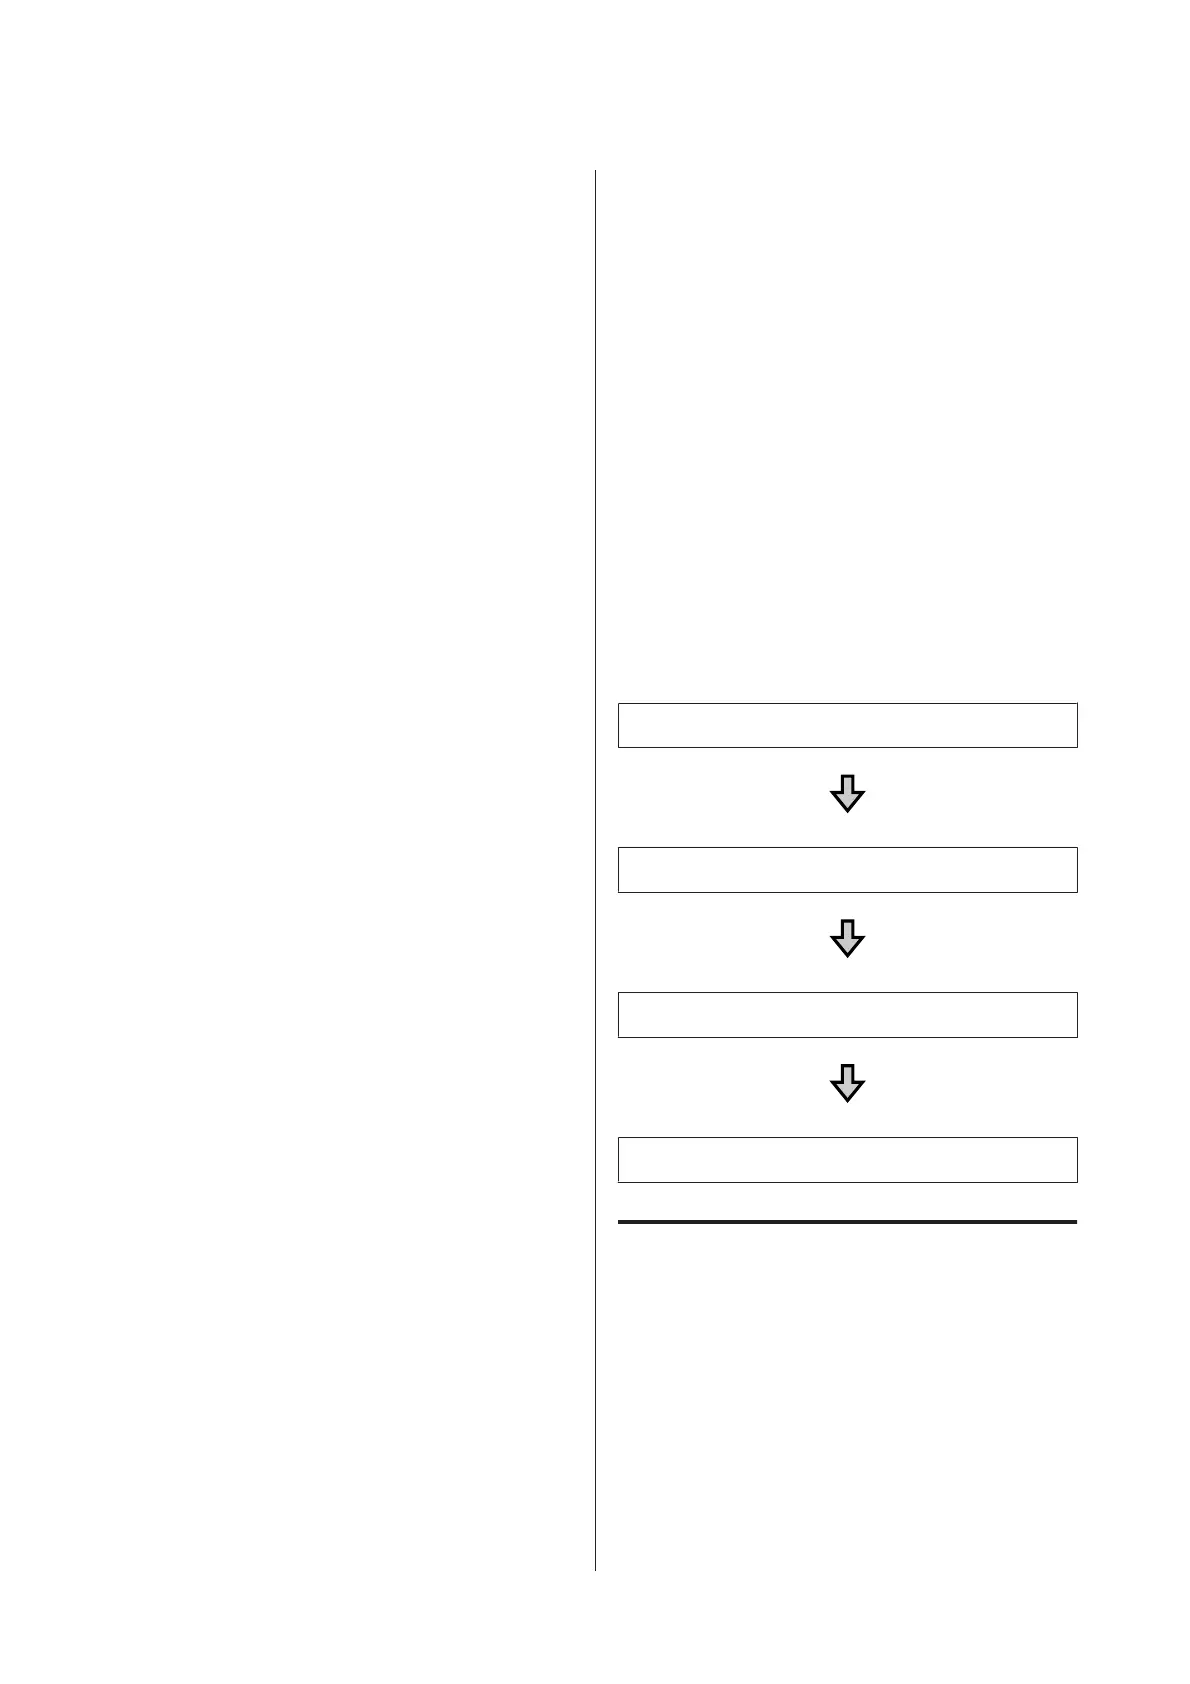
Perform pre-processing in the following order.
Opening the pre-treatment liquid
Diluting the pre-treatment liquid
Applying the pre-treatment liquid
Fixing the pre-treatment liquid
Using Pre-treatment Liquid
Read the safety data sheet before use. You can download
the safety data sheet from the Epson Web site.
URL: http://www.epson.com
SC-F2100 Series User's Guide
Basic Printing
31

Table of Contents

Other manuals for Epson SC-F2100 SERIES

Questions and Answers:

Epson SC-F2100 SERIES Specifications

General IconGeneral
Ink TypeEpson UltraChrome DG ink
Maximum Print Resolution1440 x 1440 dpi
ConnectivityUSB, Ethernet
Printable AreaUp to 16" x 20"
Ink ColorsCyan, Magenta, Yellow, Black, White
Printer TypeDirect-to-Garment Printer
Operating System CompatibilityWindows, Mac
Platen SizesSmall, Medium, Large
Print SpeedUp to 27 seconds for a light garment

Summary

Printer Parts Overview

Front Section Components

Identification and description of parts located at the front of the printer.

Interior Components

Identification and description of internal components of the printer.

Rear Section Components

Identification and description of parts located at the rear of the printer.

Control Panel Interface

Description of the printer's control panel, buttons, and lights.

Screen View Information

Explanation of the printer's display screen information, status icons, and messages.

Printer Features

Usage and Storage Guidelines

Printer Usage Notes

Important considerations for operating the printer to avoid issues.

Software and Setup

Basic Printing Procedures

Before Printing Checks

Daily inspections and procedures to ensure print quality.

White Ink Pre-treatment Process

Steps for applying and fixing pre-treatment liquid for White ink printing.

Platen Preparation and Loading

Instructions for preparing platens and loading T-shirts onto them.

Adjusting Platen Gap

Procedure for adjusting the distance between the print head and the platen.

Starting and Canceling Printing

How to initiate and terminate printing jobs on the printer.

Printer Maintenance

Preparation and Safety Precautions

Lists items needed for maintenance and essential safety guidelines.

Checking for Clogged Nozzles

How to perform a nozzle check and identify clogged nozzles.

Cleaning the Print Head

Detailed instructions for performing print head cleaning.

Correcting Print Misalignment

Procedures for realigning the print head to fix print errors.

Shaking and Replacing Ink Cartridges

Instructions for shaking ink cartridges and replacing them.

Control Panel Menu Navigation

Problem Solving Guide

Resolving Displayed Messages

Troubleshooting steps for common printer messages and errors.

Maintenance and Service Calls

Actions to take when the printer indicates a need for maintenance or service.

Troubleshooting Printing Issues

Steps to resolve common printing problems like no output or poor quality.

Print Quality Issues

Solutions for poor, uneven, or misaligned print results.

Appendix and Specifications

Related product manuals