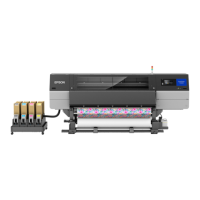
Buttons that are used in the following operations
A
Confirm that the printer is on, and then press the
- button.
The Maintenance menu is displayed.
B
Press the d/u buttons to highlight Replace
White Ink, and then press the r button.
C
Press the d/u buttons to highlight Yes, and then
press the Z button.
D
Perform steps 2 to 6 from the ink cartridge
replacement procedure to switch from White ink
to cleaning liquid or from cleaning liquid to
White ink, and then press the Z button.
When switching from cleaning liquid to White
ink (for the first time)
Go to step 5.
When switching from White ink to cleaning
liquid or from cleaning liquid to White ink
(from the second time or later)
The switching process starts. When switching is
complete, the screen being processed on the
control panel changes to the Ready screen and so
on.
U “Shaking and Replacing Ink Cartridges” on
page 83
E
Open the printer cover.
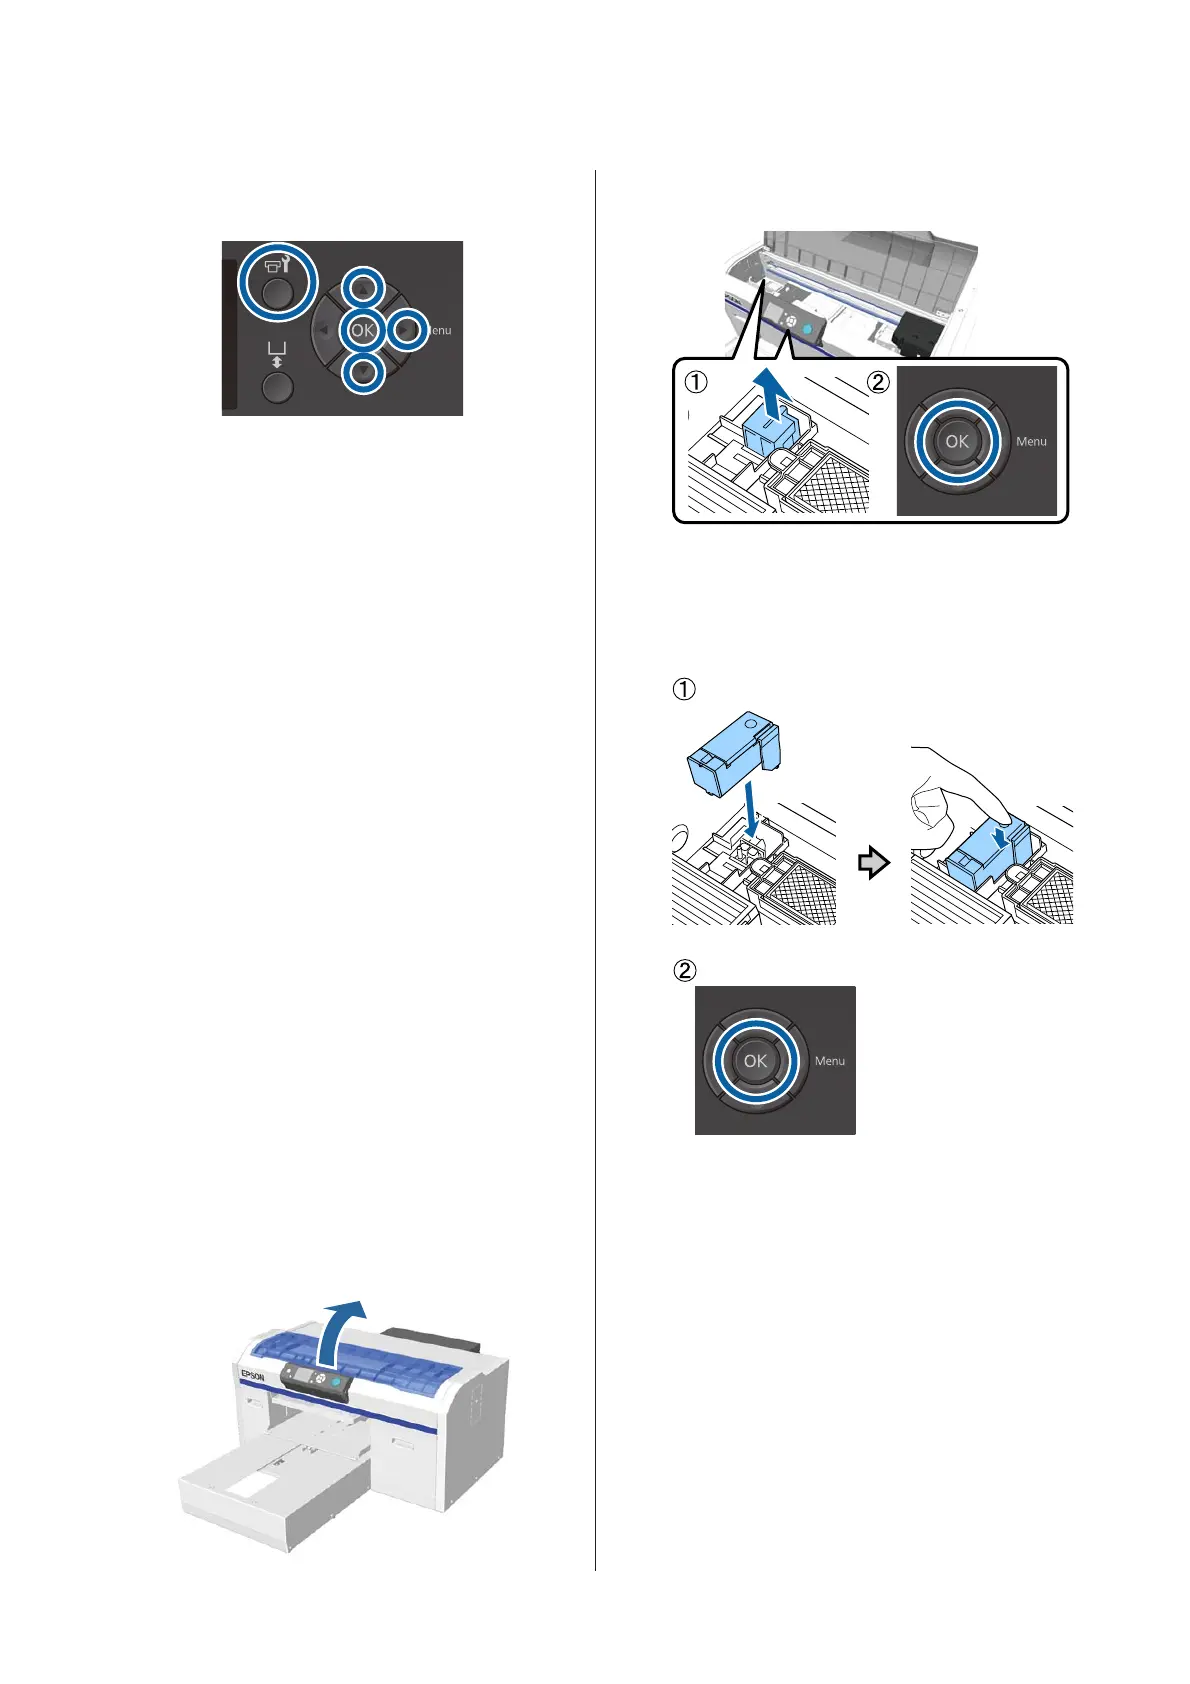
F
Remove the protective cover, and then press the
Z button.
G
Install the charging unit, and then press the Z
button.
Push it in all the way in the direction shown
below.
H
Close the printer cover, and then press the Z
button.
The ink switching process starts. Go to the next
step when Remove Charging Unit is displayed
on the control panel.
I
Open the printer cover.
SC-F2100 Series User's Guide
Maintenance
75
 Loading...