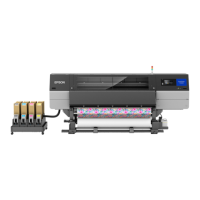
J
Press the lever forwards, and then place the holes
in the anti-drying cap over the two poles on the
printer.
K
Close the printer cover, and then press the Z
button.
L
Press the u/d buttons to highlight Yes, and then
press the Z button.
Press the Z button to move the print head to the
flushing pad replacement position.
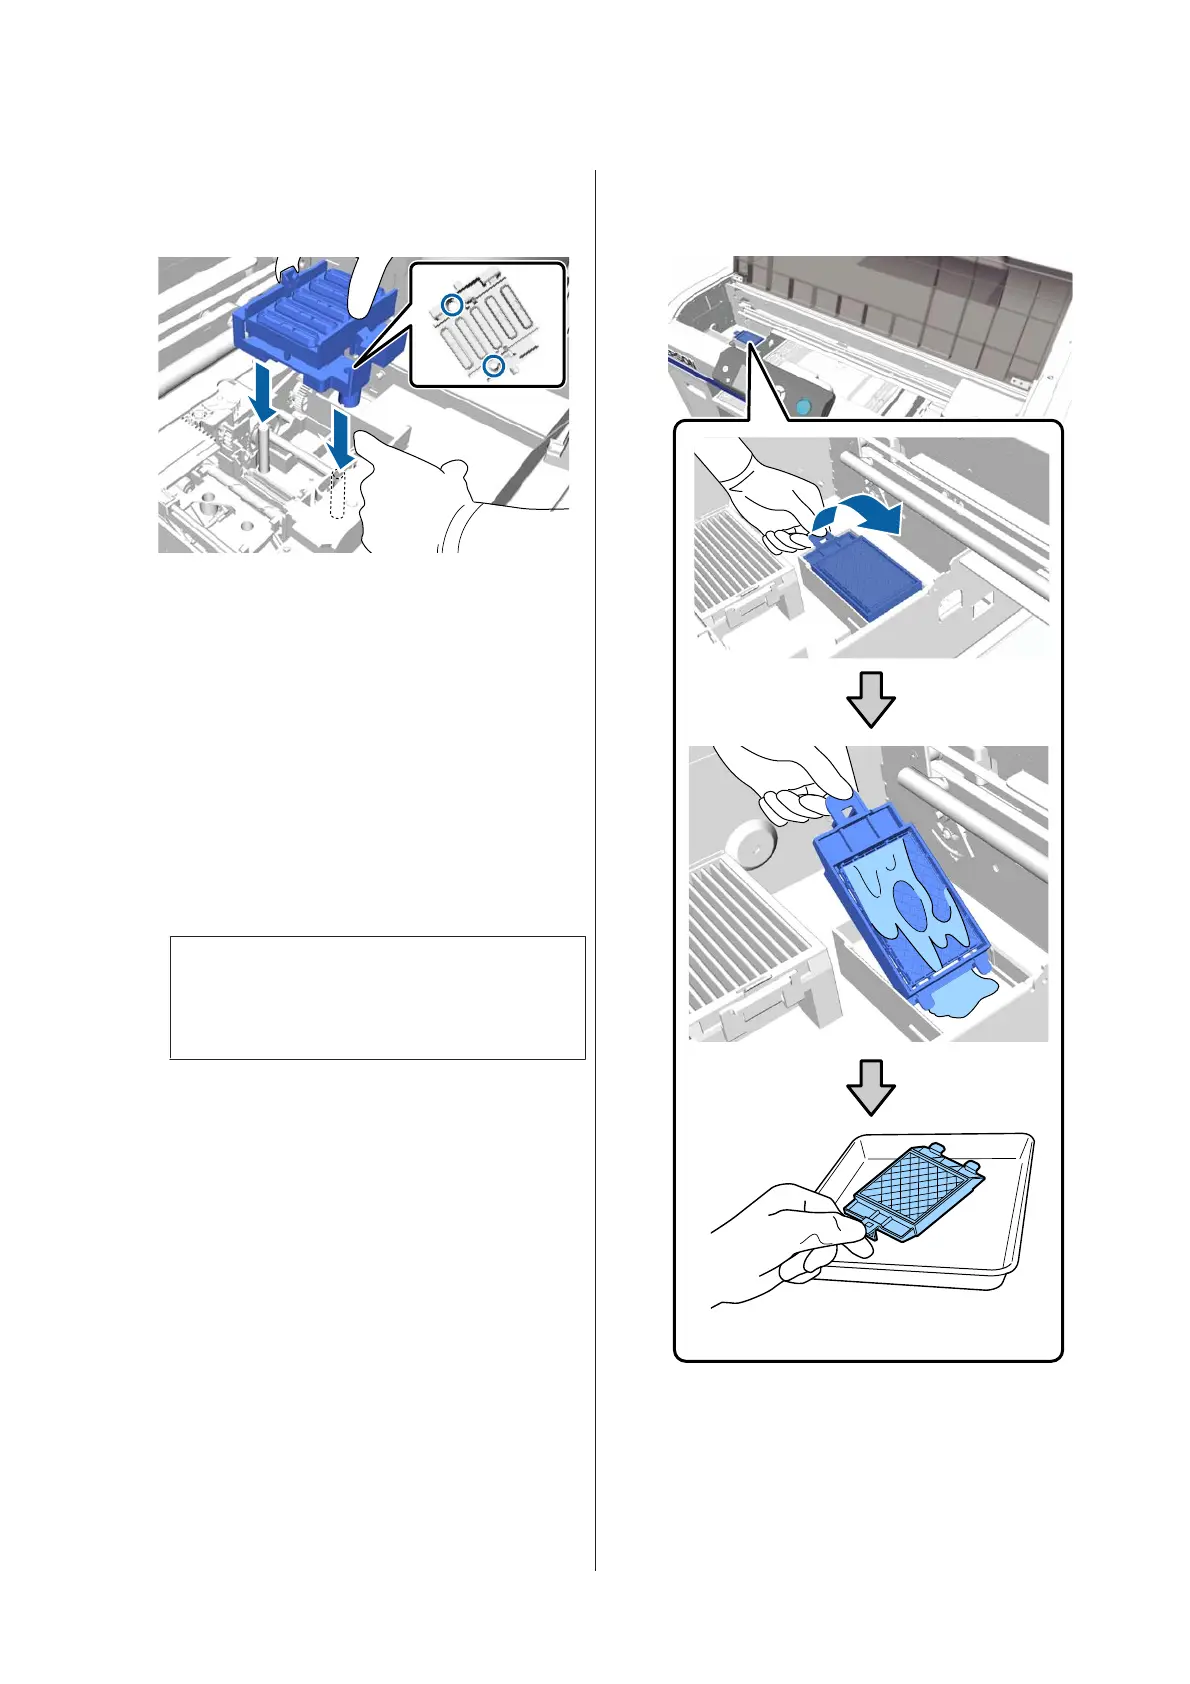
M
Open the printer cover.
N
Lift up the tab on the flushing pad, and remove
it.
c
Important:
Do this carefully as ink could spray out if it is
raised with too much force.
Hold it at an angle and wait until the waste ink
stops dripping from the flushing pad. Remove
and place it on the metal tray.
SC-F2100 Series User's Guide
Maintenance
90
 Loading...