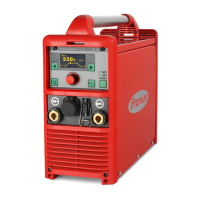
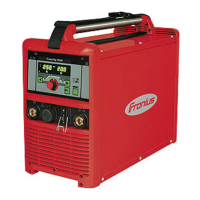
1
Secure the gas cylinder
2
Take the protective cap off the gas cylinder
3
Briefly open the gas cylinder valve to remove any dust or dirt
4
Check the seal on the pressure regulator
5
Screw the pressure regulator onto the gas cylinder and tighten it
When using a TIG welding torch with an integral gas connector:
6
Use the gas hose to connect the pressure regulator to the shielding gas connection
on the rear of the power source
7
Tighten the union nut on the gas hose
When using a TIG welding torch with no integral gas connector:
8
Connect the TIG welding torch gas hose to the pressure regulator
Establishing a
ground (earth)
connection to the
workpiece
1
Move the mains switch to the O position
2
Plug the grounding (earthing) cable in and latch it
- for MagicWave: in the grounding (earthing) cable connection
- for TransTig: in the (+) current socket
3
Use the other end of the grounding (earthing) cable to establish a connection to the
workpiece
Connecting the
welding torch
CAUTION!
Risk of damage from high frequencies.
▶
Do not use the JobMaster TIG welding torch with a LocalNet distributor.
1
Move the mains switch to the "O" position
2
Plug in the TIG welding torch welding power-lead and latch it by turning it clockwise:
- for MagicWave: in the welding torch connection
- for TransTig: in the (-) current socket
3
Plug the welding torch control plug into the torch control connection and latch it
or
connect the control line of the JobMaster TIG welding torch to the LocalNet connec-
tion
NOTE!
Do not use pure tungsten electrodes (colour-coded green) on TransTig power
sources.
4
Set up the welding torch in accordance with the welding torch Operating Instructions
5
Only when using a water-cooled torch and cooling unit:
Plug in the welding torch water connections to the water flow (black) and return (red)
connections on the cooling unit.
41
EN

 Loading...

