2
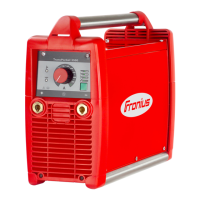
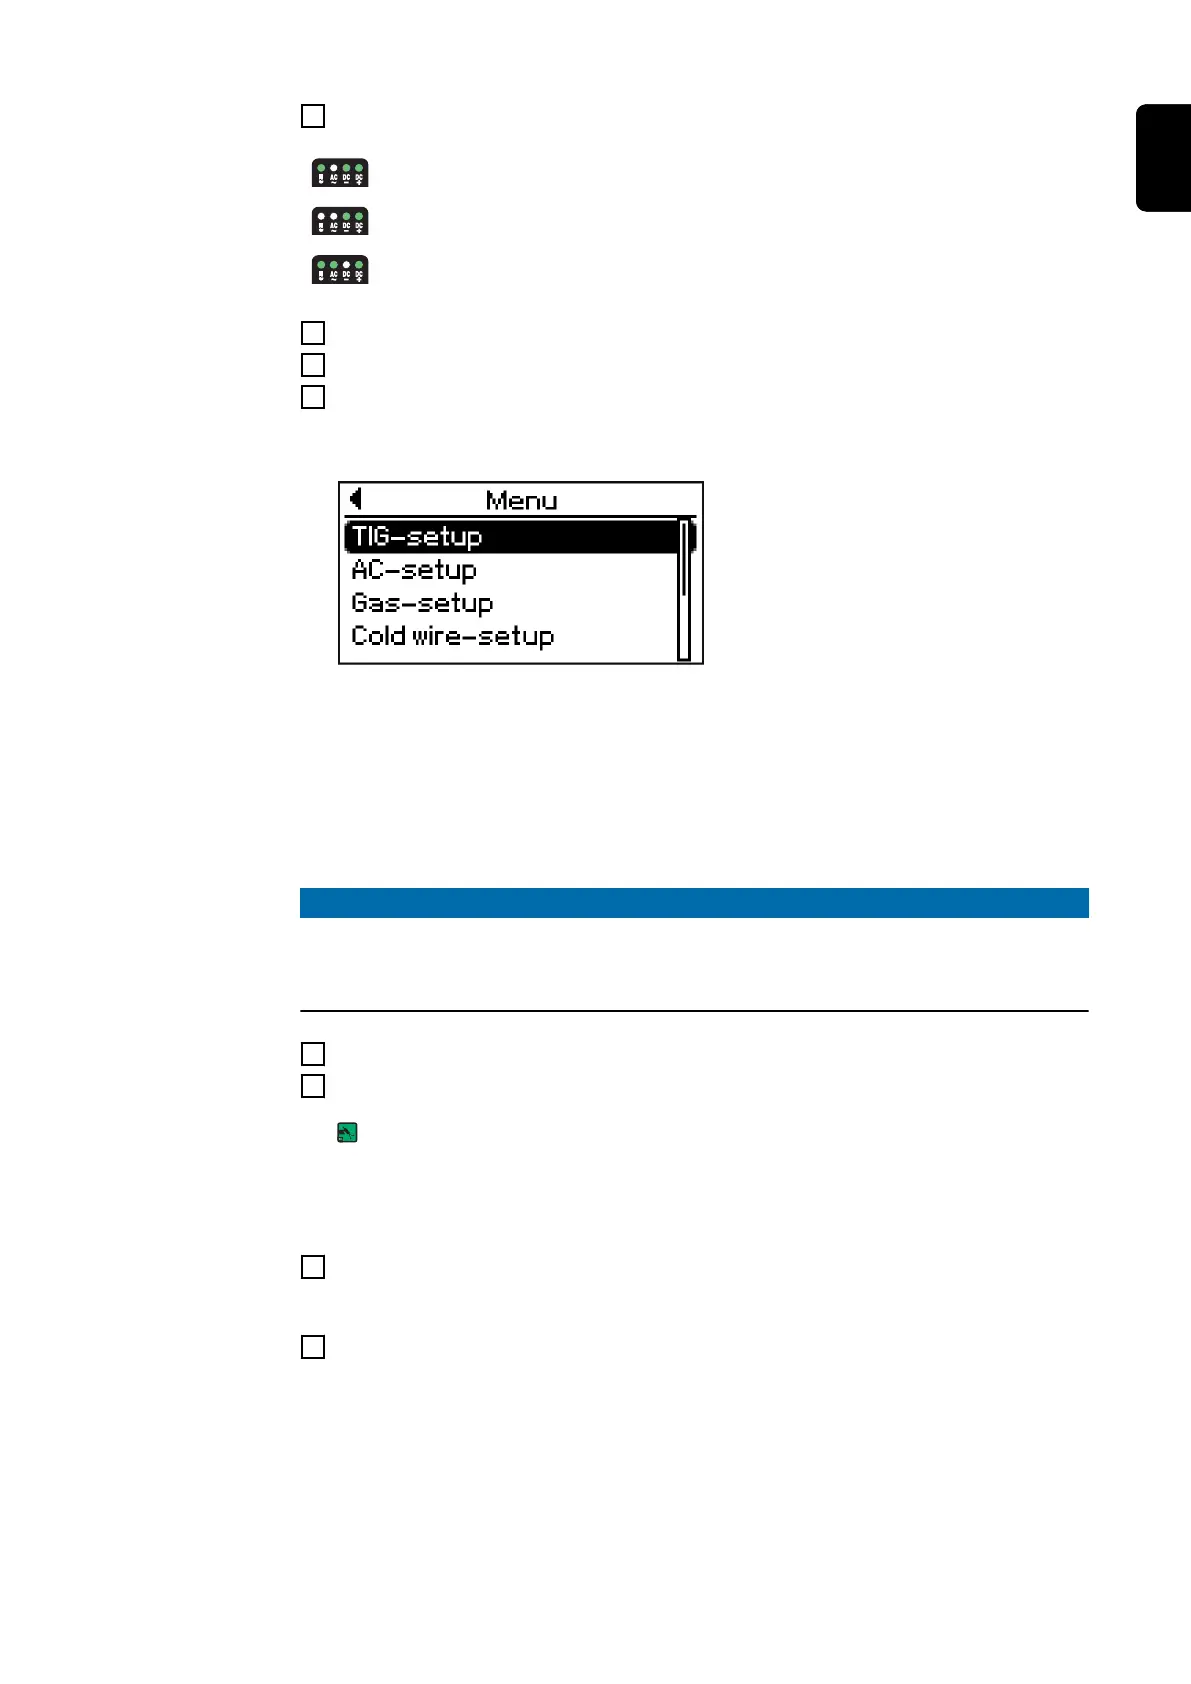
Only with MagicWave: Press the Mode button to select the required TIG mode:
AC welding process
AC welding process with automatic cap-shaping function
DC welding process
3
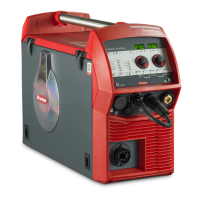
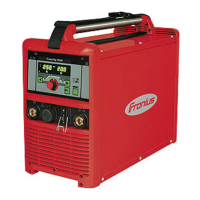
Use the right arrow key to select the relevant welding parameters
4
Use the adjusting dial to set the selected welding parameter to the required value
5
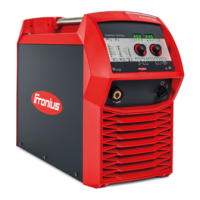
If necessary, additional welding parameters can be set in the Setup menu:
- Press the Menu key
The relevant menu is displayed:
- Use the adjusting dial to select the desired Setup menu
- Open the selected Setup menu by pressing the adjusting dial
- Use the adjusting dial to select the welding parameter
- To change the welding parameter press the adjusting dial
- Change the welding parameter value using the adjusting dial
- Press the adjusting dial
- Exit the Setup menu
NOTE!
All welding parameter set values that have been set using the adjusting dial
remain stored until the next time they are changed.
This applies even if the power source was switched off and on again in the interim.
6
Open the gas cylinder valve
7
Set the shielding gas flow rate:
Press the Gas-test button
The test gas flow lasts for a maximum of 30 seconds. Press the button again to stop
the gas flow prematurely.
- Turn the adjusting screw on the underside of the pressure regulator until the
manometer indicates the desired shielding gas flow rate
8
For long hosepacks and if condensation forms when the device is left unused in a
cold environment:
pre-purge shielding gas - set the GPU setup parameter to a time value
9
Start welding (ignite the arc)
55
EN
 Loading...